| C6owners :: Forums :: C6 Support :: The Garage |
<< Previous thread | Next thread >>
|
Spoke Too Soon! Water Still In Boot! |
    Please Register to enjoy additional Member Benefits |
| Author | Post | ||
Candide
 
|
|
||
   Member No: #3844
Location: Scotland |
Well, I thought that, at least, water was no longer getting into the boot after a preventative repair using sealant but maybe it was the wrong type of rain! It's been sitting for a while as I recover from a small eye op. and today I notice the familiar water lying in the spare wheelwell. I also see the condensation on the inside of the rear quarter window and the trim is slightly damp on the inside, the trim around the quarter window is slightly damp, as is the trim around the pillar, almost as if the water is coming from further up in the car - the roof? I may also have the problem of tired foam around the spoiler mechanism so that is the next job but surely if the water was coming in there then the boot-lid liner would also be damp? (It isn't). I'm really fed up with this now, it renders the car almost unusable for my long-planned driving holiday and I certainly cannot trust it to put any luggage in there for any length of time. The water may well be leaking in more as the car is driven because the boot has been dry whilst the car sat but now, having moved for the first time in days, some water appears. Once I am fully recovered from my op. I will tackle the spoiler foam and replace that but, in the meantime, there is obviously something more going on, considering where the dampness is. Also, feeling under the trim, there is some thick, stiff foam type material which is also wet. I tried removing some of the trims but have no clue how they come off so I can only pry it away and feel underneath with my fingers. This foam is also in the boot area underneath the black carpeted material - that has also been sodden for some time. The cable that runs into my (newly replaced) ECU (parking sensors etc.) is beginning to feel slightly damp but still nowhere near what it has been at times. I'm now determined to write to Citroën UK as this is the first car I've ever owned with such fundamental issues and this is by no means the oldest car I have ever had. For a "prestige" car to leak so badly within less than 20 years is pretty appalling as far as I'm concerned and it seems obvious to me that my car was unfortunate enough to be built using compromised materials, i.e. the bonding for much of the glass has failed prematurely. In my experience so far, this will probably elicit nothing more than a "sorry to hear you're having problems..." responses but I'll give it a go anyway. In the meantime, it's just as well I'm not driving much at the moment and I'll spend whatever (dry) time I can in getting to the bottom of this frustrating problem. I have attached some pics to give people a better idea of what's going on here.  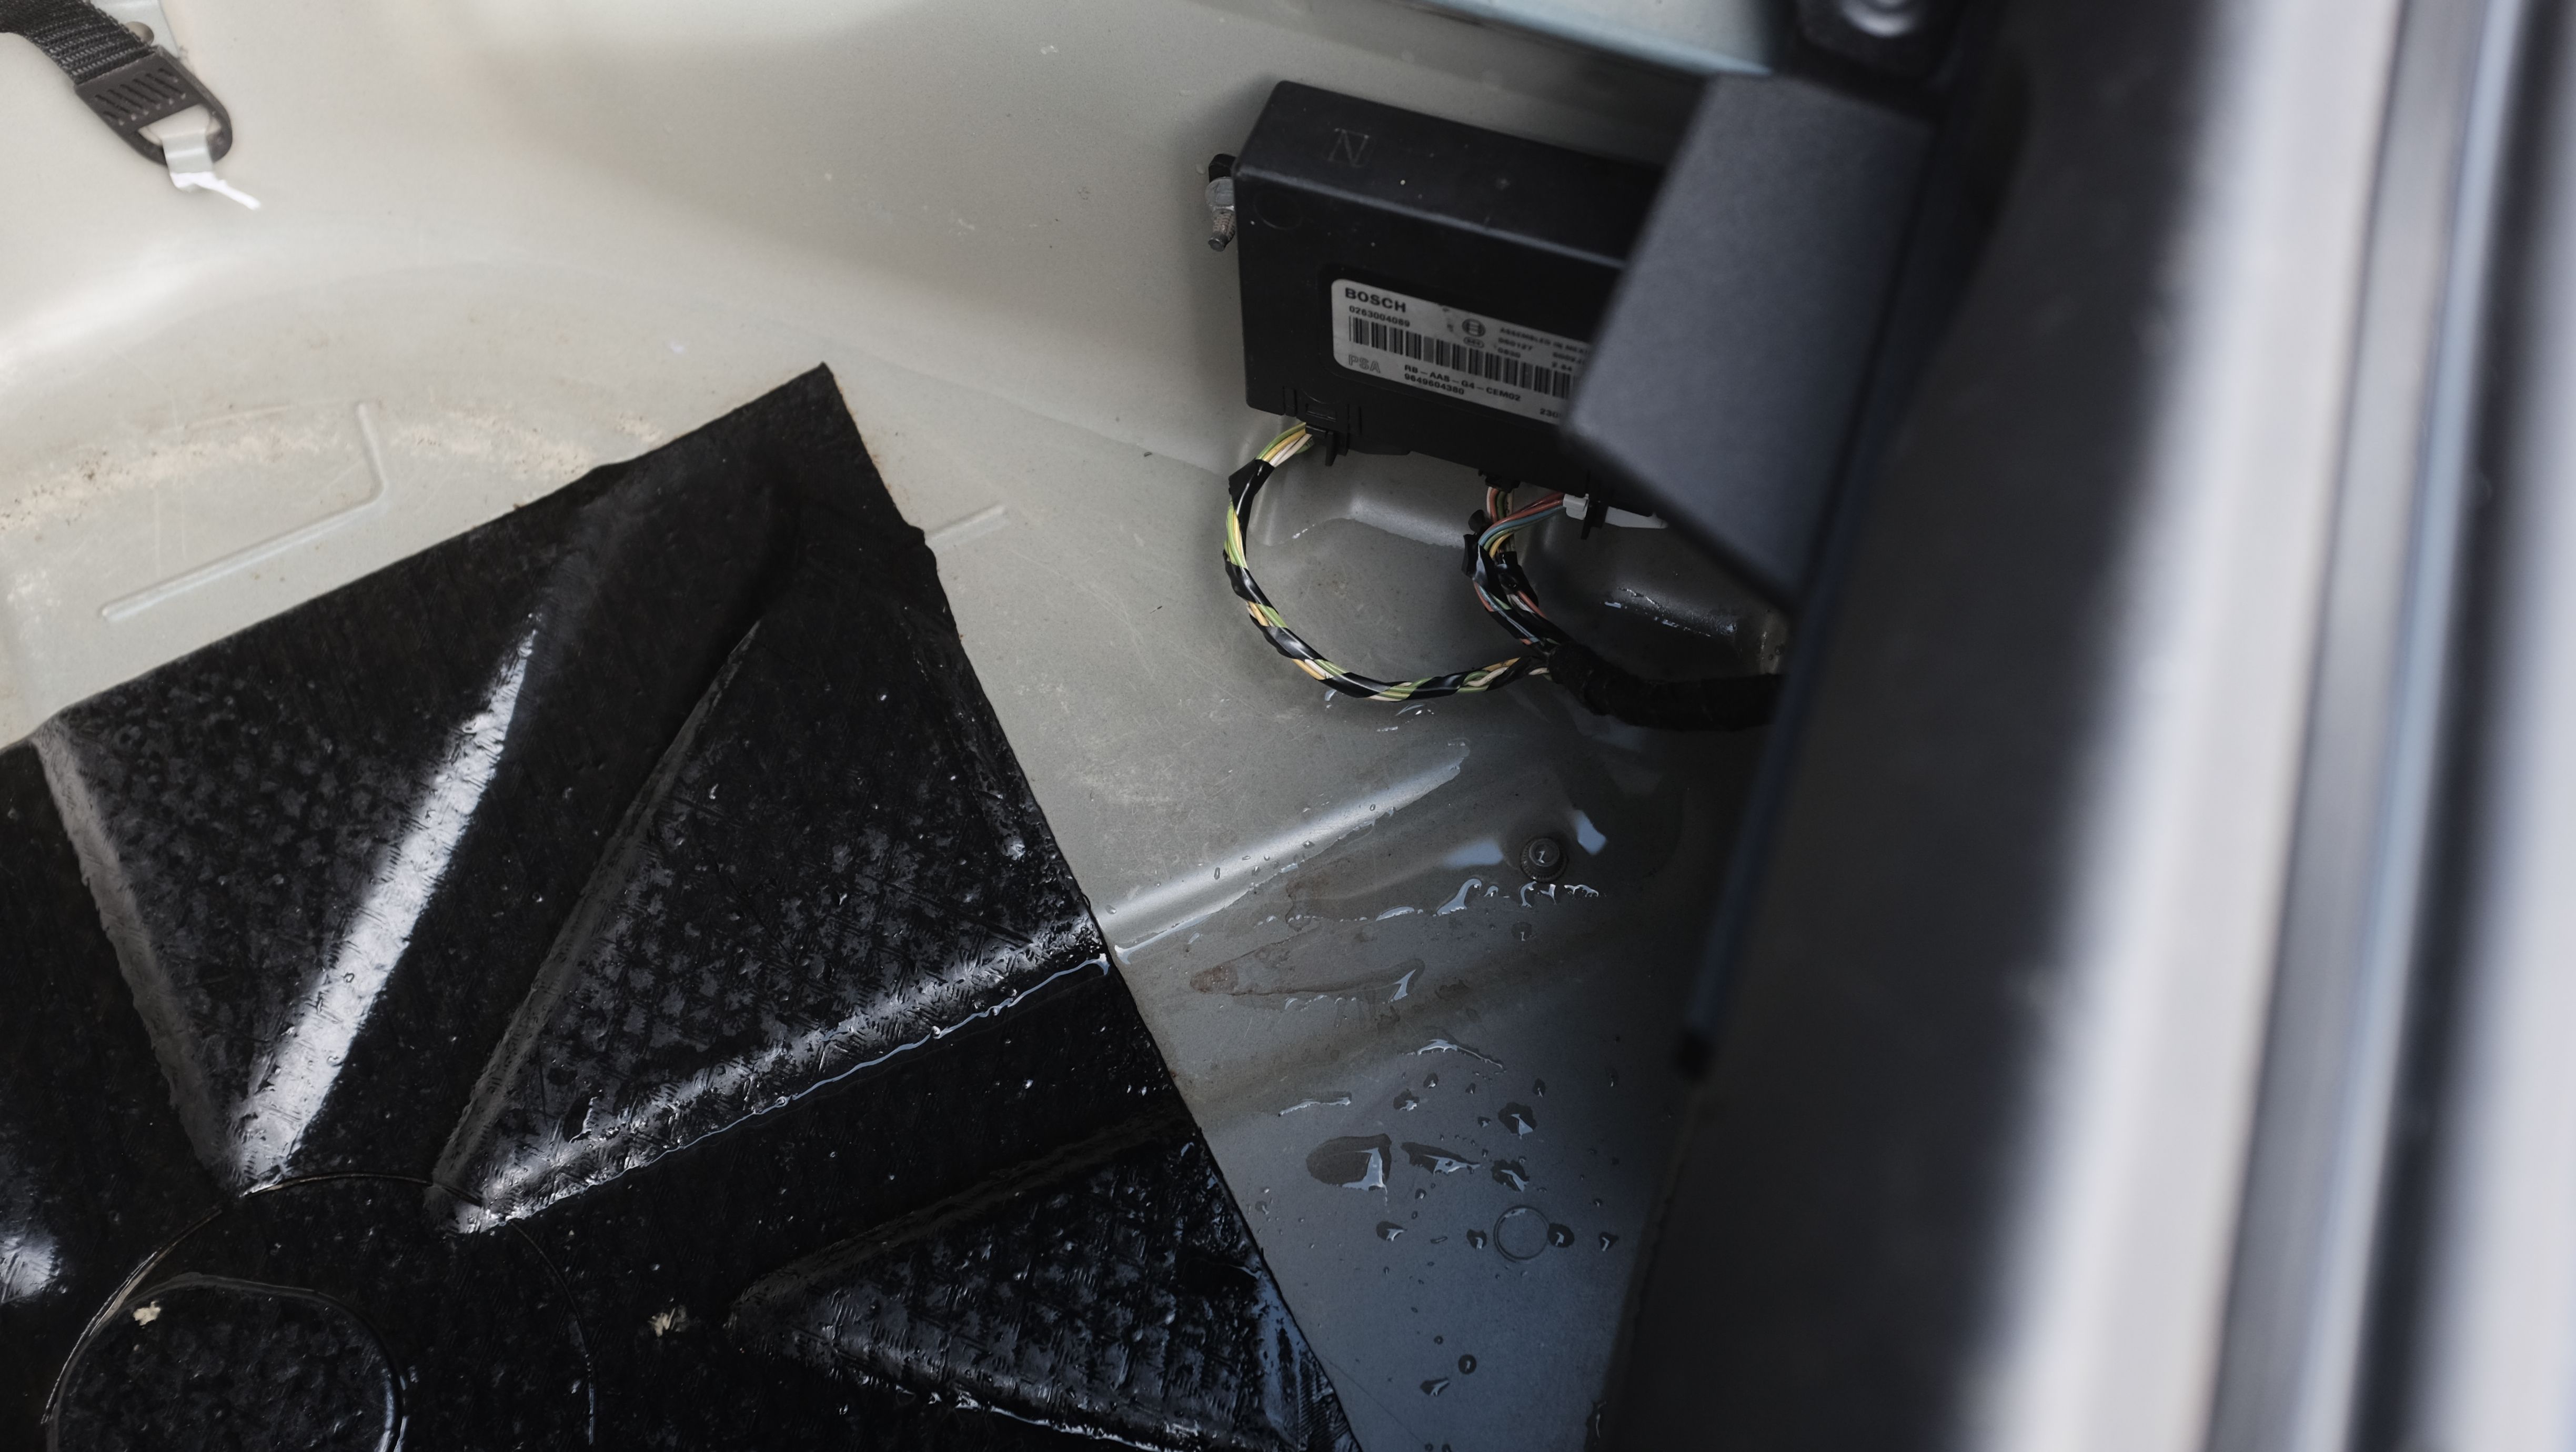 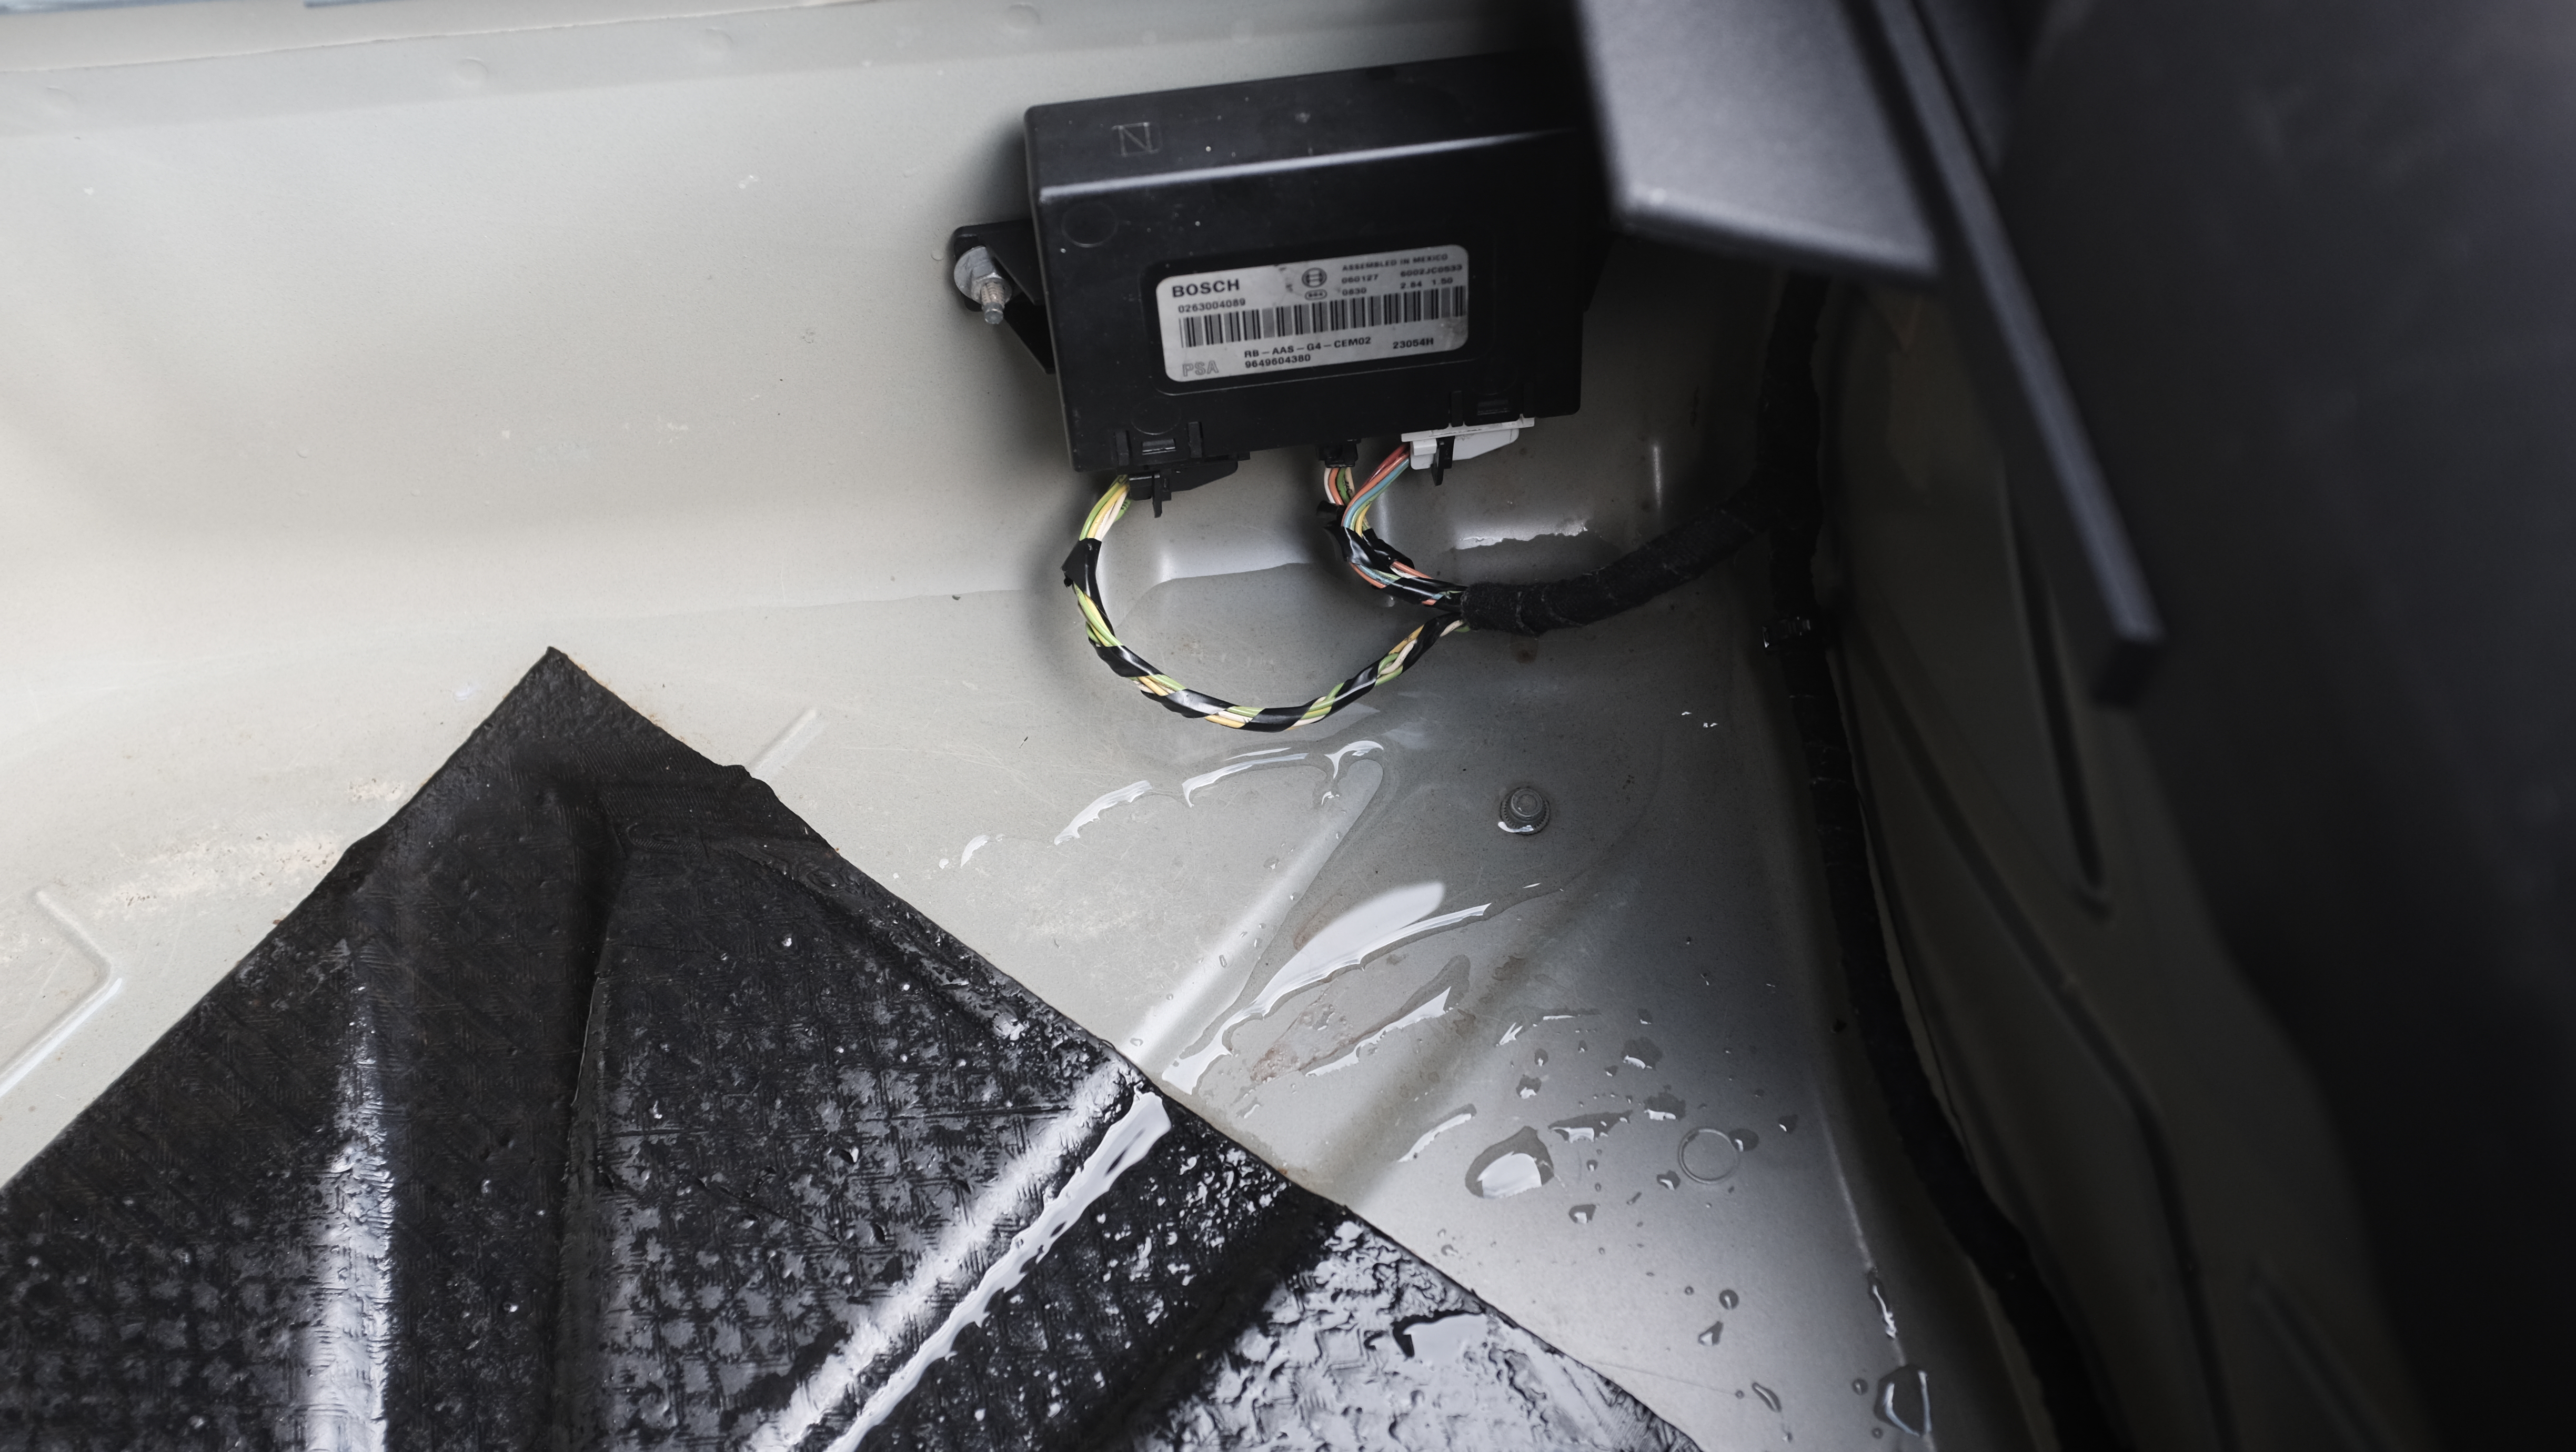 |
||
|
|
|||
|
MGmike
|
|
||
  Member No: #3151
Location: South Queensferry |
I would very surprised if you have anything other than the spoiler seal issue. The boot panel doesn't always show signs of damp. I think that's because of the material used to make it rigid must have some polymers that are resistant to water. Remove the panel and you'll be amazed at the condensation in there. I believe what you are seeing on the window and trim is not water running down but condensation/damp rising up. One other area to check is the seals on the rear light units. They have two foam penny washer sized seals above/around each stud. I wasn't convinced mine were sealing but couldn't see any evidence of a leak. I added a couple more mm of seal material just in case. I recently resealed a boot spoiler that was so bad even the carpet in the rear footwell was damp but with very limited water in the boot. The boot floor carpet was saturated and the windows had similar condensation to yours. |
||
|
|
|
||
|
Biggles1957
|
|
||
 Member No: #3337
Location: Leicestershire |
I'm sure it'll be the spoiler. I took mine out and didn't use the 'foam' sealer I sealed it back in with a proper sealant (like Tiger Seal). I know that means it would be difficult to remove again but actually the original 'goo' strip is pretty difficult stuff to remove anyway. |
||
|
|
|
||
|
Candide
|
|
||
|
Member No: #3844
Location: Scotland |
Thanks for the replies and I have spent a nice morning only to discover that one of the screws holding the spoiler will not budge. I just spent an hour or so removing the bootlid liner and a few other screws and nuts until being beaten by one of the spoiler screws which will not budge and I'm in danger of stripping the head. If anyone has any words of wisdom then I'd be very grateful to hear them and in the meantime I'll give it another go in a day or so after buying a new socket set with extension bar etc, just to give me the best chance. I also realised I can try the screws whilst the spoiler is up when parked without having to strip it all down until I'm sure all the screws will come out. |
||
|
|
|
||
|
MGmike
|
|
||
|
Member No: #3151
Location: South Queensferry |
Candide wrote ... I also realised I can try the screws whilst the spoiler is up when parked without having to strip it all down until I'm sure all the screws will come out. I don't understand what you're trying to do here? The spoiler unit comes off the boot lid when all the nuts are removed on the inside of the lid. There's no requirement to put the spoiler up or remove any of the mechanism from the assembly. If you have seized nuts on the underside of the boot lid, regular spraying with a release oil over a few days will help. |
||
|
|
|
||
|
Biggles1957
|
|
||
|
Member No: #3337
Location: Leicestershire |
I don't understand either - remove the boot lid liner and just undo the set screws that hold the whole spoiler 'cassette' to the boot lid. No need to fiddle with any other screws - the whole thing lifts off the boot lid (obvs disconnect the electrics) then clean off all the old sealant and apply new to the underside of the cassette, drop it back into place and replace the set screws. Tidy up any 'ooze' and that's it. | ||
|
|
|
||
|
Candide
|
|
||
|
Member No: #3844
Location: Scotland |
I was trying to follow these instructions: - Click Here - Item number 6 are the screws I was talking about and it also starts by telling you to manually deploy the spoiler so that's why I did that. I'll have another go at this today. |
||
|
|
|
||
|
MGmike
|
|
||
|
Member No: #3151
Location: South Queensferry |
There's no need to remove the spoiler cover. In fact there's no need to do most of these! Items 3 - 6 & 8 not required. What you do need to do is remove the one 10mm bolt that holds the unit to the boot lid behind the motor housing and Items 7, 9 & 10. This keeps the unit all assembled and removable in one. |
||
|
|
|
||
|
Biggles1957
|
|
||
|
Member No: #3337
Location: Leicestershire |
What Mike says! | ||
|
|
|
||
|
Candide
|
|
||
|
Member No: #3844
Location: Scotland |
I'm obviously missing something very obvious here! All 12 nuts are removed, the 10 mm nut is removed, all other things removed as required but it doesn't budge. Does this need 2 people? Do I need some force to "break the seal"? Should this just fall out now? I am at a loss as to why this isn't coming out as I can't see anything holding it in now! | ||
|
|
|
||
|
Biggles1957
|
|
||
|
Member No: #3337
Location: Leicestershire |
The old sealant will be holding it - I had to carefully lever and push from underneath to break the seal. If I remember I used a bent screwdriver to scrape away at the sealant from underneath. I did park my spoiler in the maintenance position to make it easier to get at things. | ||
|
|
|
||
|
Candide
|
|
||
|
Member No: #3844
Location: Scotland |
Well I finally got the job done and so far it seems to be staying dry. The spoiler does need to be in the maintenance position and my set of trim removal tools made it much easier to remove the old seal from the spoiler carriage. There was a decent amount of rain last night and today the boot is dry. There has been some water leaking in from the plastic drain fittings because they are split around the screw hole but copious amounts of sealant seems to have dealt with that. (The odd screw in one pic is because I lost the original screw.) I also noticed a slight amount of condensation on the rear quarter window but I have a feeling that this is the moisture that is already in there evaporating off when the sun hits or the car warms up. Next chance I get, I'm going to leave the boot open as long as possible on a sunny day in order to dry out the interior. The material I used seems to be holding and creating a tight enough seal but only time will tell, so far so good. 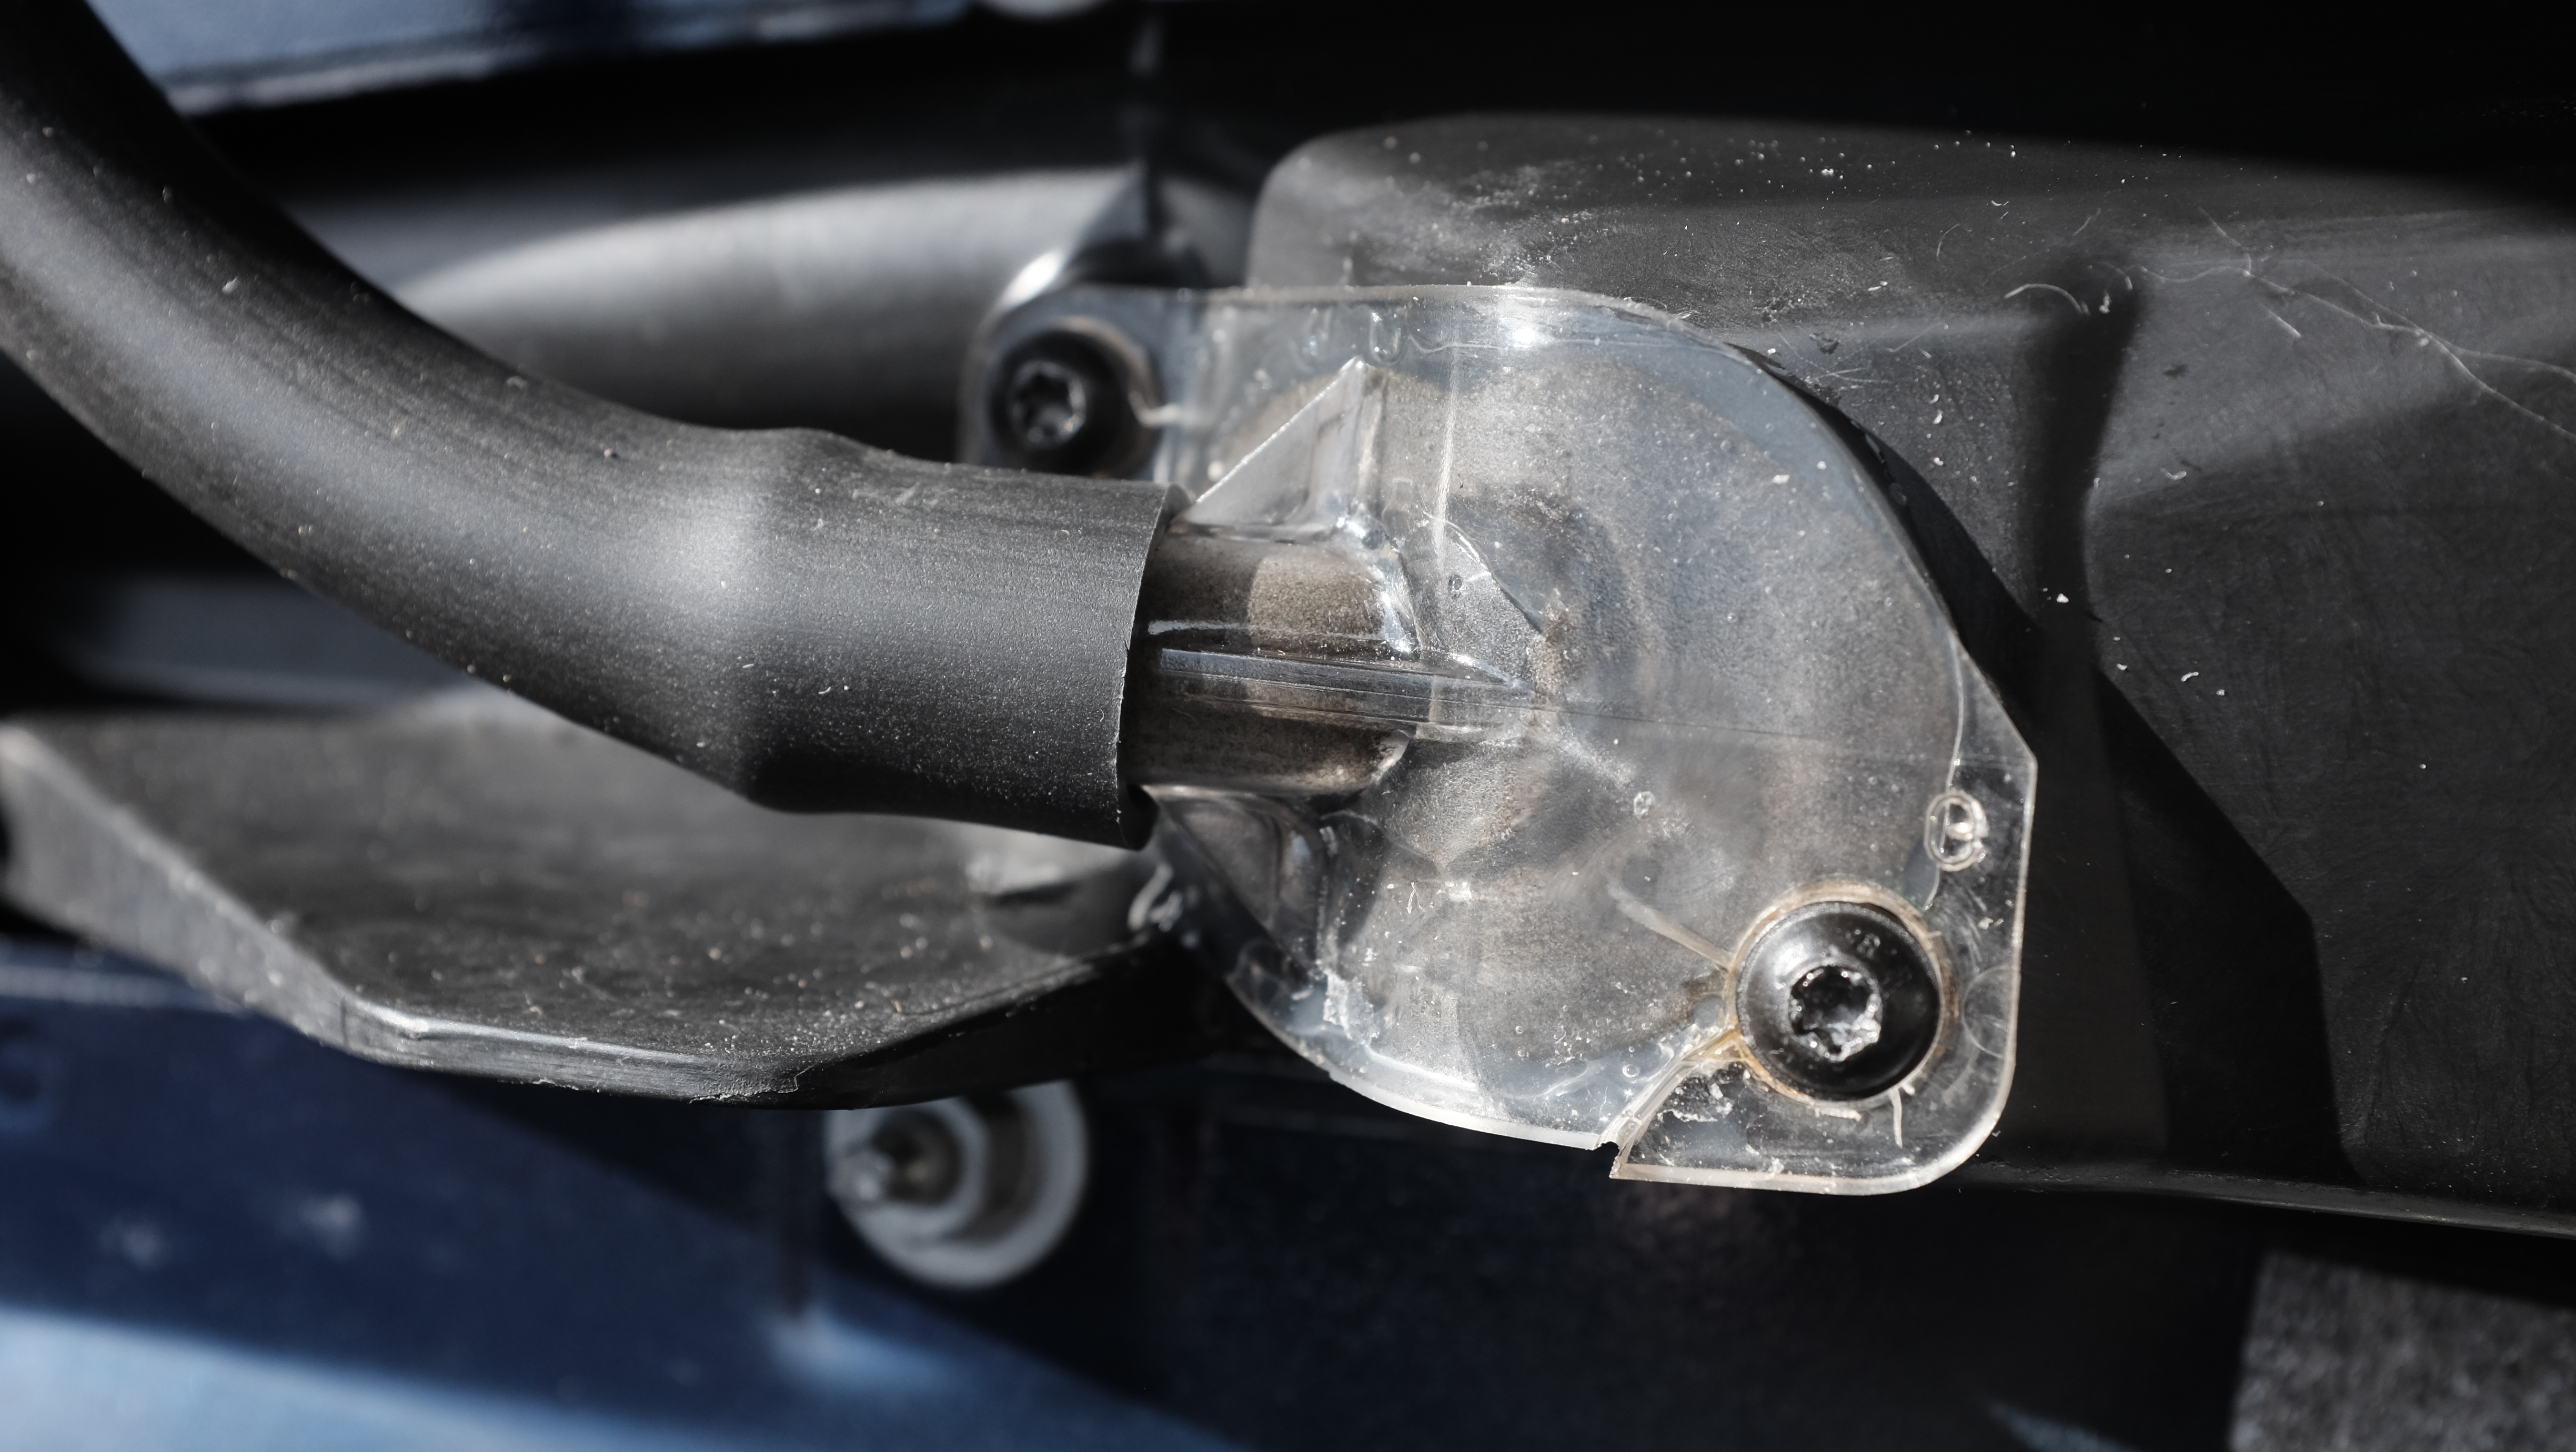 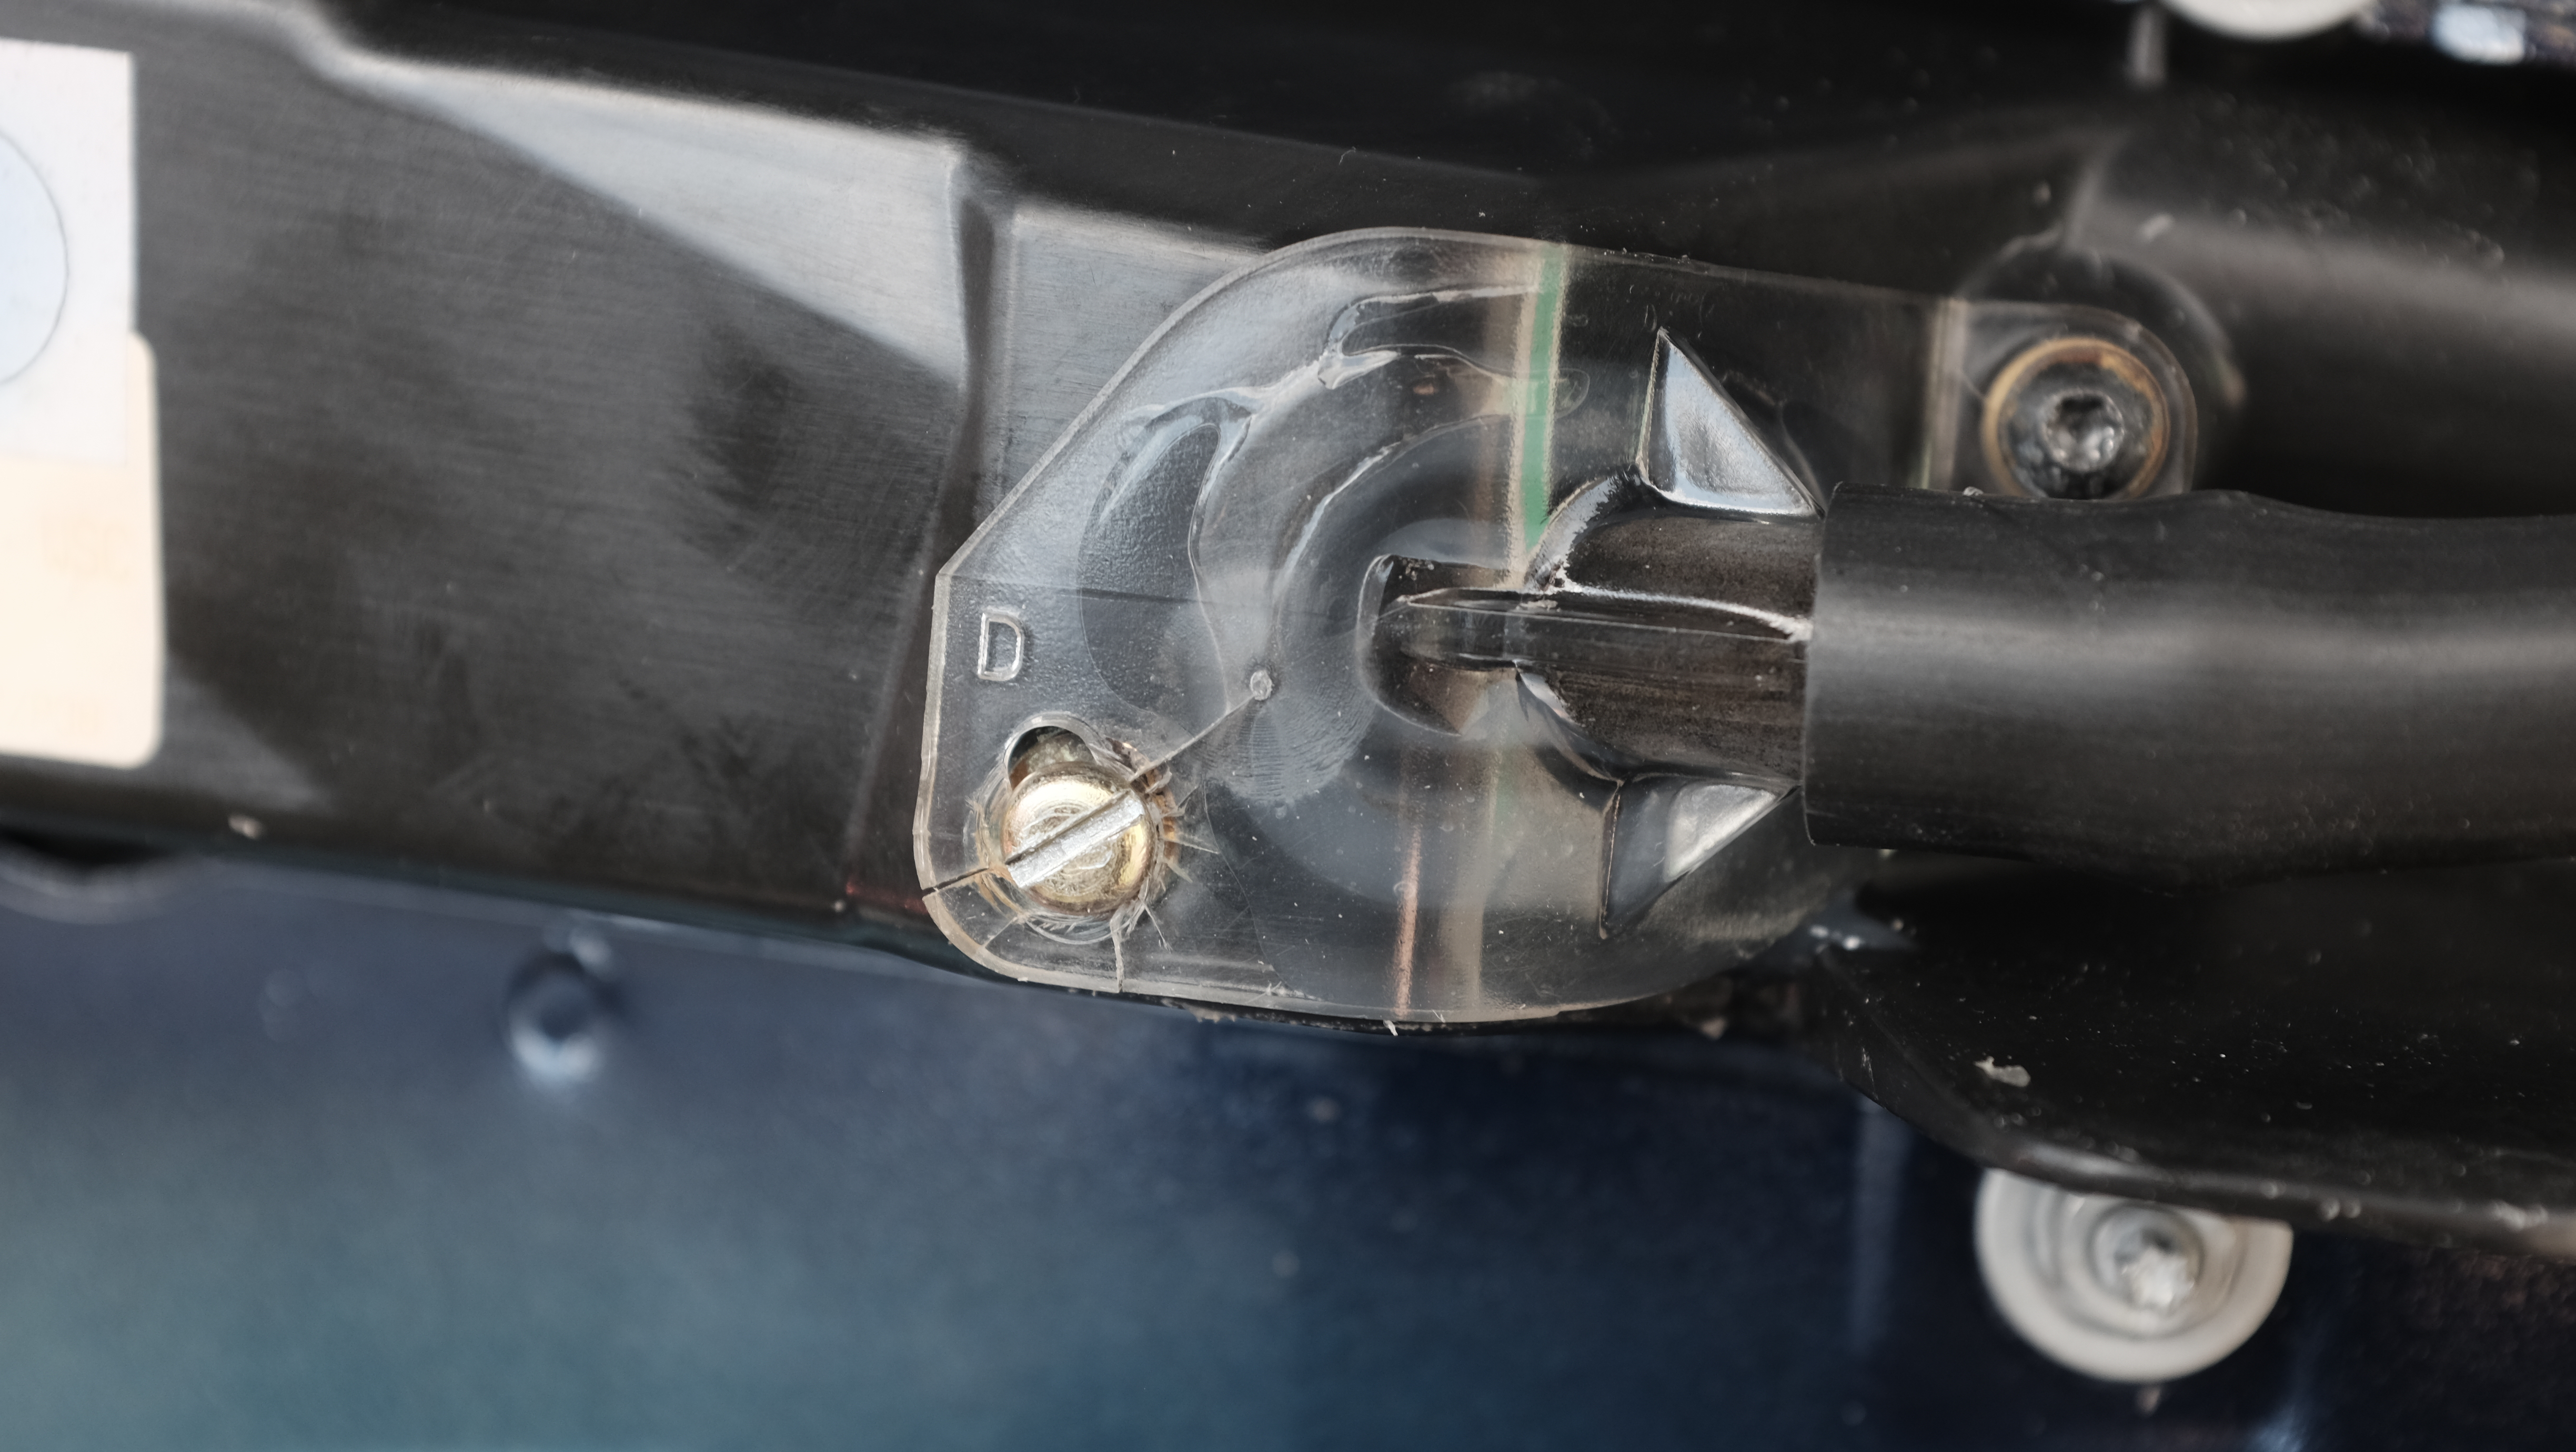 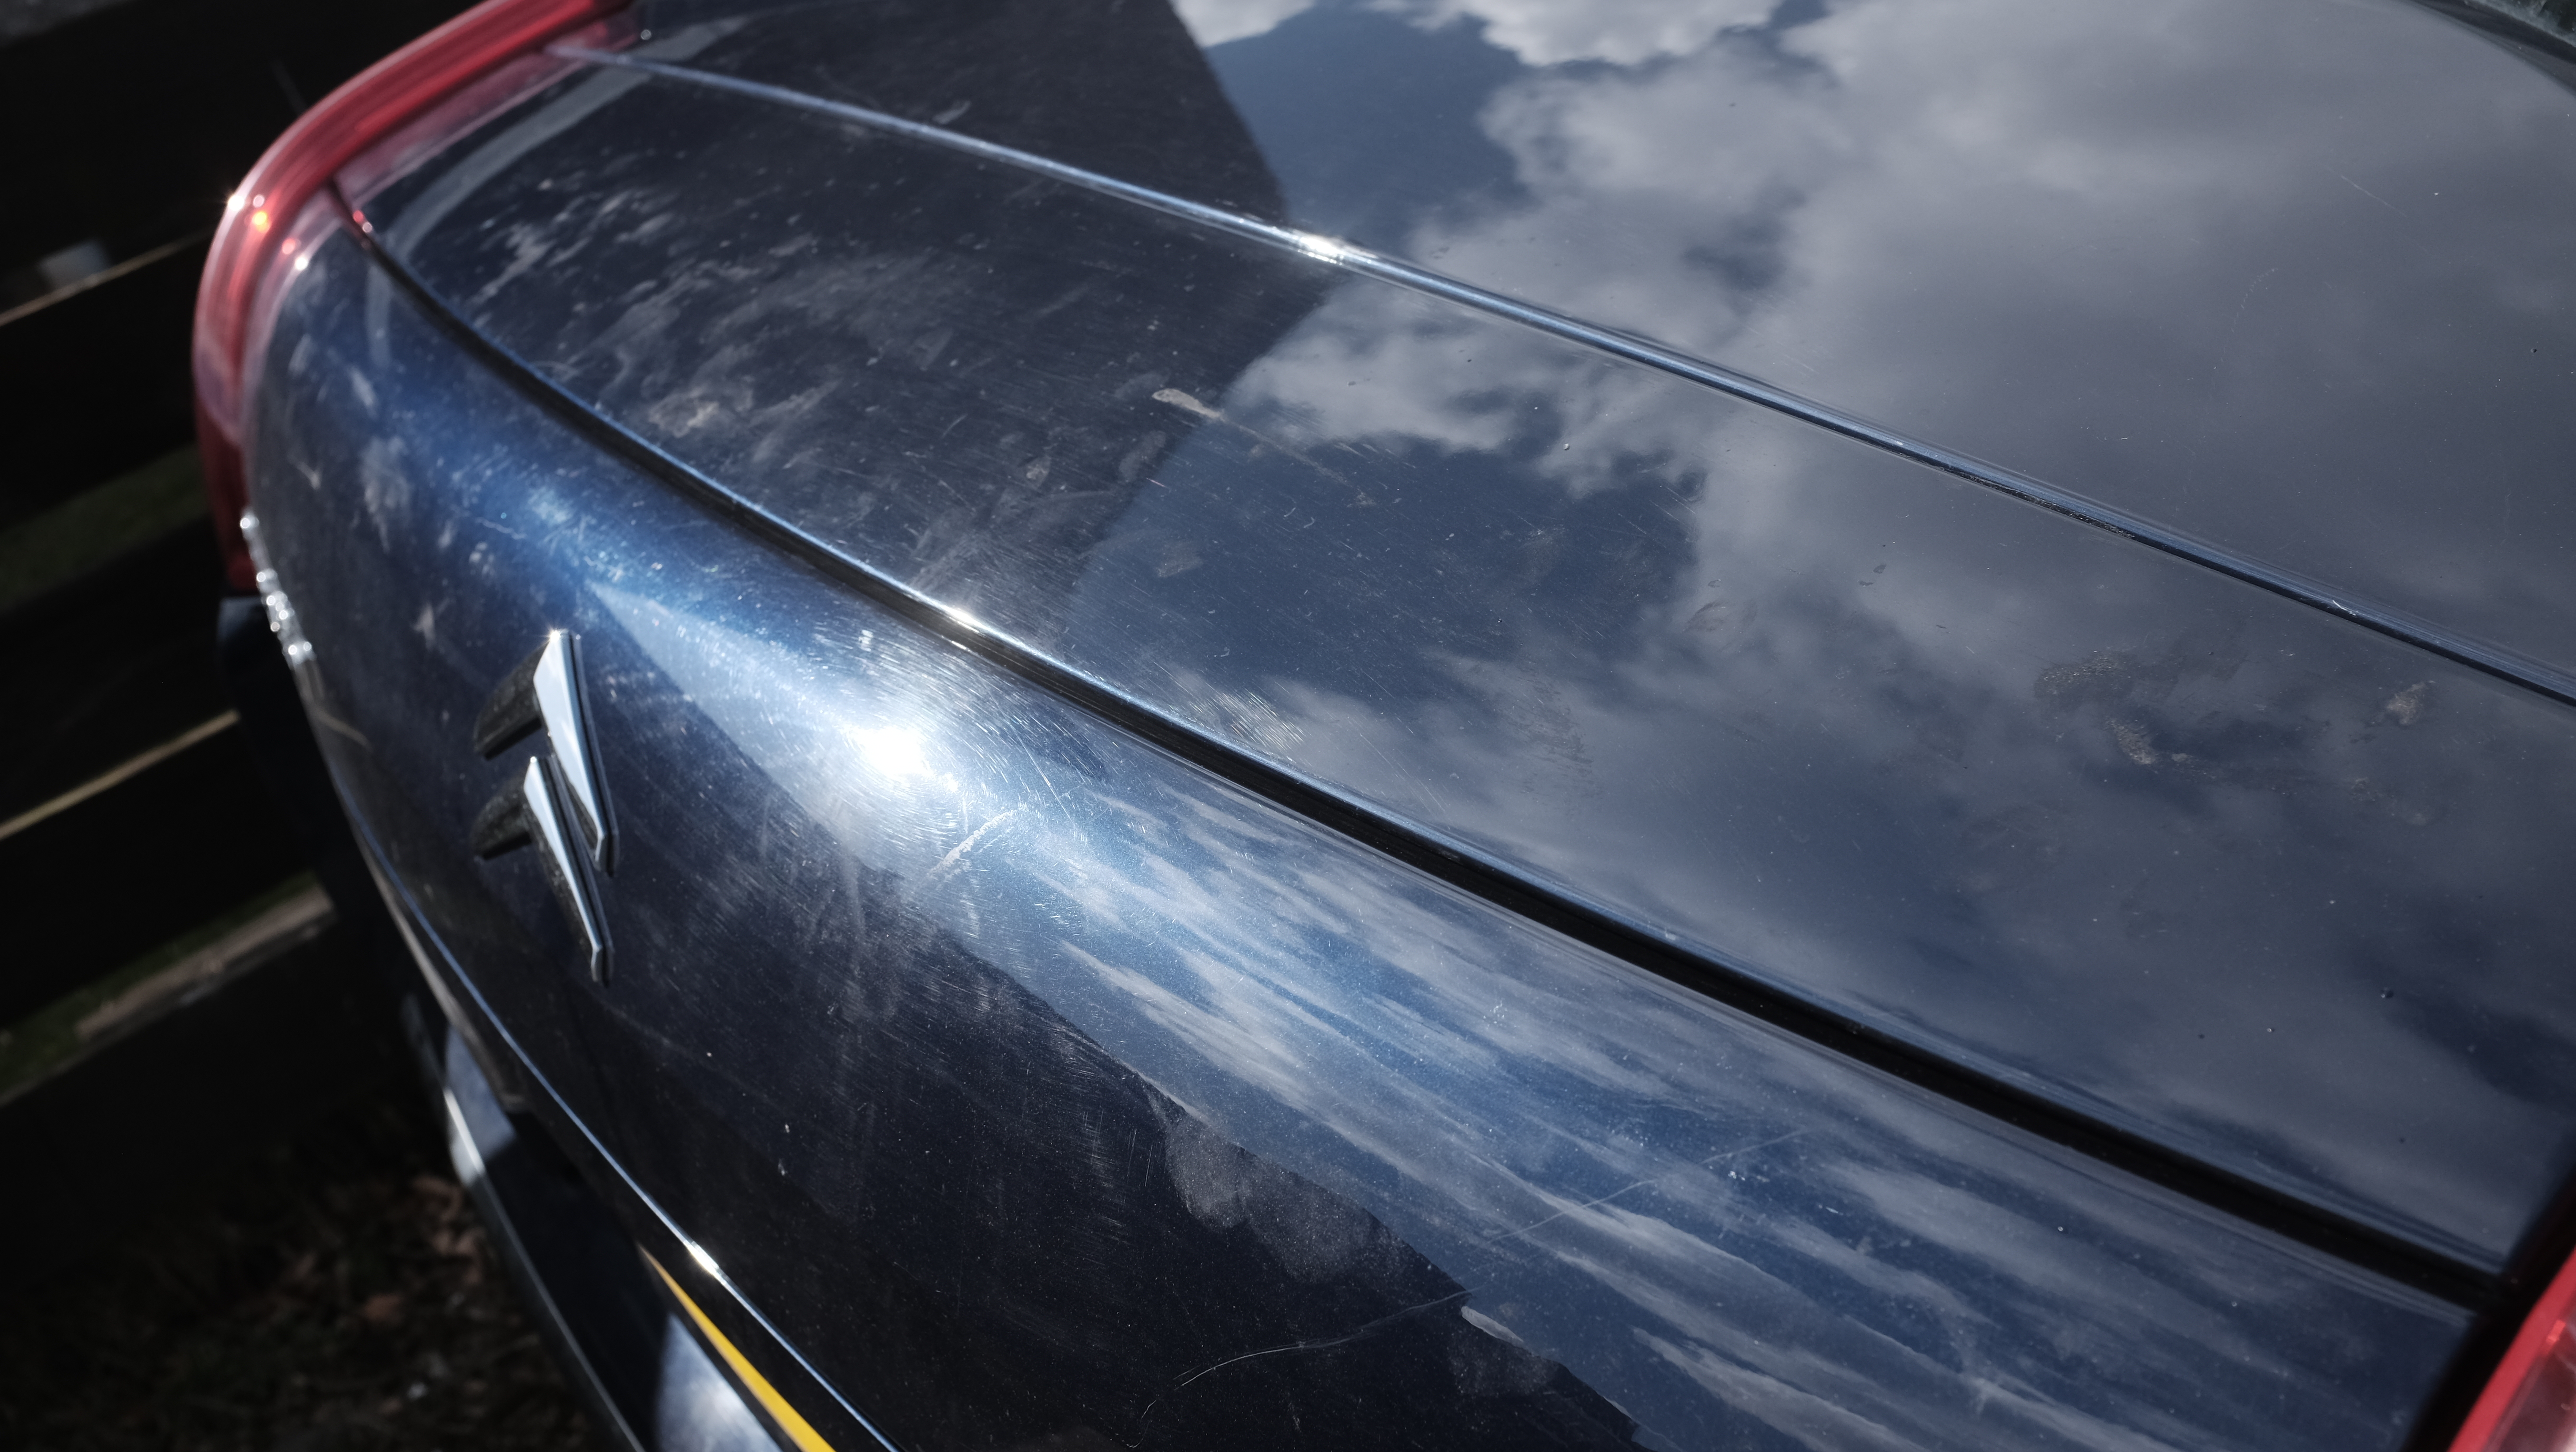 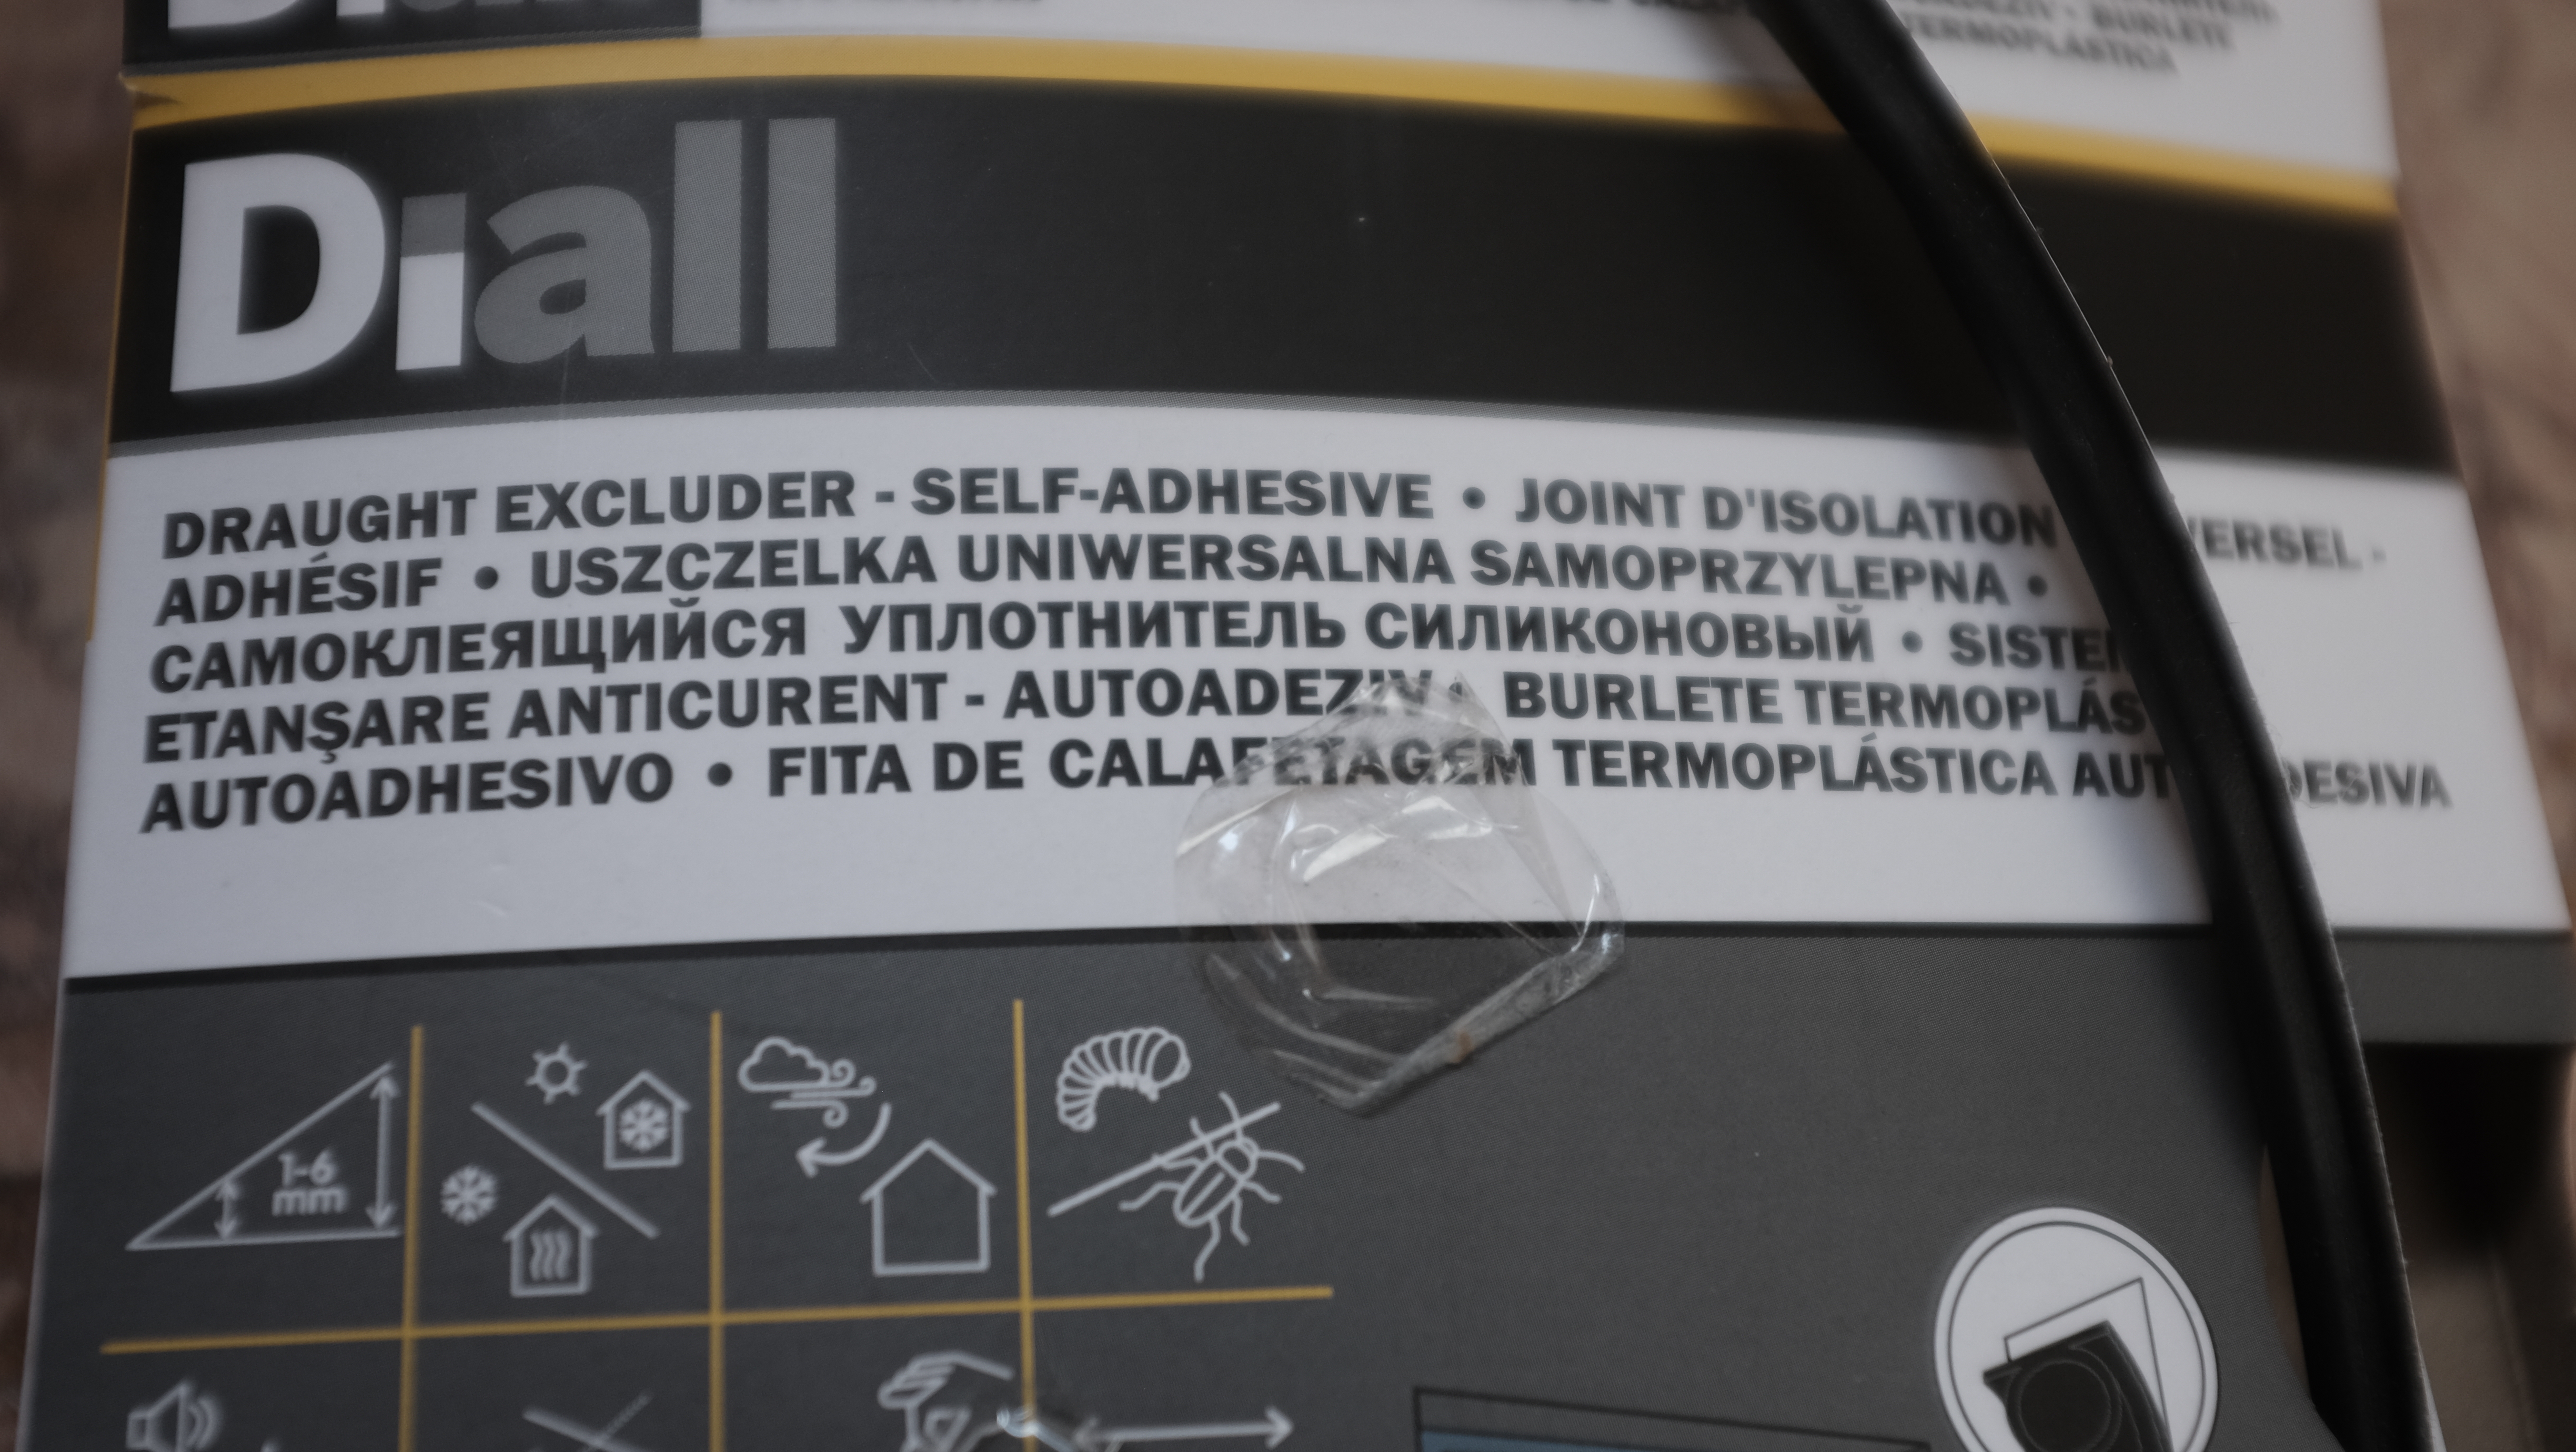 |
||
|
|
|
||
|
MGmike
|
|
||
|
Member No: #3151
Location: South Queensferry |
Well done in persevering with it. If the sponge backed boot floor carpet is damp you'd be well advised to remove it and set it to dry somewhere with more airflow. That sponge can hold a surprising amount of moisture and will take an age to dry in situ. |
||
|
|
|
||
|
Candide
|
|
||
|
Member No: #3844
Location: Scotland |
The boot floor and the spare wheel have been out of the car for months now, fully dried out and ready to go back in. I didn't want to take the chance of mould forming. It's now just the sponge material that sits behind the trim that is holding any water and that will probably take much longer to fully dry. | ||
|
|
|
||
 User Colour Key: User Colour Key:Head Administrator, Administrator, C6 owner, Technical Expert, C6 Premier Discount Club |
|
Privacy Policy | Cookie Policy | Site Disclaimer | Contact Details | Warranty | Sitemap | C6 Insurance | Quick Facts | Re Call Info | Downloads | Error Codes
| Site and Graphics created by: C6Dave Forum Icons by Axialis Emotes by Seb |  |

