| C6owners :: Forums :: C6 Support :: The Garage |
<< Previous thread | Next thread >>
|
C6 Restoration |
    Please Register to enjoy additional Member Benefits |
| Author | Post | ||
321dave
 
|
|
||
  Member No: #614
Location: Dublin |
joopajaa wrote ... I think the only way is to de-pressurize and see if the level is within sight on the tank. IMHO the level is "right enough" if: - power-steering is working without hick-ups - car is leveling nicely to high position (and the pump is shut down quickly) - tank will not overflow when car is in low posision (or de-pressurized) I think that's good advice as well. Particularly if the pump is switching on/off fairly quickly. I repaired a small cracked rubber pipe on the low pressure return at the weekend. Just a few mins and it was changed out and just a little leak amount as well. As previously stated, no need to depressurise the system. But now I'm thinking of replacing the corroded metal brackets holding the rear valve and spheres. A few of the metal sections near the rubber pipe are corroding now as well. 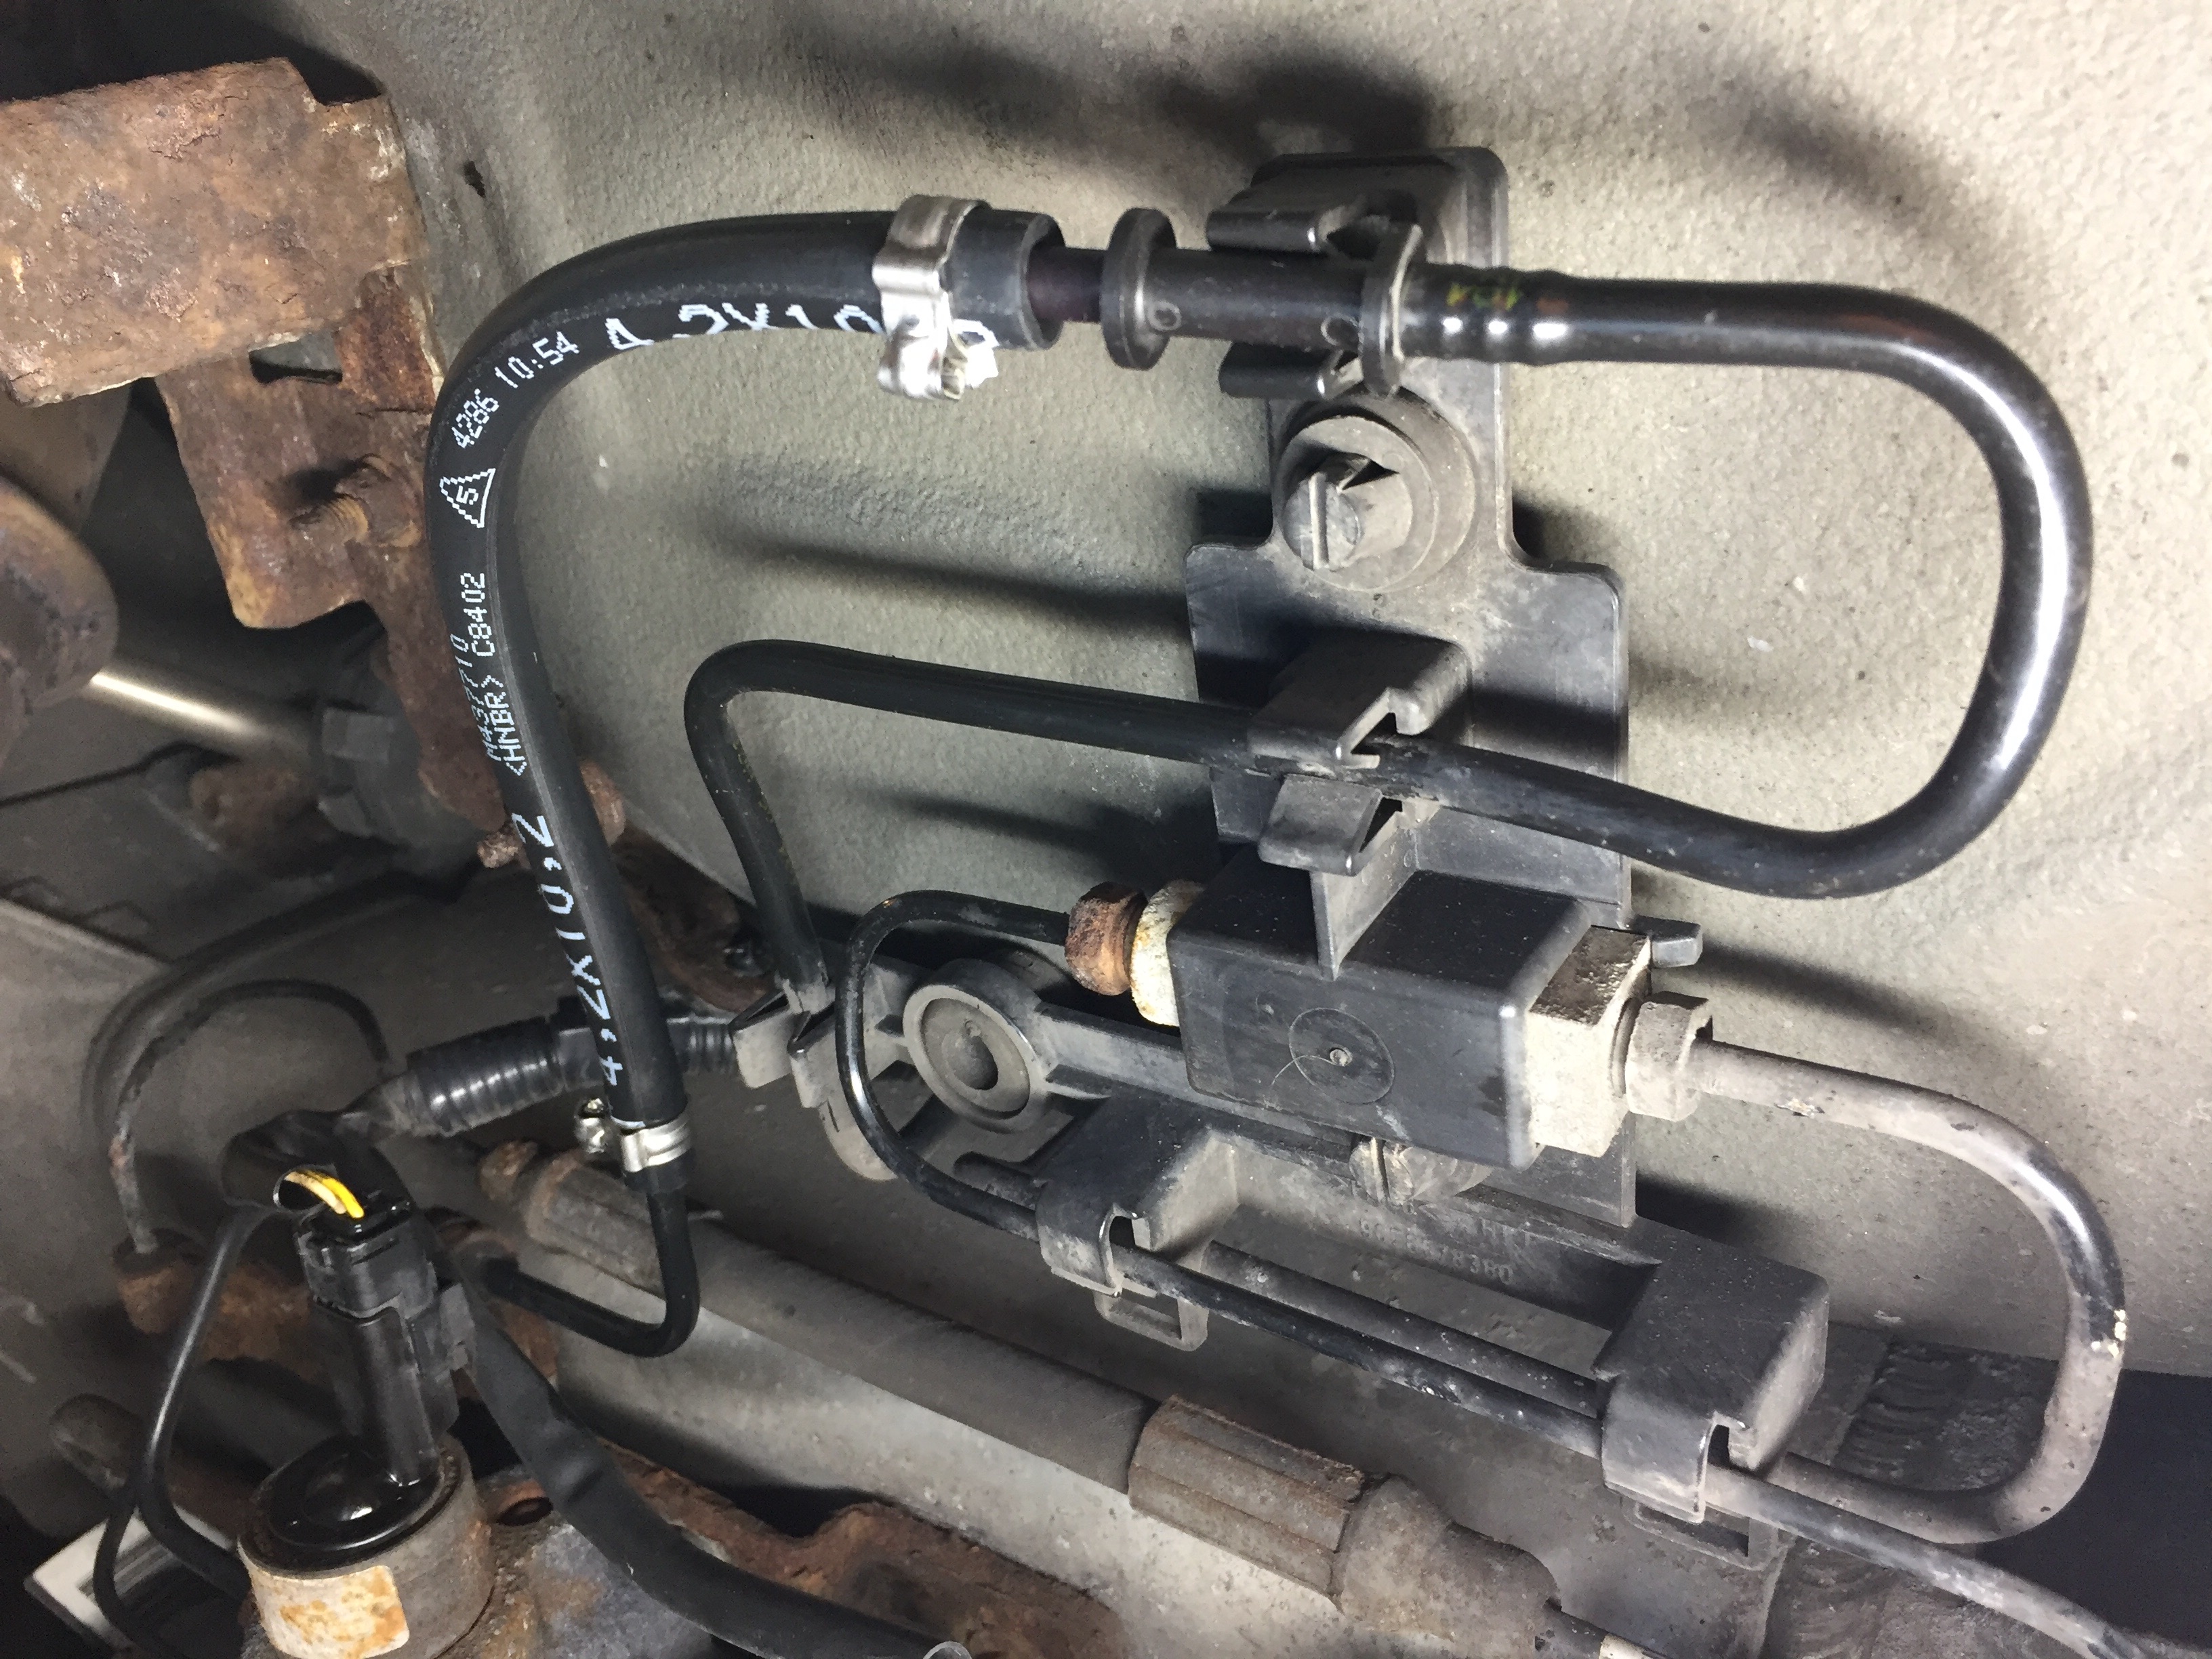  |
||
|
|
|
||
|
321dave
|
|
||
|
Member No: #614
Location: Dublin |
Old split rubber section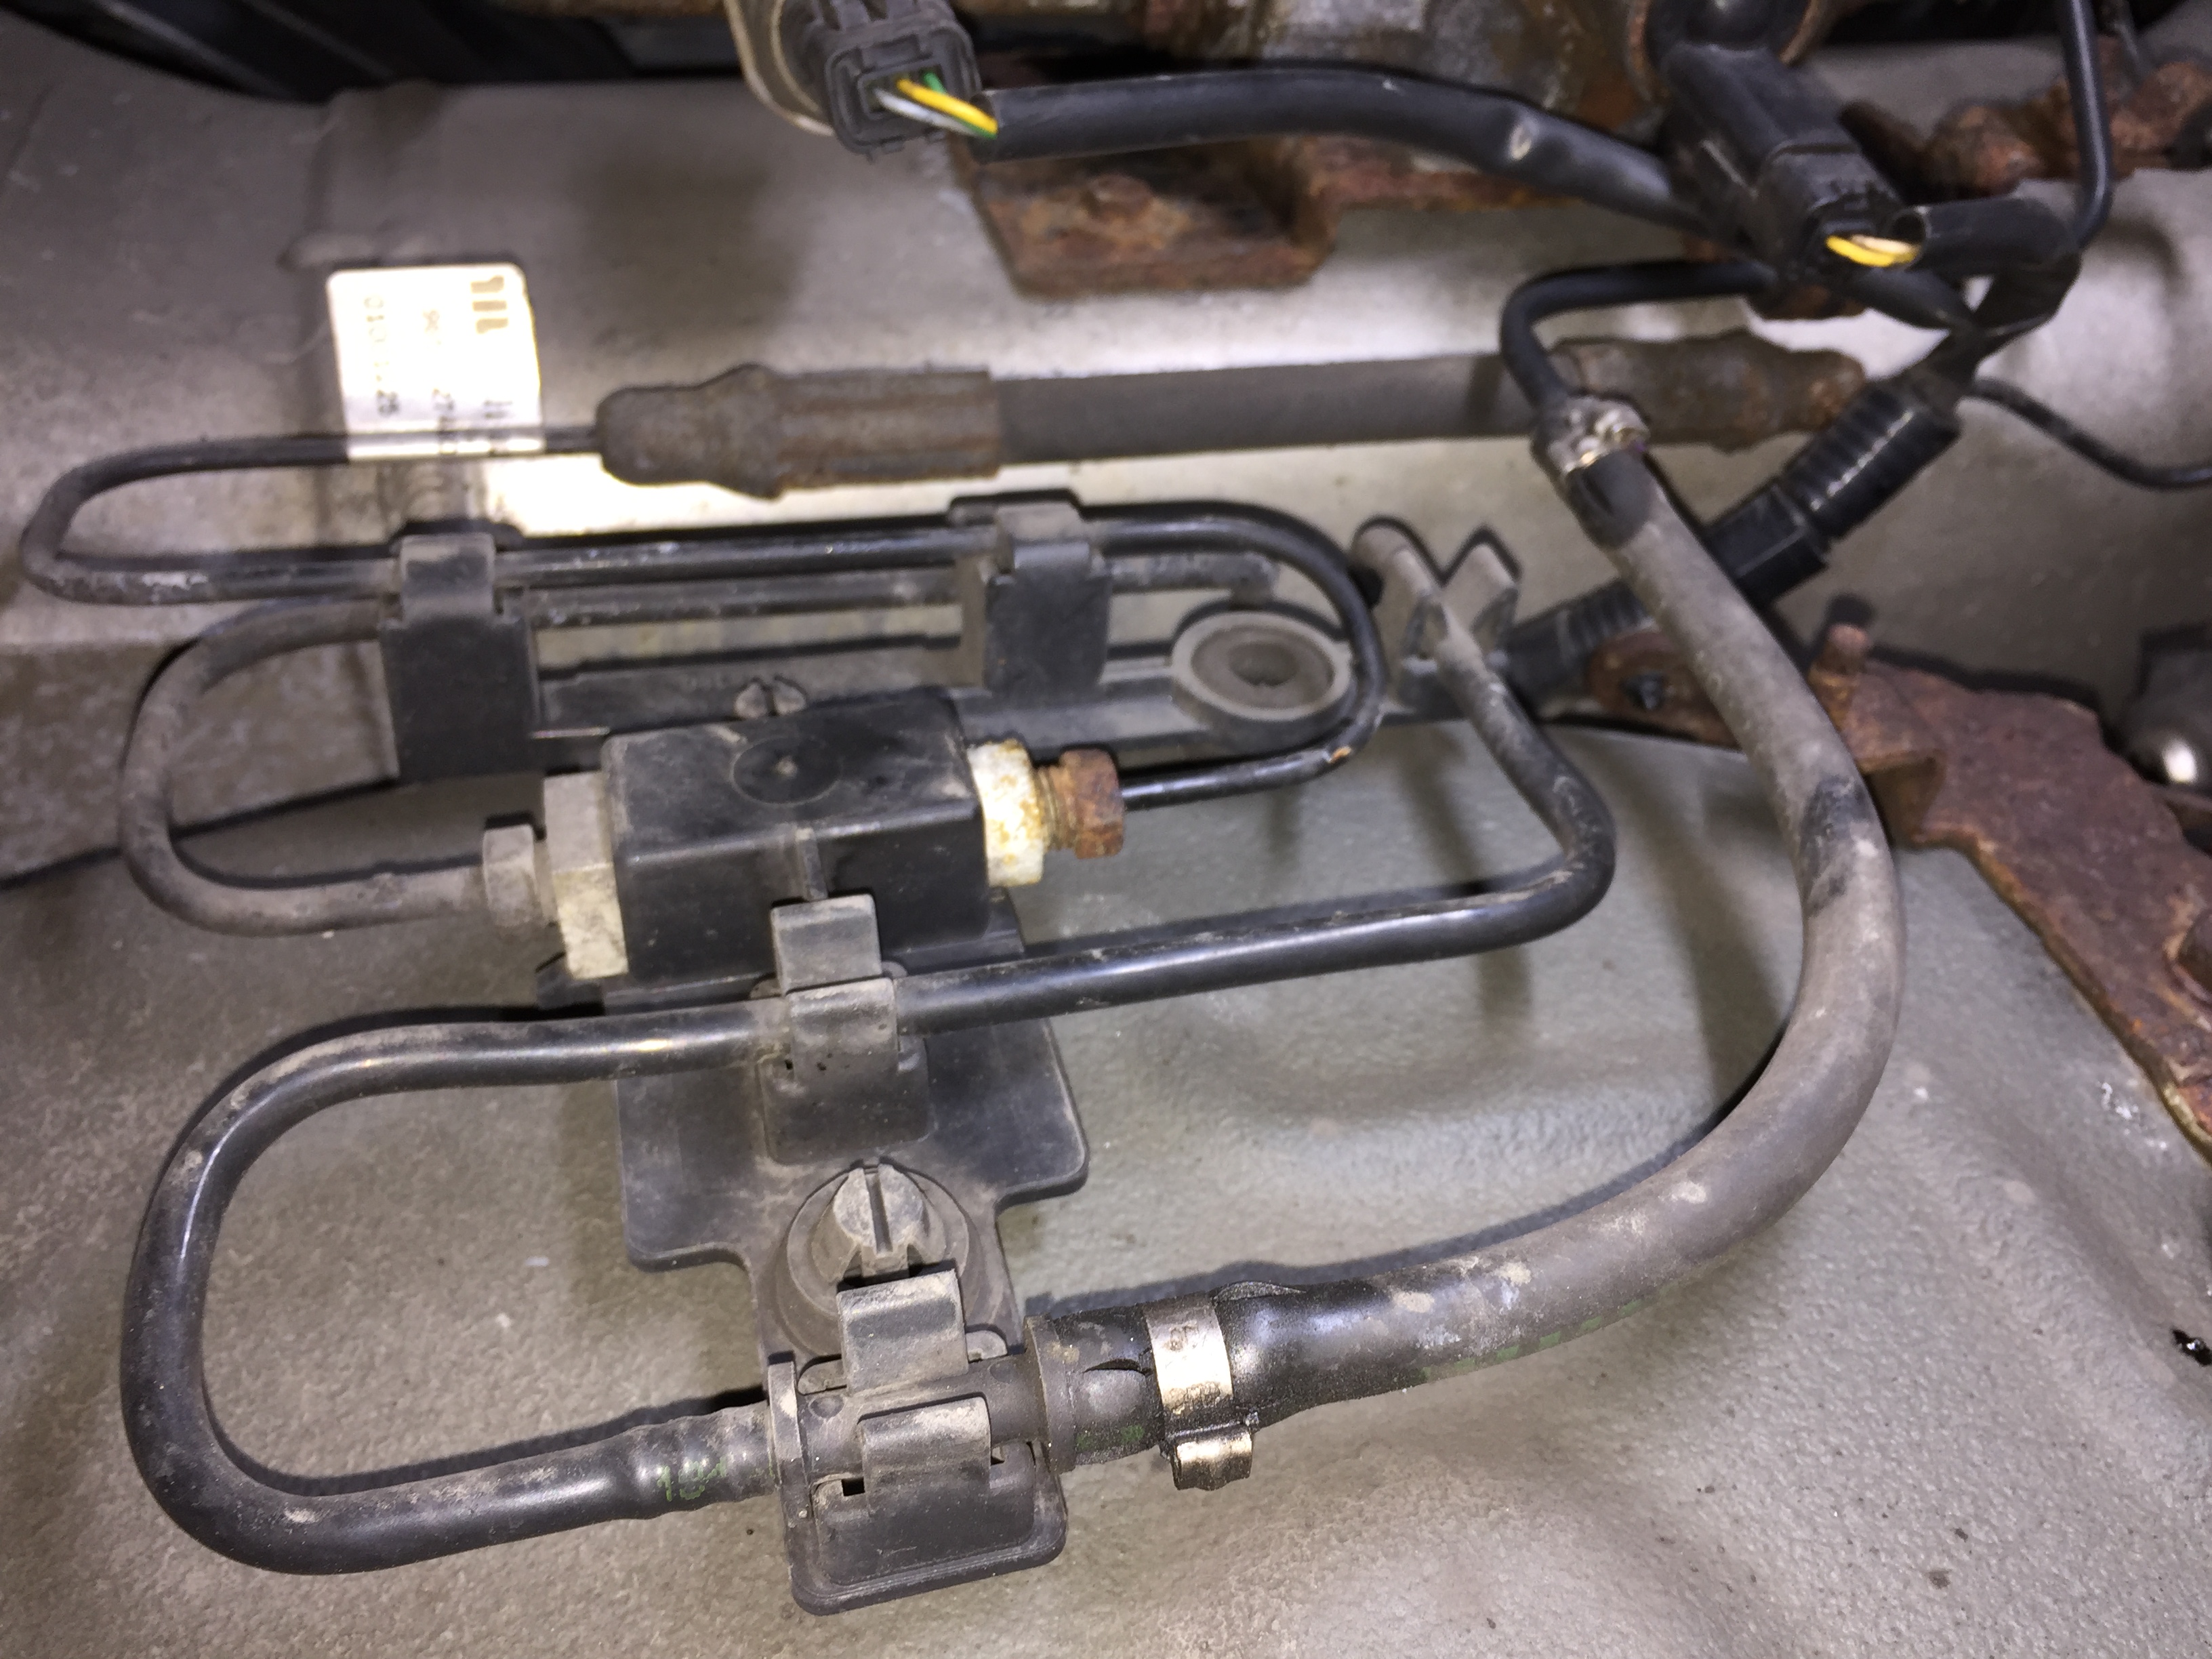 |
||
|
|
|
||
|
321dave
|
|
||
|
Member No: #614
Location: Dublin |
cruiserphil wrote ... Dave, My local motor factors has them in stock if you find difficulty getting a set for the weekend. Best regards, Phil C. Many thanks Phil. I got a set a few weeks back but thanks again. I hope to start tomorrow and I'll keep my progress up to date as possible. I can already hear the crack of hot brittle plastic already! |
||
|
|
|
||
|
321dave
|
|
||
|
Member No: #614
Location: Dublin |
Installed a new drivers seat belt over the weekend as the reel had almost stopped returning the belt and it was very dirty after 11 plus yrs service. Thought I'd put up a few photos for the forum. After the trim was removed it was easy to fit the new reel and pillar trim back in place again. As mentioned on the forum, the slider stopped moving with the belt and I believe you can see where it cut the plastic adjuster. No harm to check they are sliding well. 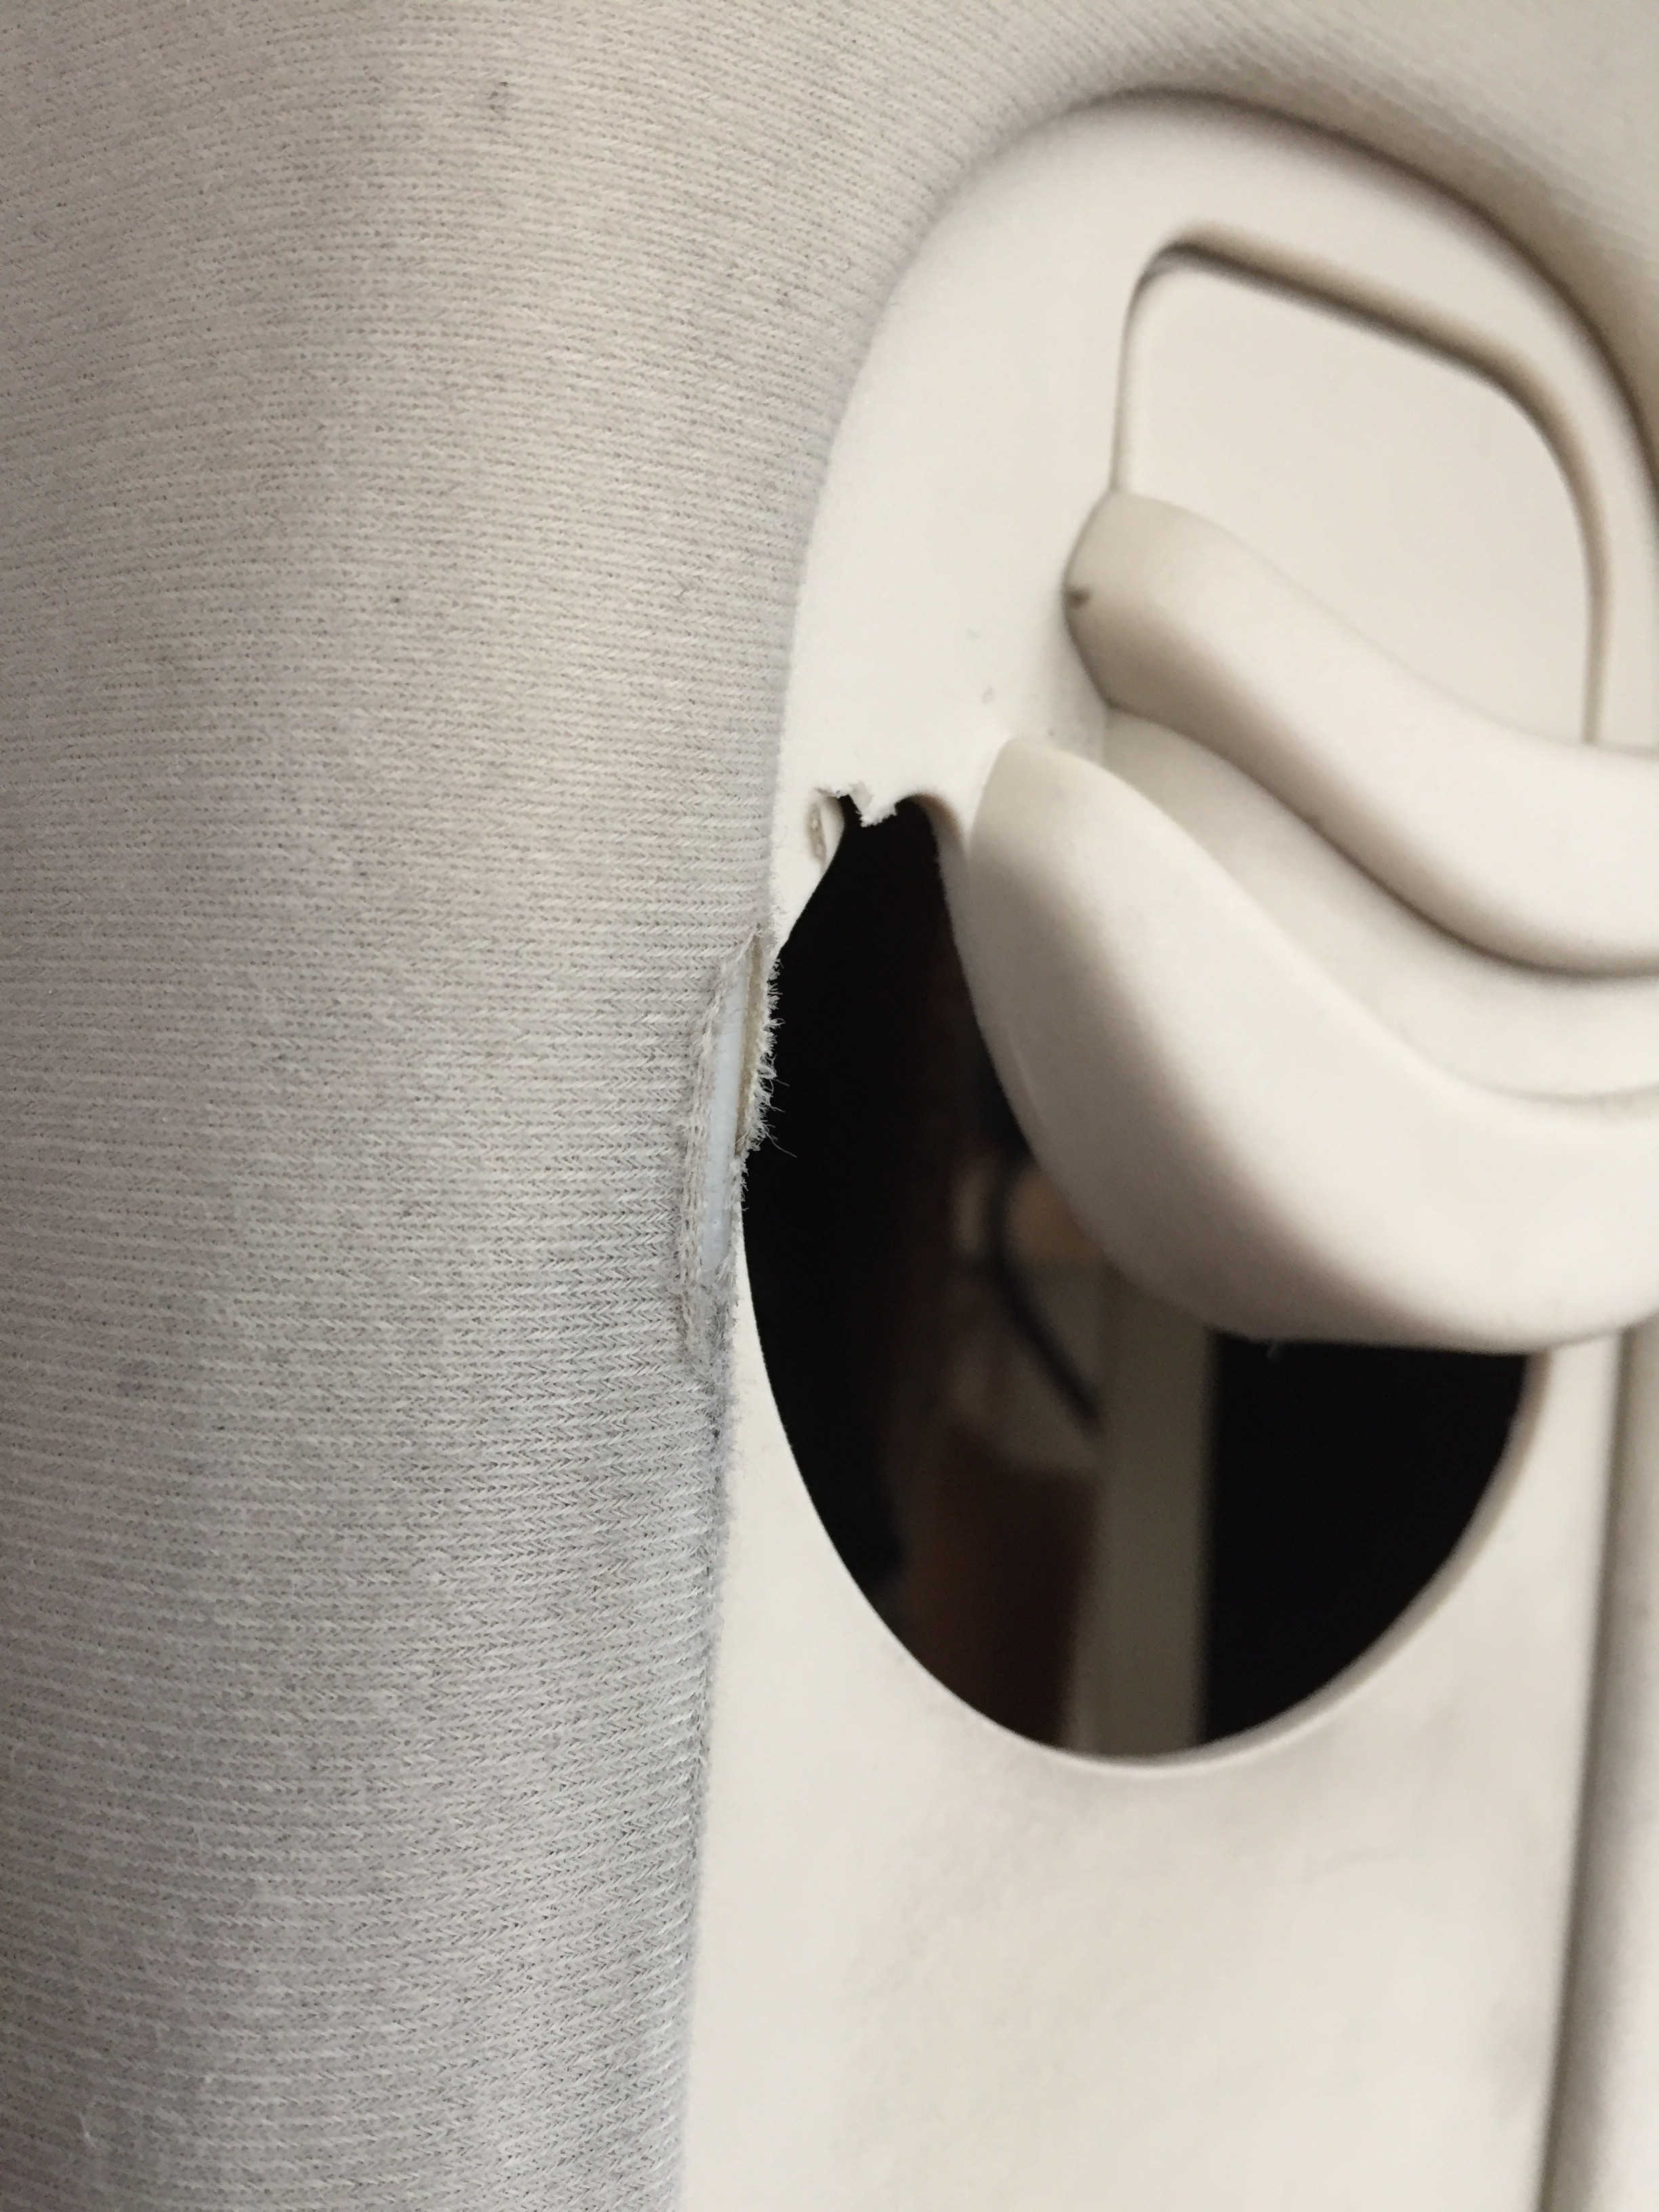 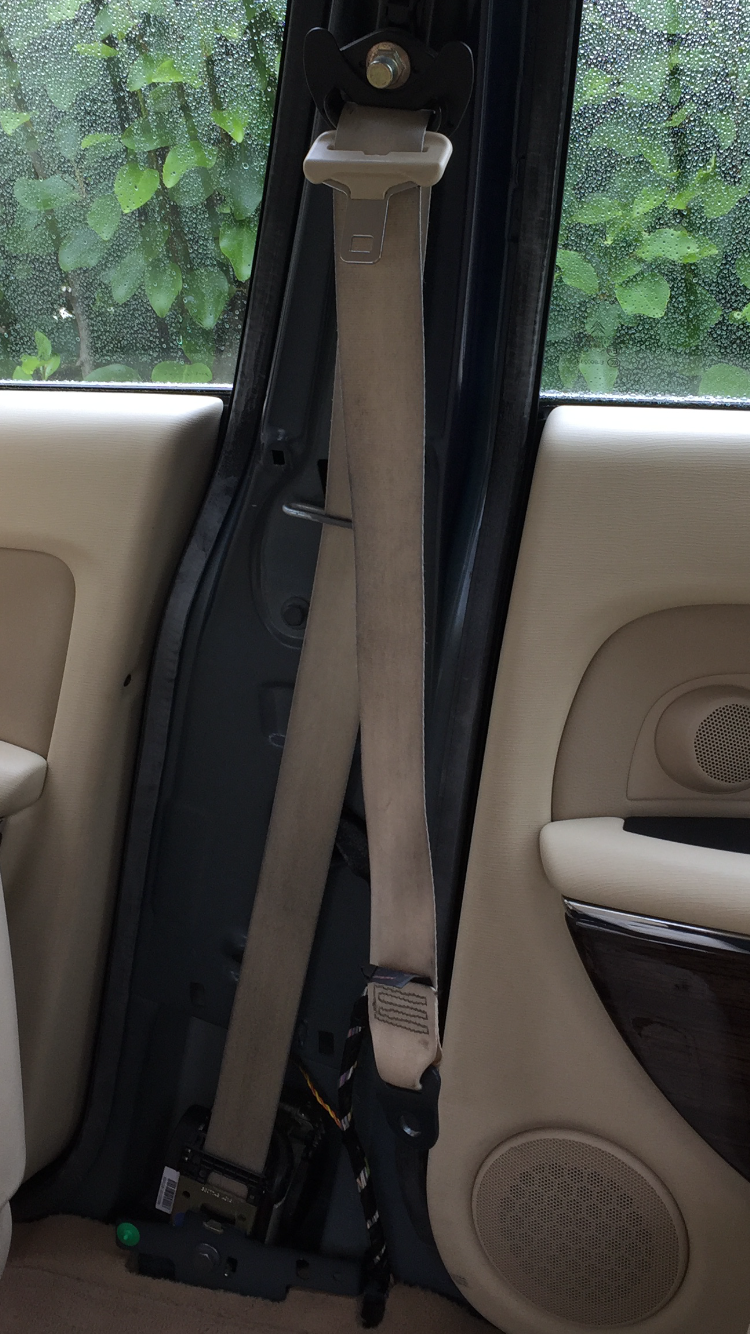 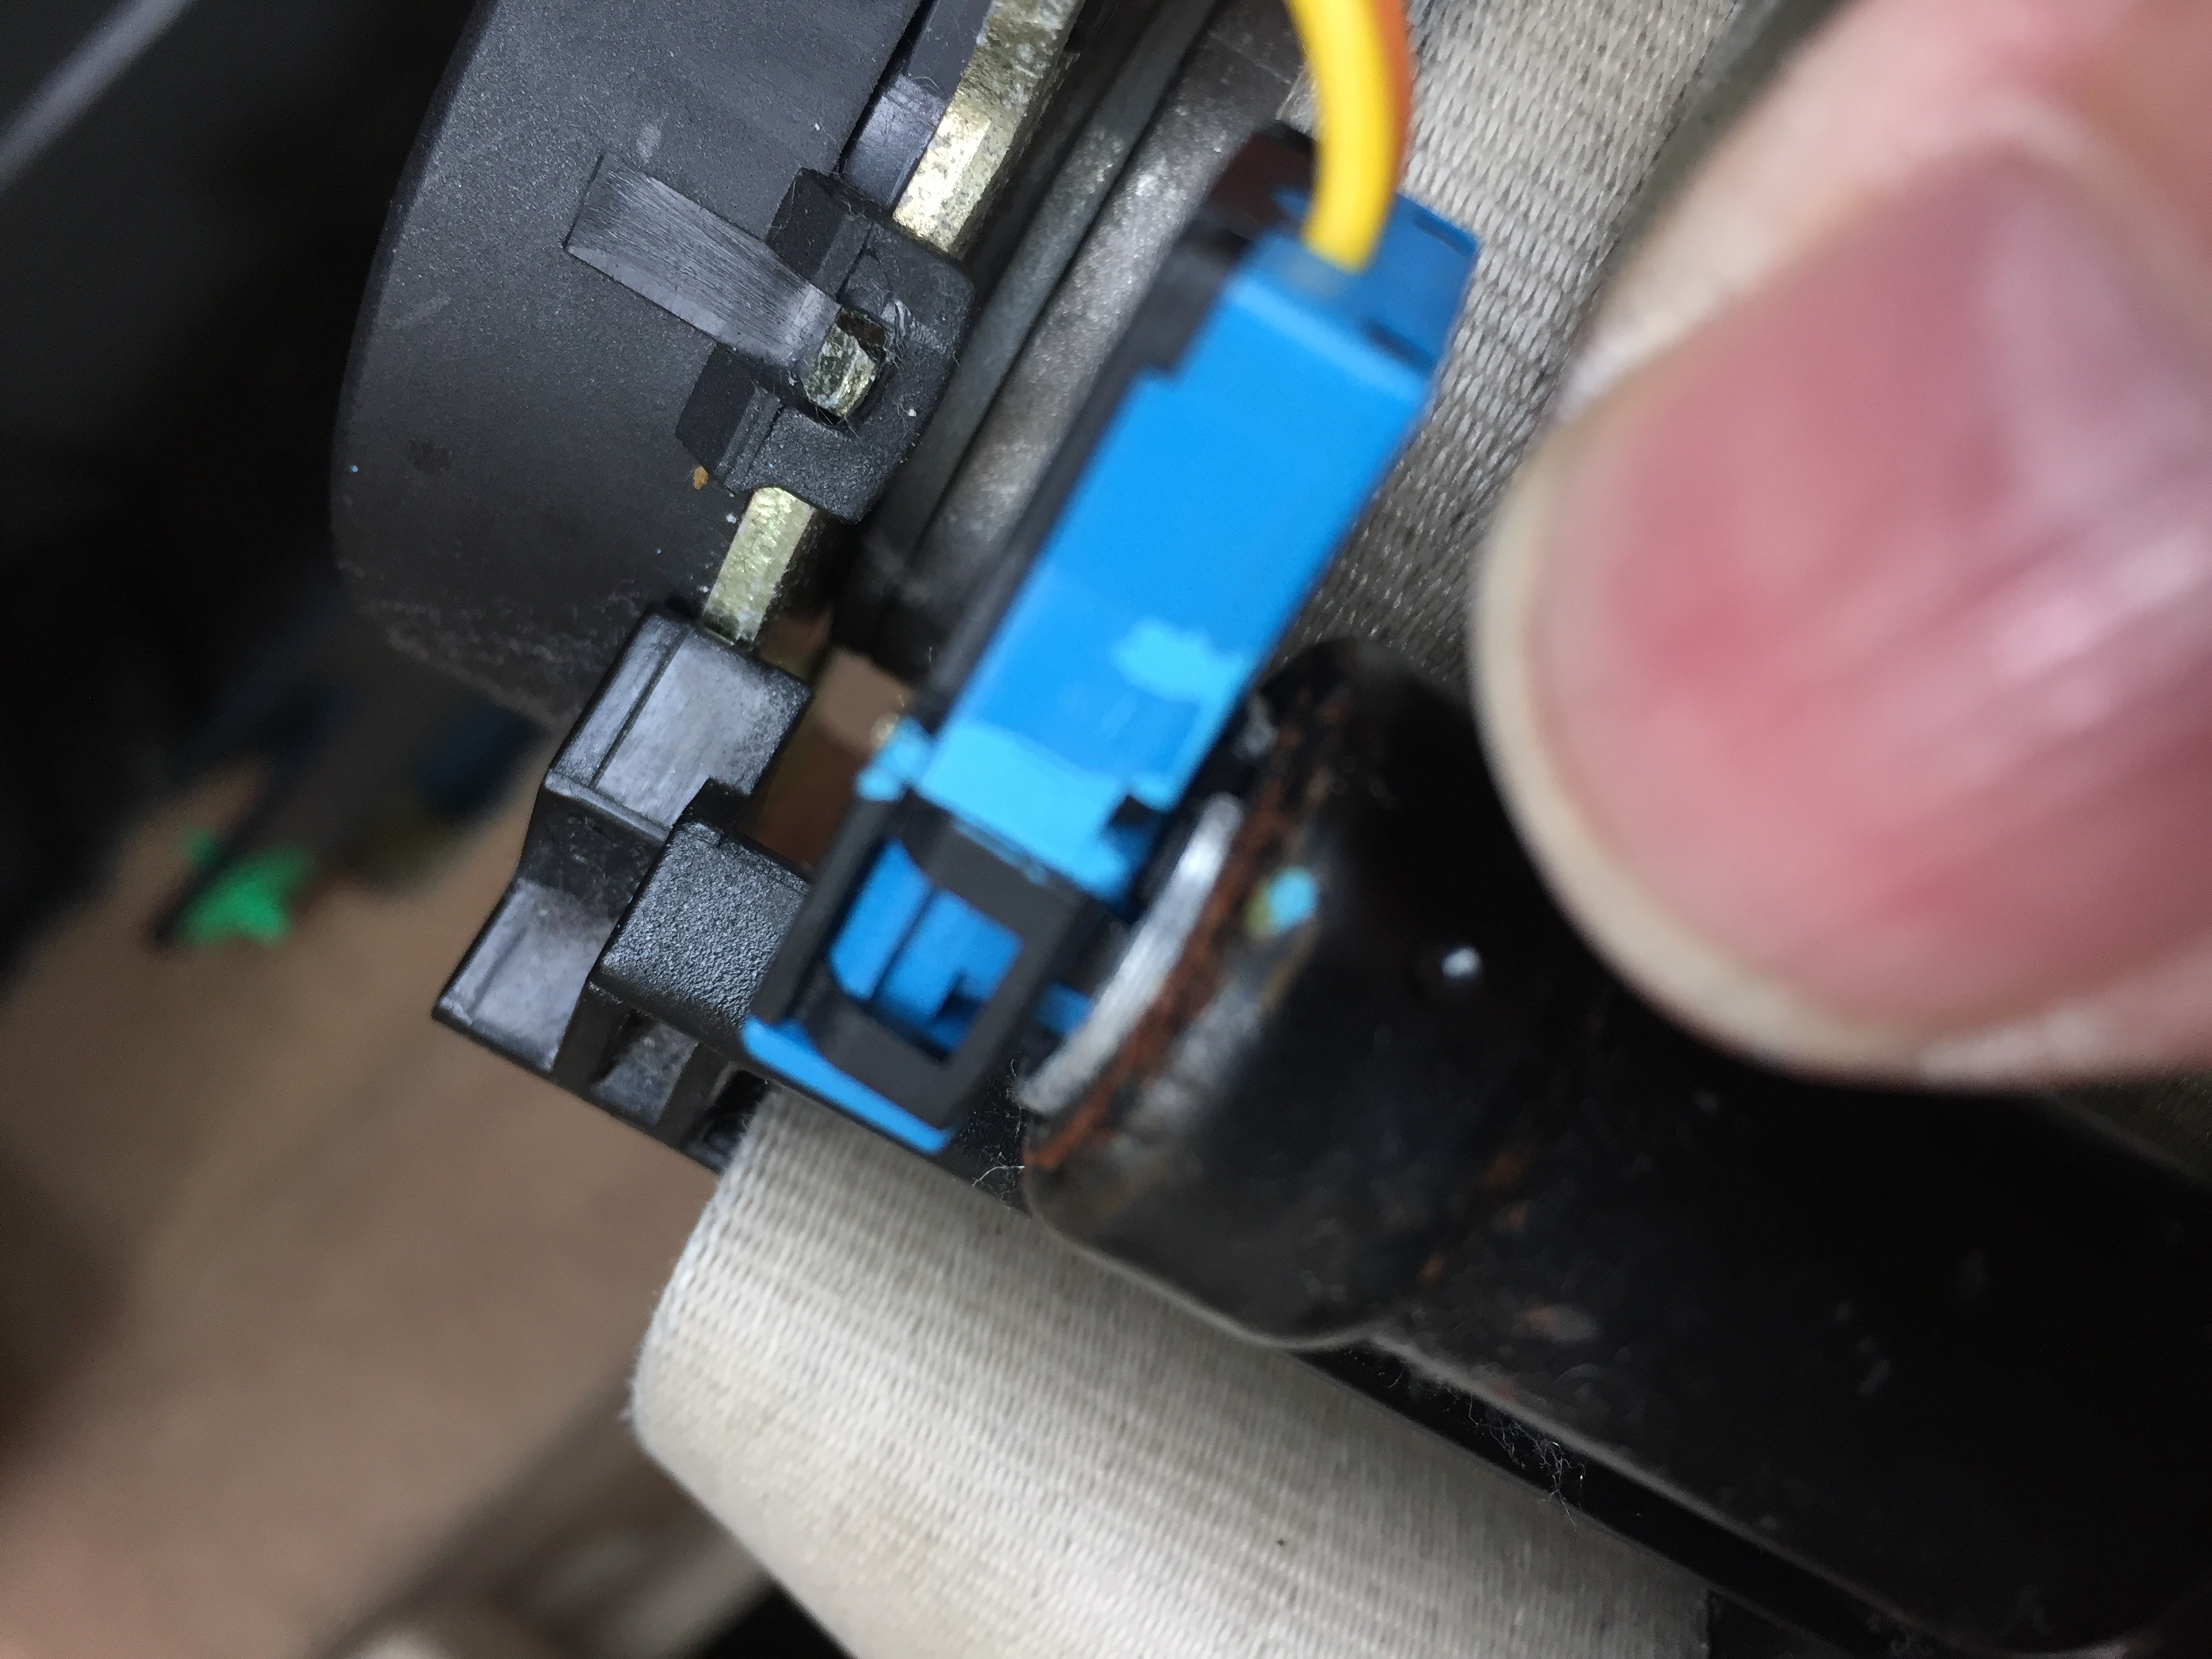  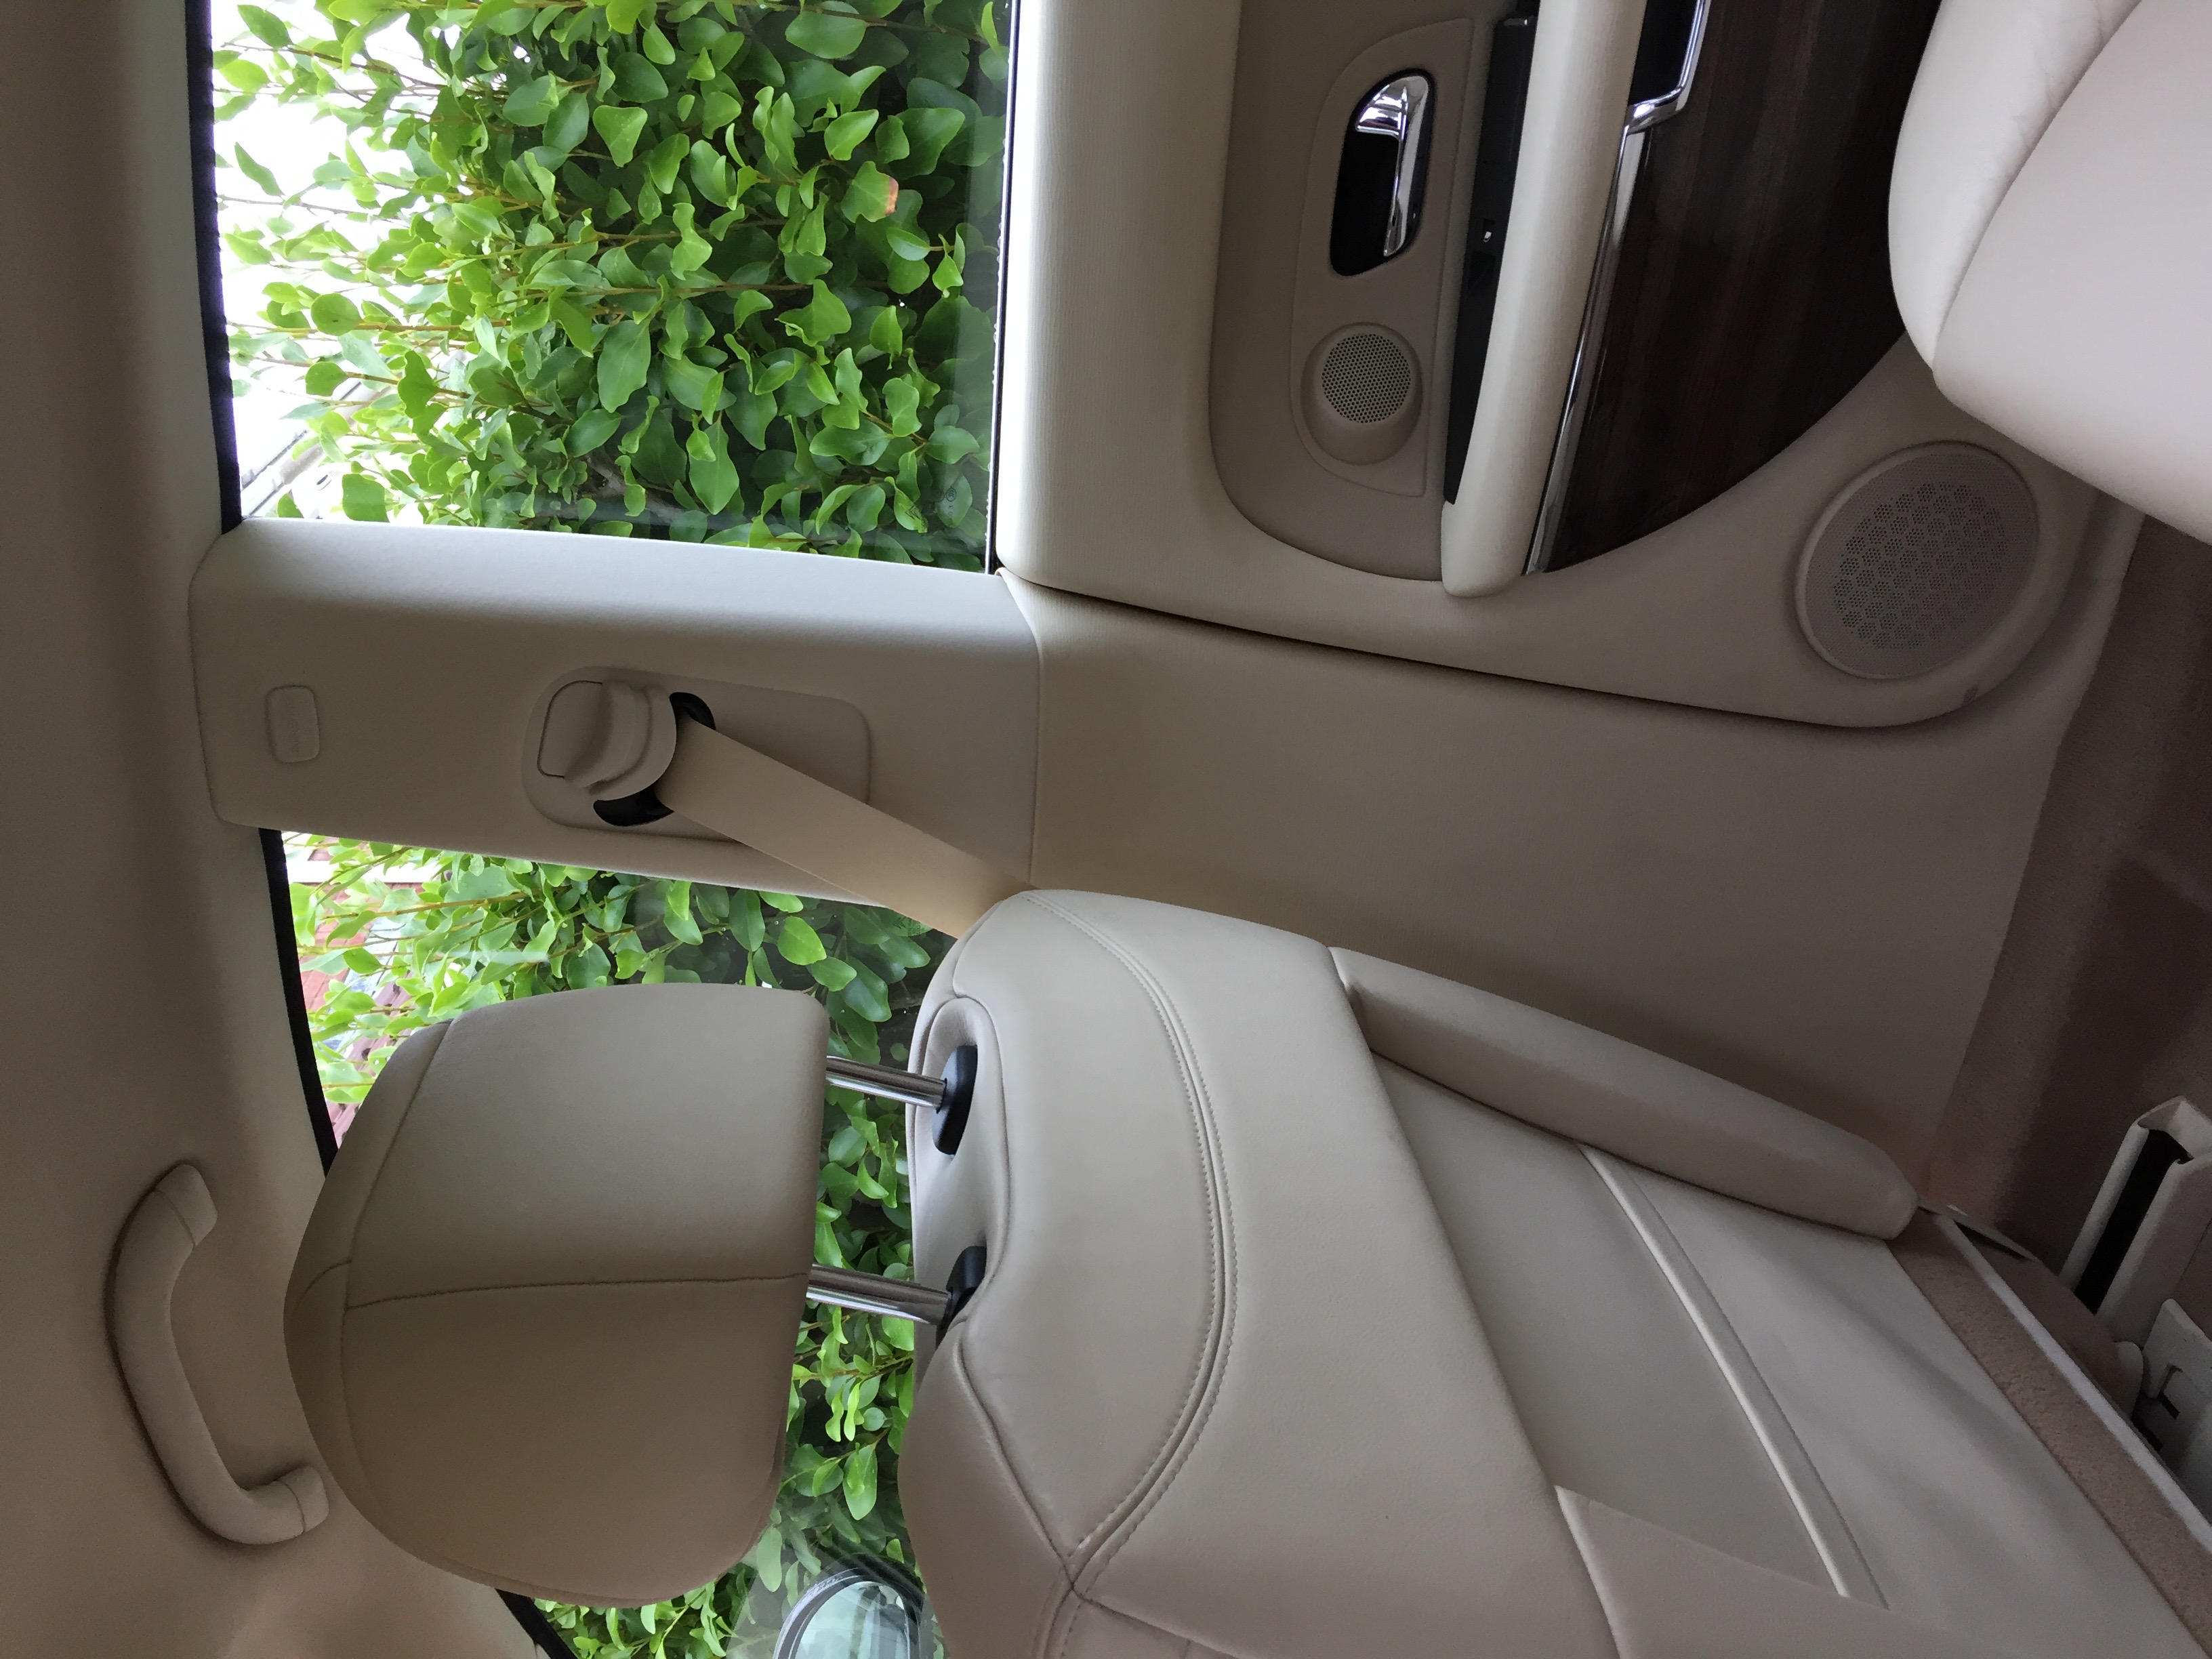 |
||
|
|
|
||
joopajaa

|
|
||
 Member No: #3261
Location: Byroslavia, FIN |
Is there a airbag under the upper trim? Mine has same damage near the slider. | ||
|
|
|
||
|
321dave
|
|
||
|
Member No: #614
Location: Dublin |
joopajaa wrote ... Is there a airbag under the upper trim? Mine has same damage near the slider. Hi Joopajaa, No airbag, that's attached to the side of the drivers seat. It's just a connection on the lower reel for firing the seat belt tensioner. No real issue taking or replacing trim, just have to remove the lower seat bolt to allow the belt pass out through the trim piece. That's it. The bolt is 25mm torque. I don't think there is specific PDF for the front seat belt removal process. But maybe I missed it in the technical section. |
||
|
|
|
||
Eric

|
|
||
  Member No: #425
Location: Fareham |
Hello Dave, My belts are looking very grubby now after 11 years and i was thinking of replacing them. Did you buy the replacements through Citroen dealer or third party? Did you have to disconnect the battery for the removal of old and install of new? Cheers, Eric. | ||
|
|
|
||
|
321dave
|
|
||
|
Member No: #614
Location: Dublin |
Started up work on the C6 restoration again recently with the lockdown and did some new work on installing the USB RT5 cable into the center console that i had recently stripped back. I also made progress on setting up the New wiring loom adapter I bought from France, and installed the Hi-Res upgrade screen into the dashboard cradle Now as well. So, I was wondering what to do with the older RT3 loom for the old screen. As it isn’t used anymore. Did anyone remove it or just leave it in the dash? And also I’m trying to figure out what to do with a few cables I have yet to attach for the full conversion. If anyone has any idea about where the wires should go that would be a a great help. Thanks. Using my iphone. Can’t place photos to site unfortunately!! |
||
|
|
|
||
|
321dave
|
|
||
|
Member No: #614
Location: Dublin |
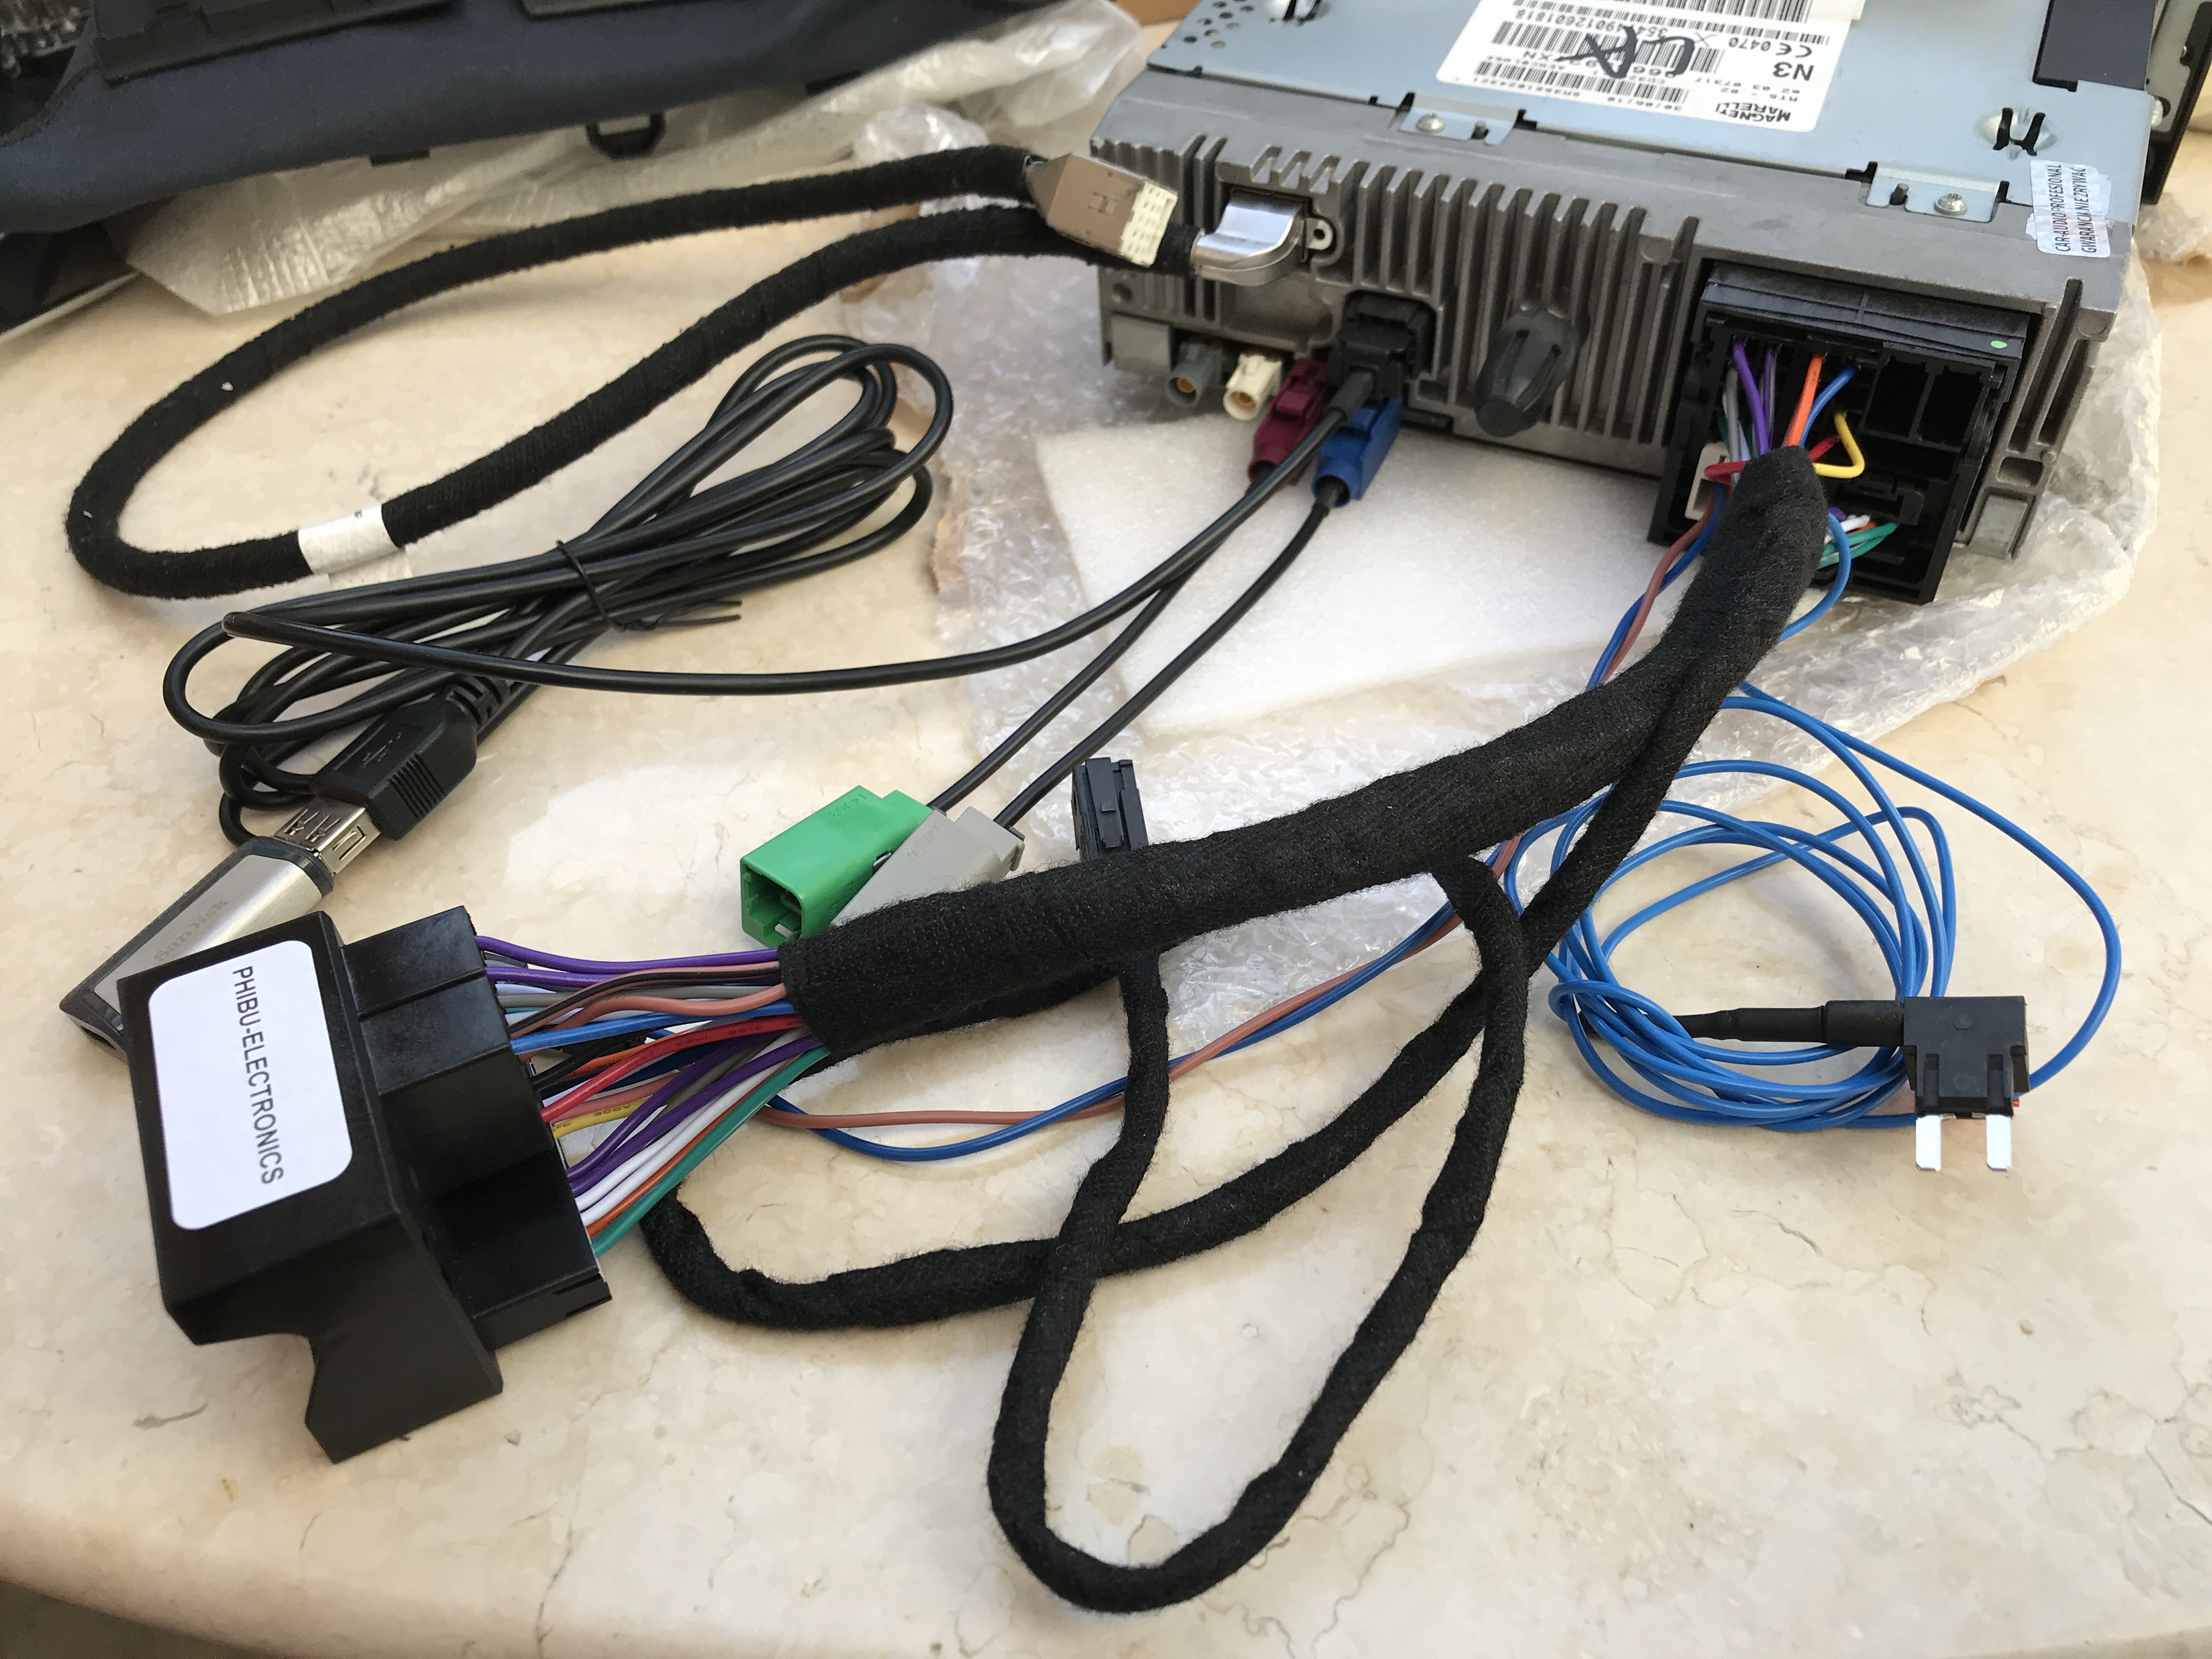 Pity the edited photo with arrows pointing at the various cables I could not post up. This is the best I could unfortunately do. My problem is there are a few cables from the new RT3 to RT5 adaptor loom cable that I’m not sure where it goes? There’s this one I’m holding with the red screw driver and there’s the other photo with the blue wire and finally grey and white connectors on the headunit its self, I think these are the fm cables possibly? 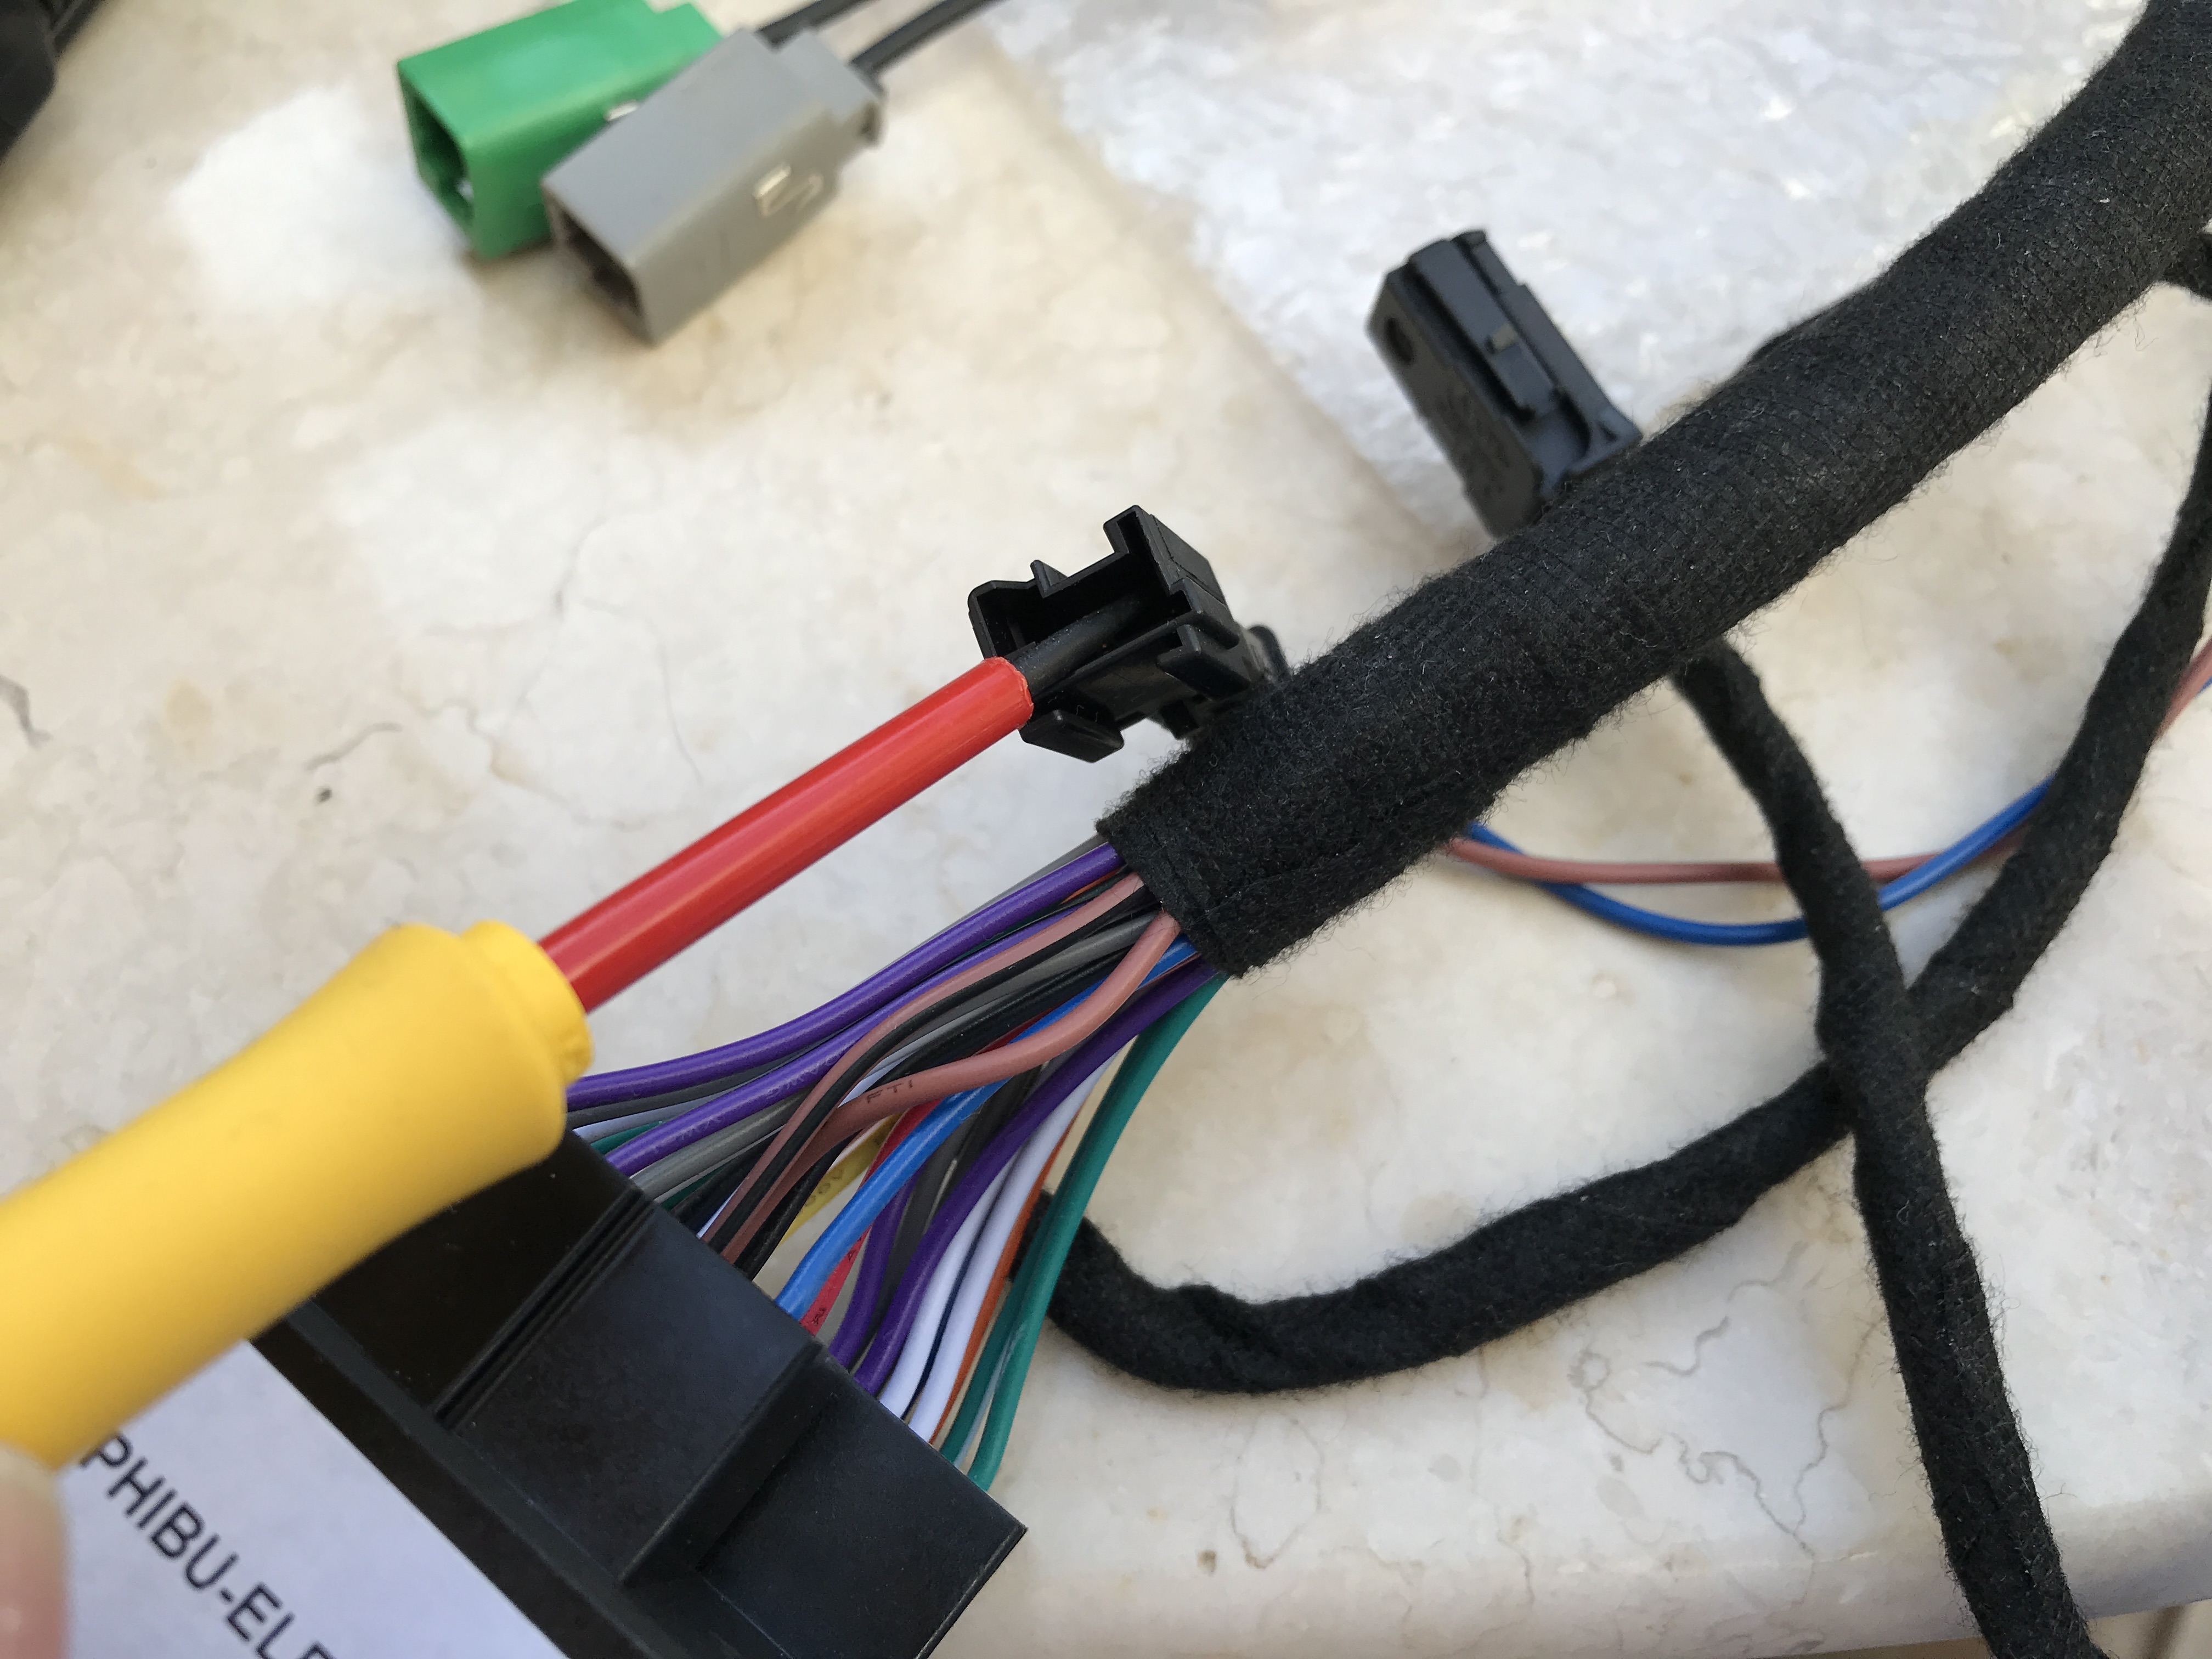 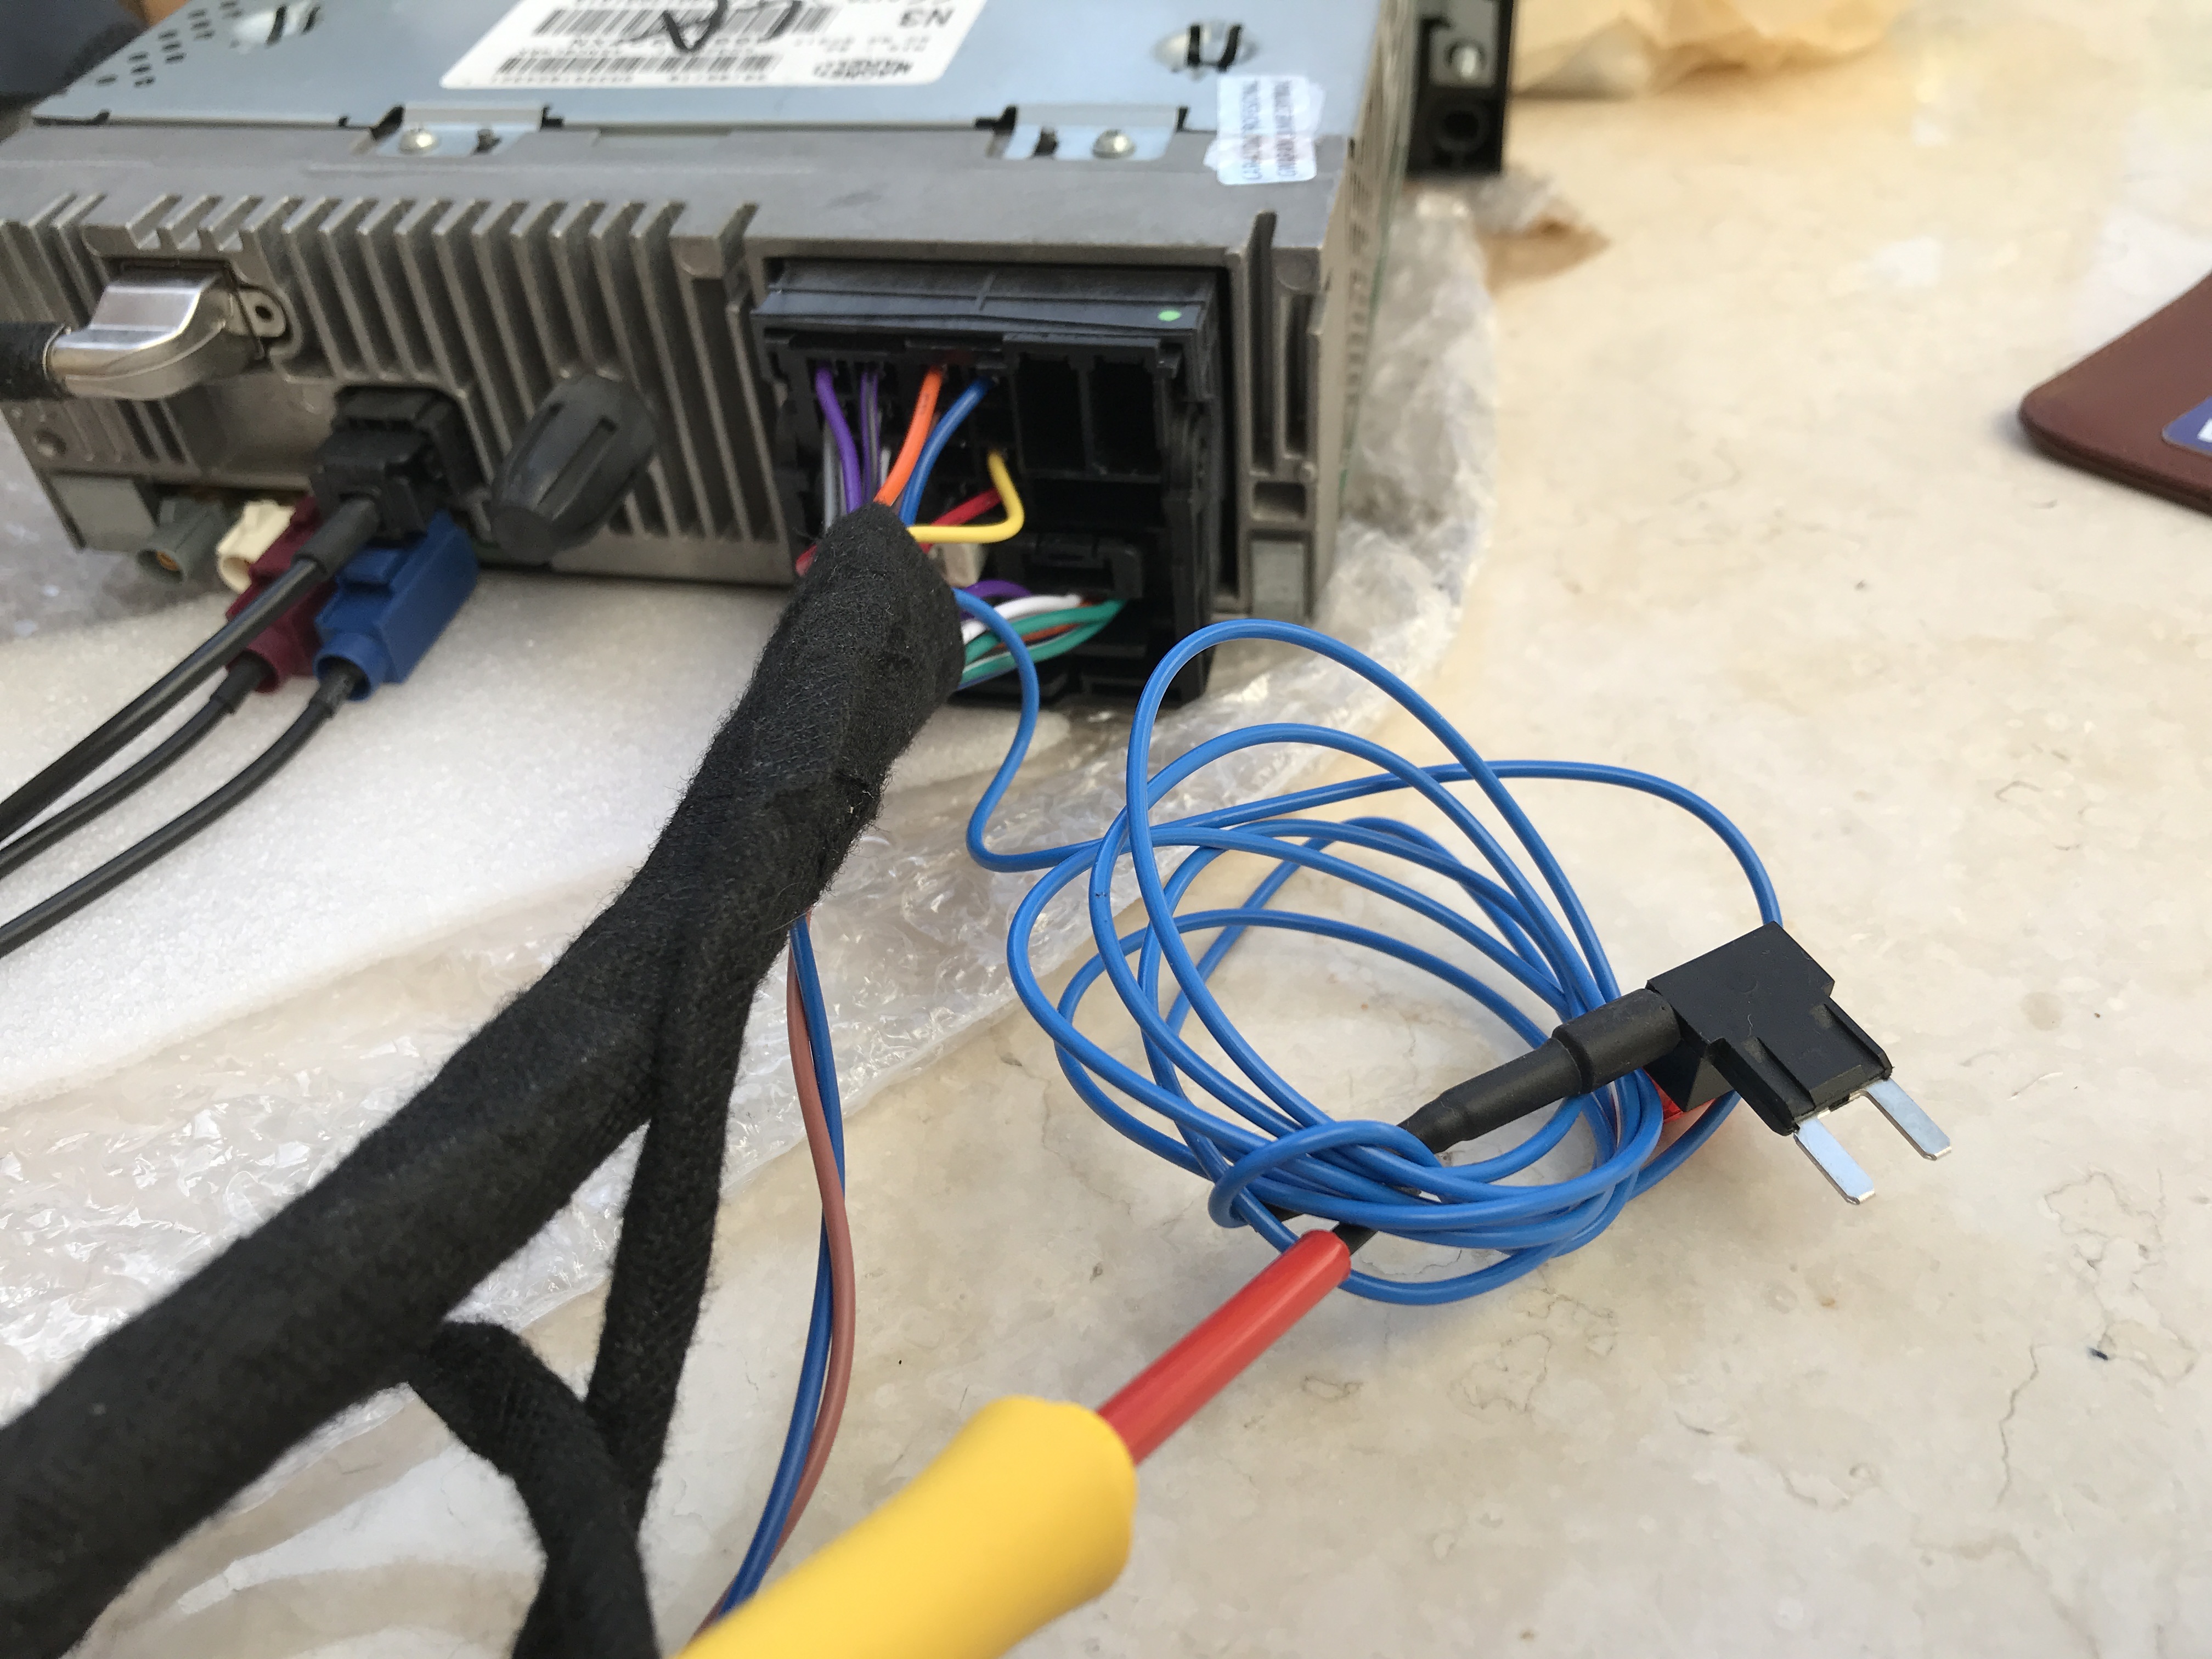 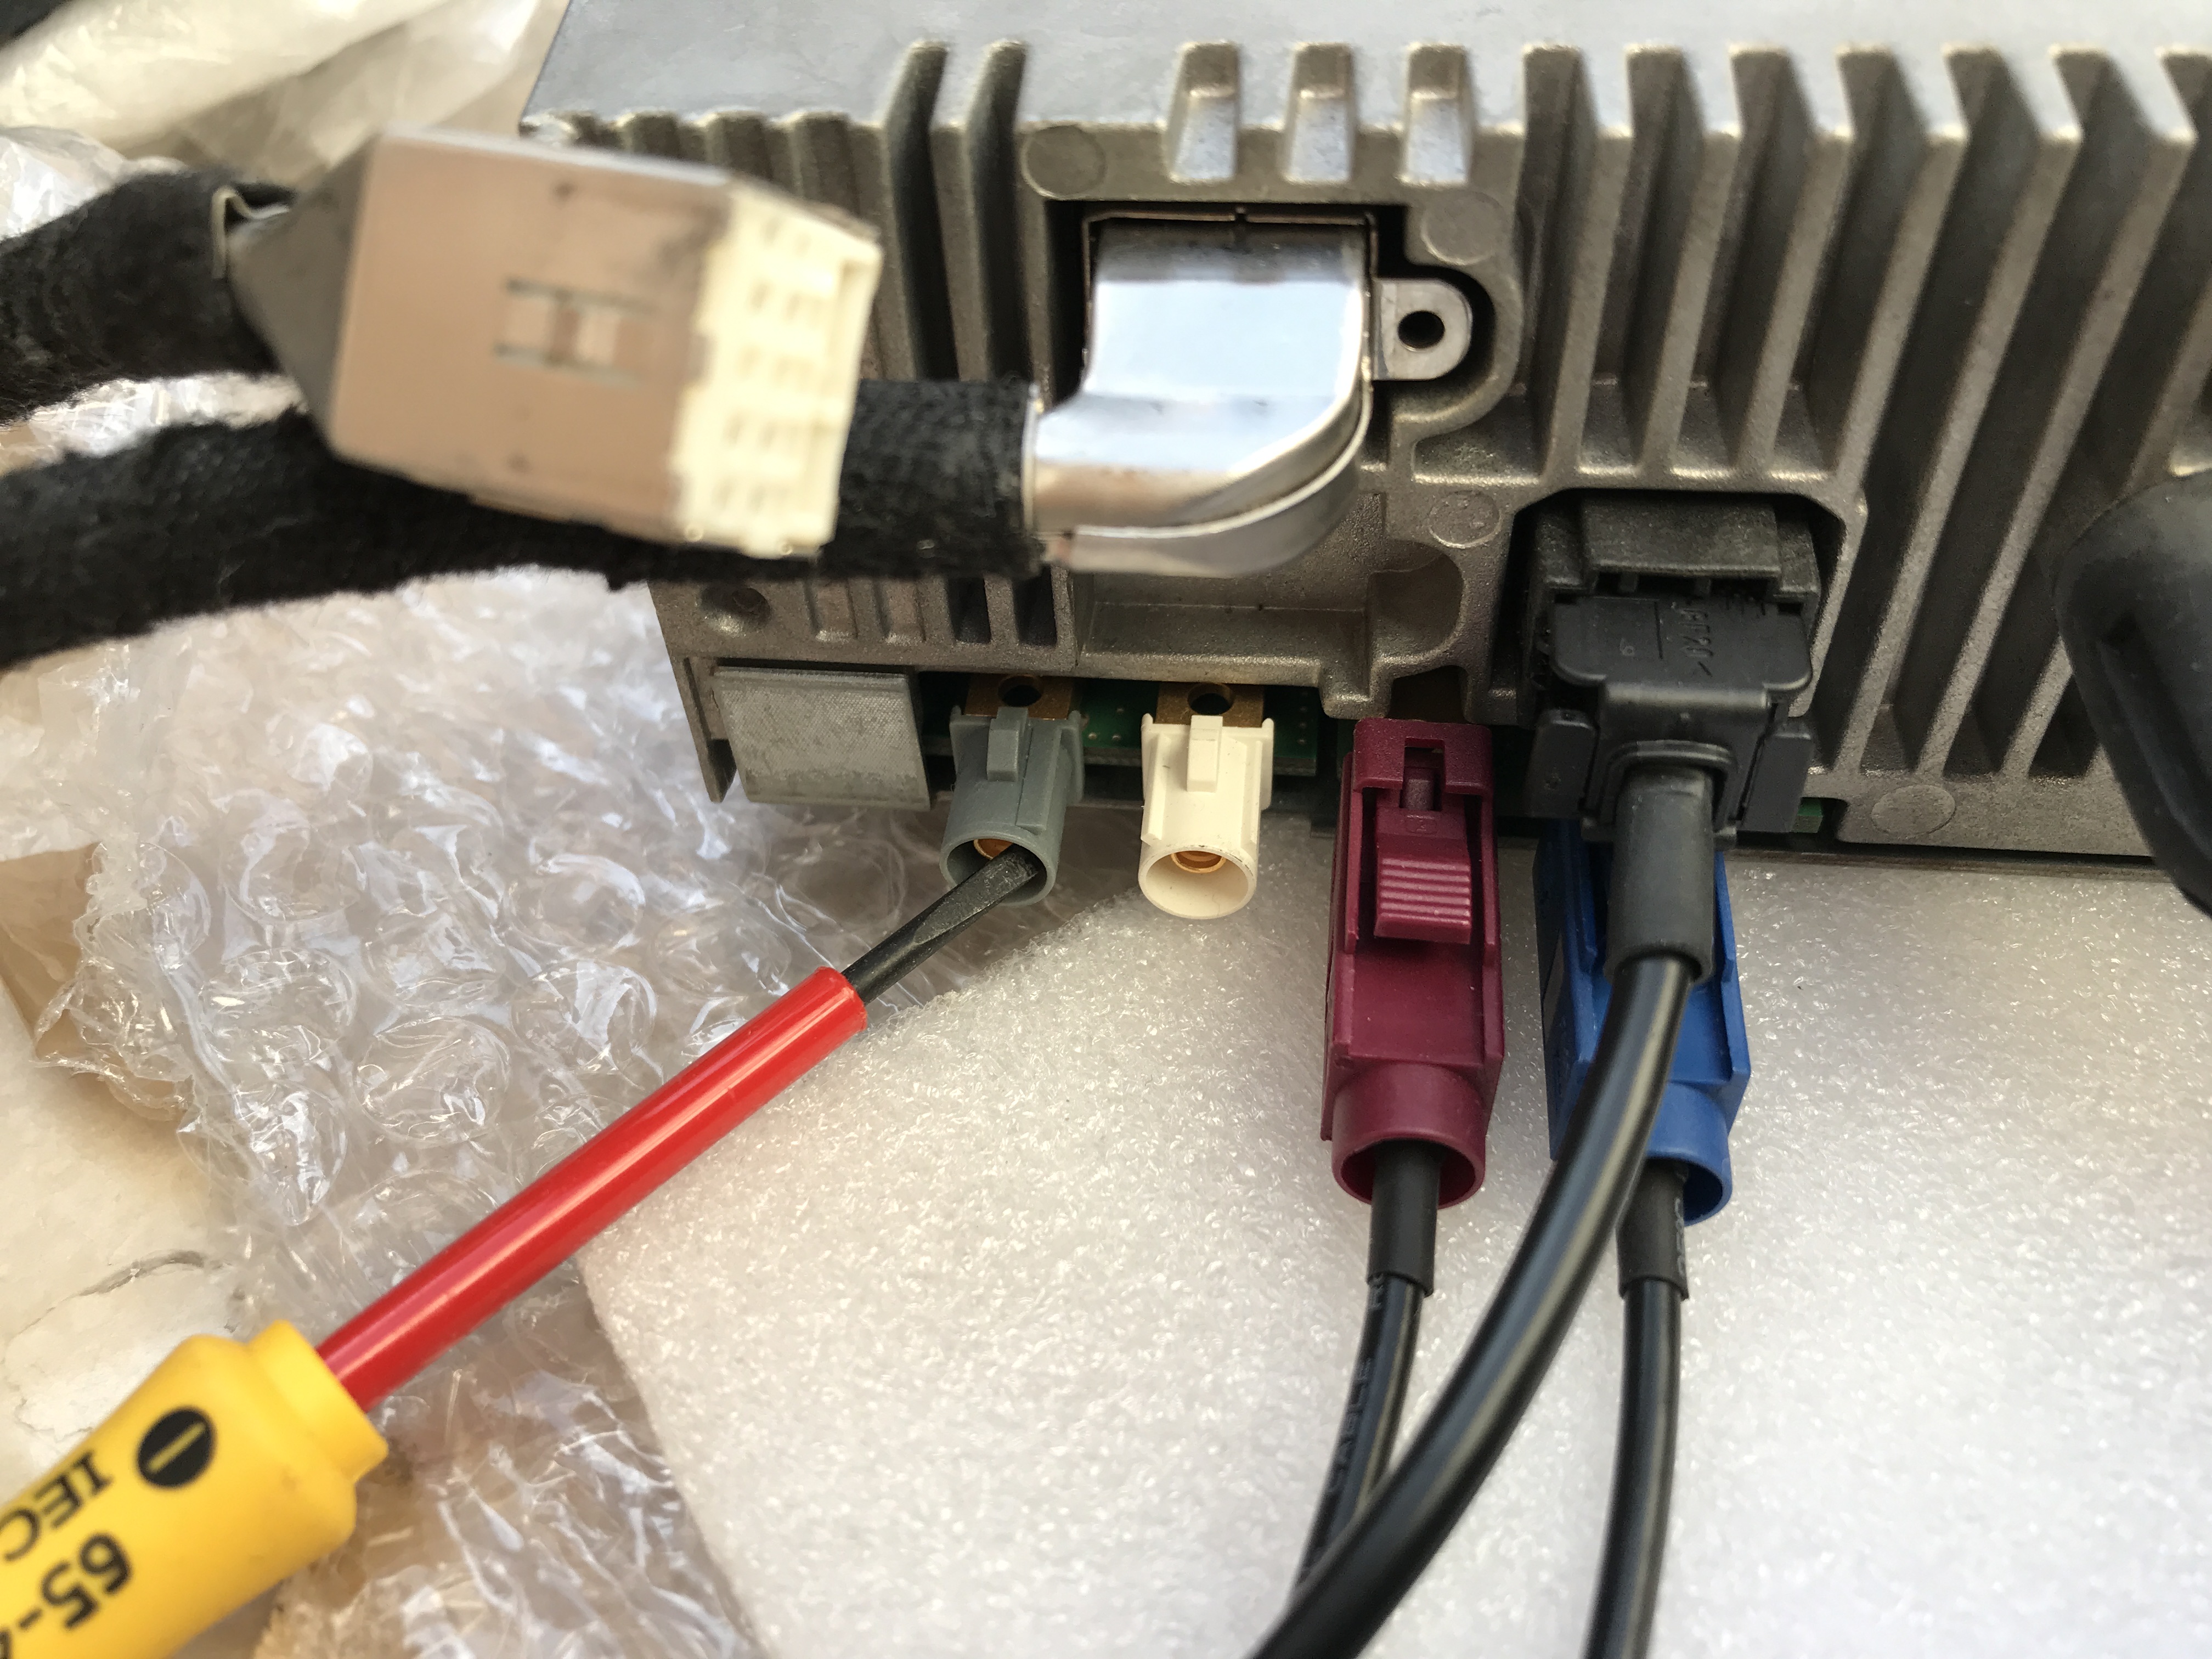 |
||
|
|
|
||
|
C6Dave
|
|
||
  Member No: #1
Location: Northumberland |
Wiring Diagram for RT4 is now available which should help - Click Here - Wiring Diagram for RT5 is also now available - Click Here - Not sure if there is any major difference to RT5 but RT3 wiring is also in - Click Here - Good luck. Oh and you need download 484 to interpret the diagrams - Click Here - |
||
|
|
|
||
|
eke
|
|
||
|
Member No: #624
Location: Oulu |
Hi 321dave, Did you not get any installation instructions from Phibu ? I got instructions in french, so I think that the first one is to connect video in the glovebox to RT5. The blue wire is to connect the JBL-soundsystem via fuse box near glovebox in Rhd car. If your car has JBL, you have to pull out fuse F14 and place it in the connector and then place the connector into the place of fuse F14. Br Eke 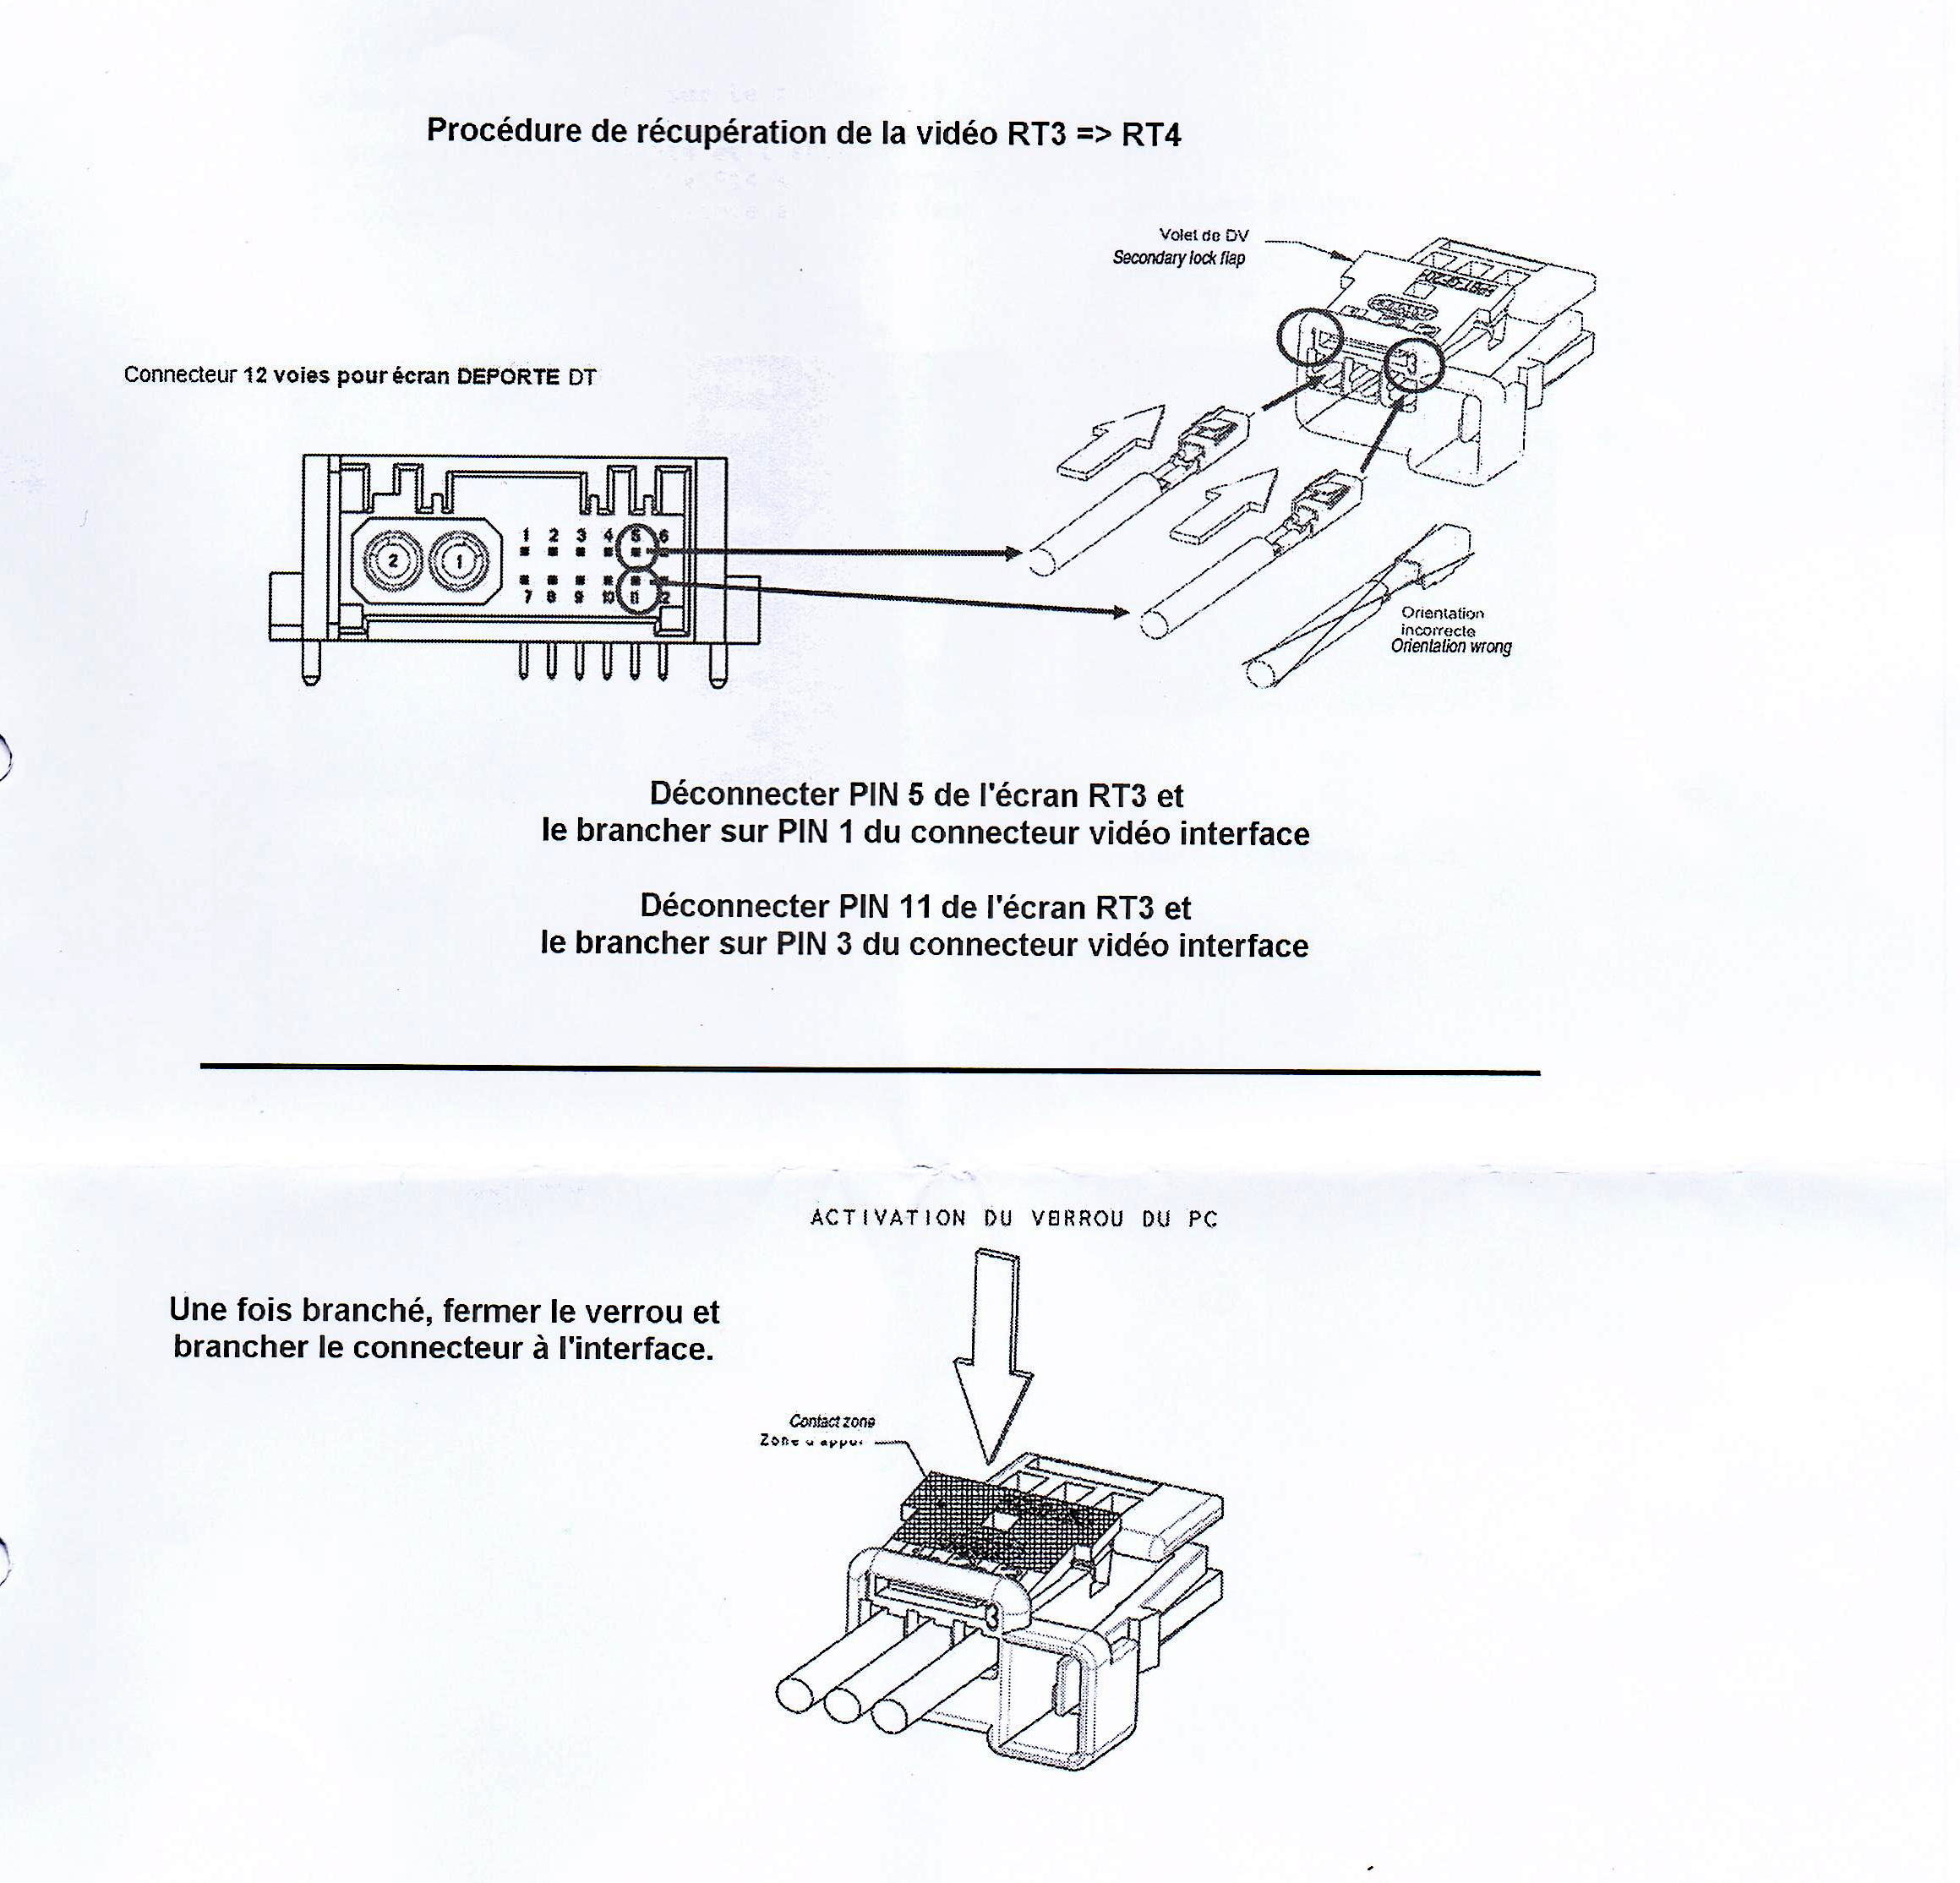  |
||
|
|
|
||
|
321dave
|
|
||
|
Member No: #614
Location: Dublin |
eke wrote ... Hi 321dave, Did you not get any installation instructions from Phibu ? I got instructions in french, so I think that the first one is to connect video in the glovebox to RT5. The blue wire is to connect the JBL-soundsystem via fuse box near glovebox in Rhd car. If your car has JBL, you have to pull out fuse F14 and place it in the connector and then place the connector into the place of fuse F14. Br Eke Morning C6dave and eke, thank you both for your help with RT5 conversion. Eke I did receive instructions but I was missing the final page you posted which relates to the JBL connection. Thanks you for posting The image, I understood that straight away and it was a great help! That problem is solved now. I have the wiring loom from the Peugeot it came from and I was trying to work out the headunit plugs still not connected. I’ll check the wiring diagrams and see if I can understand the other connectors as I have wires from the Peugeot that look very similar to the first page instruction from the phibu sheet. 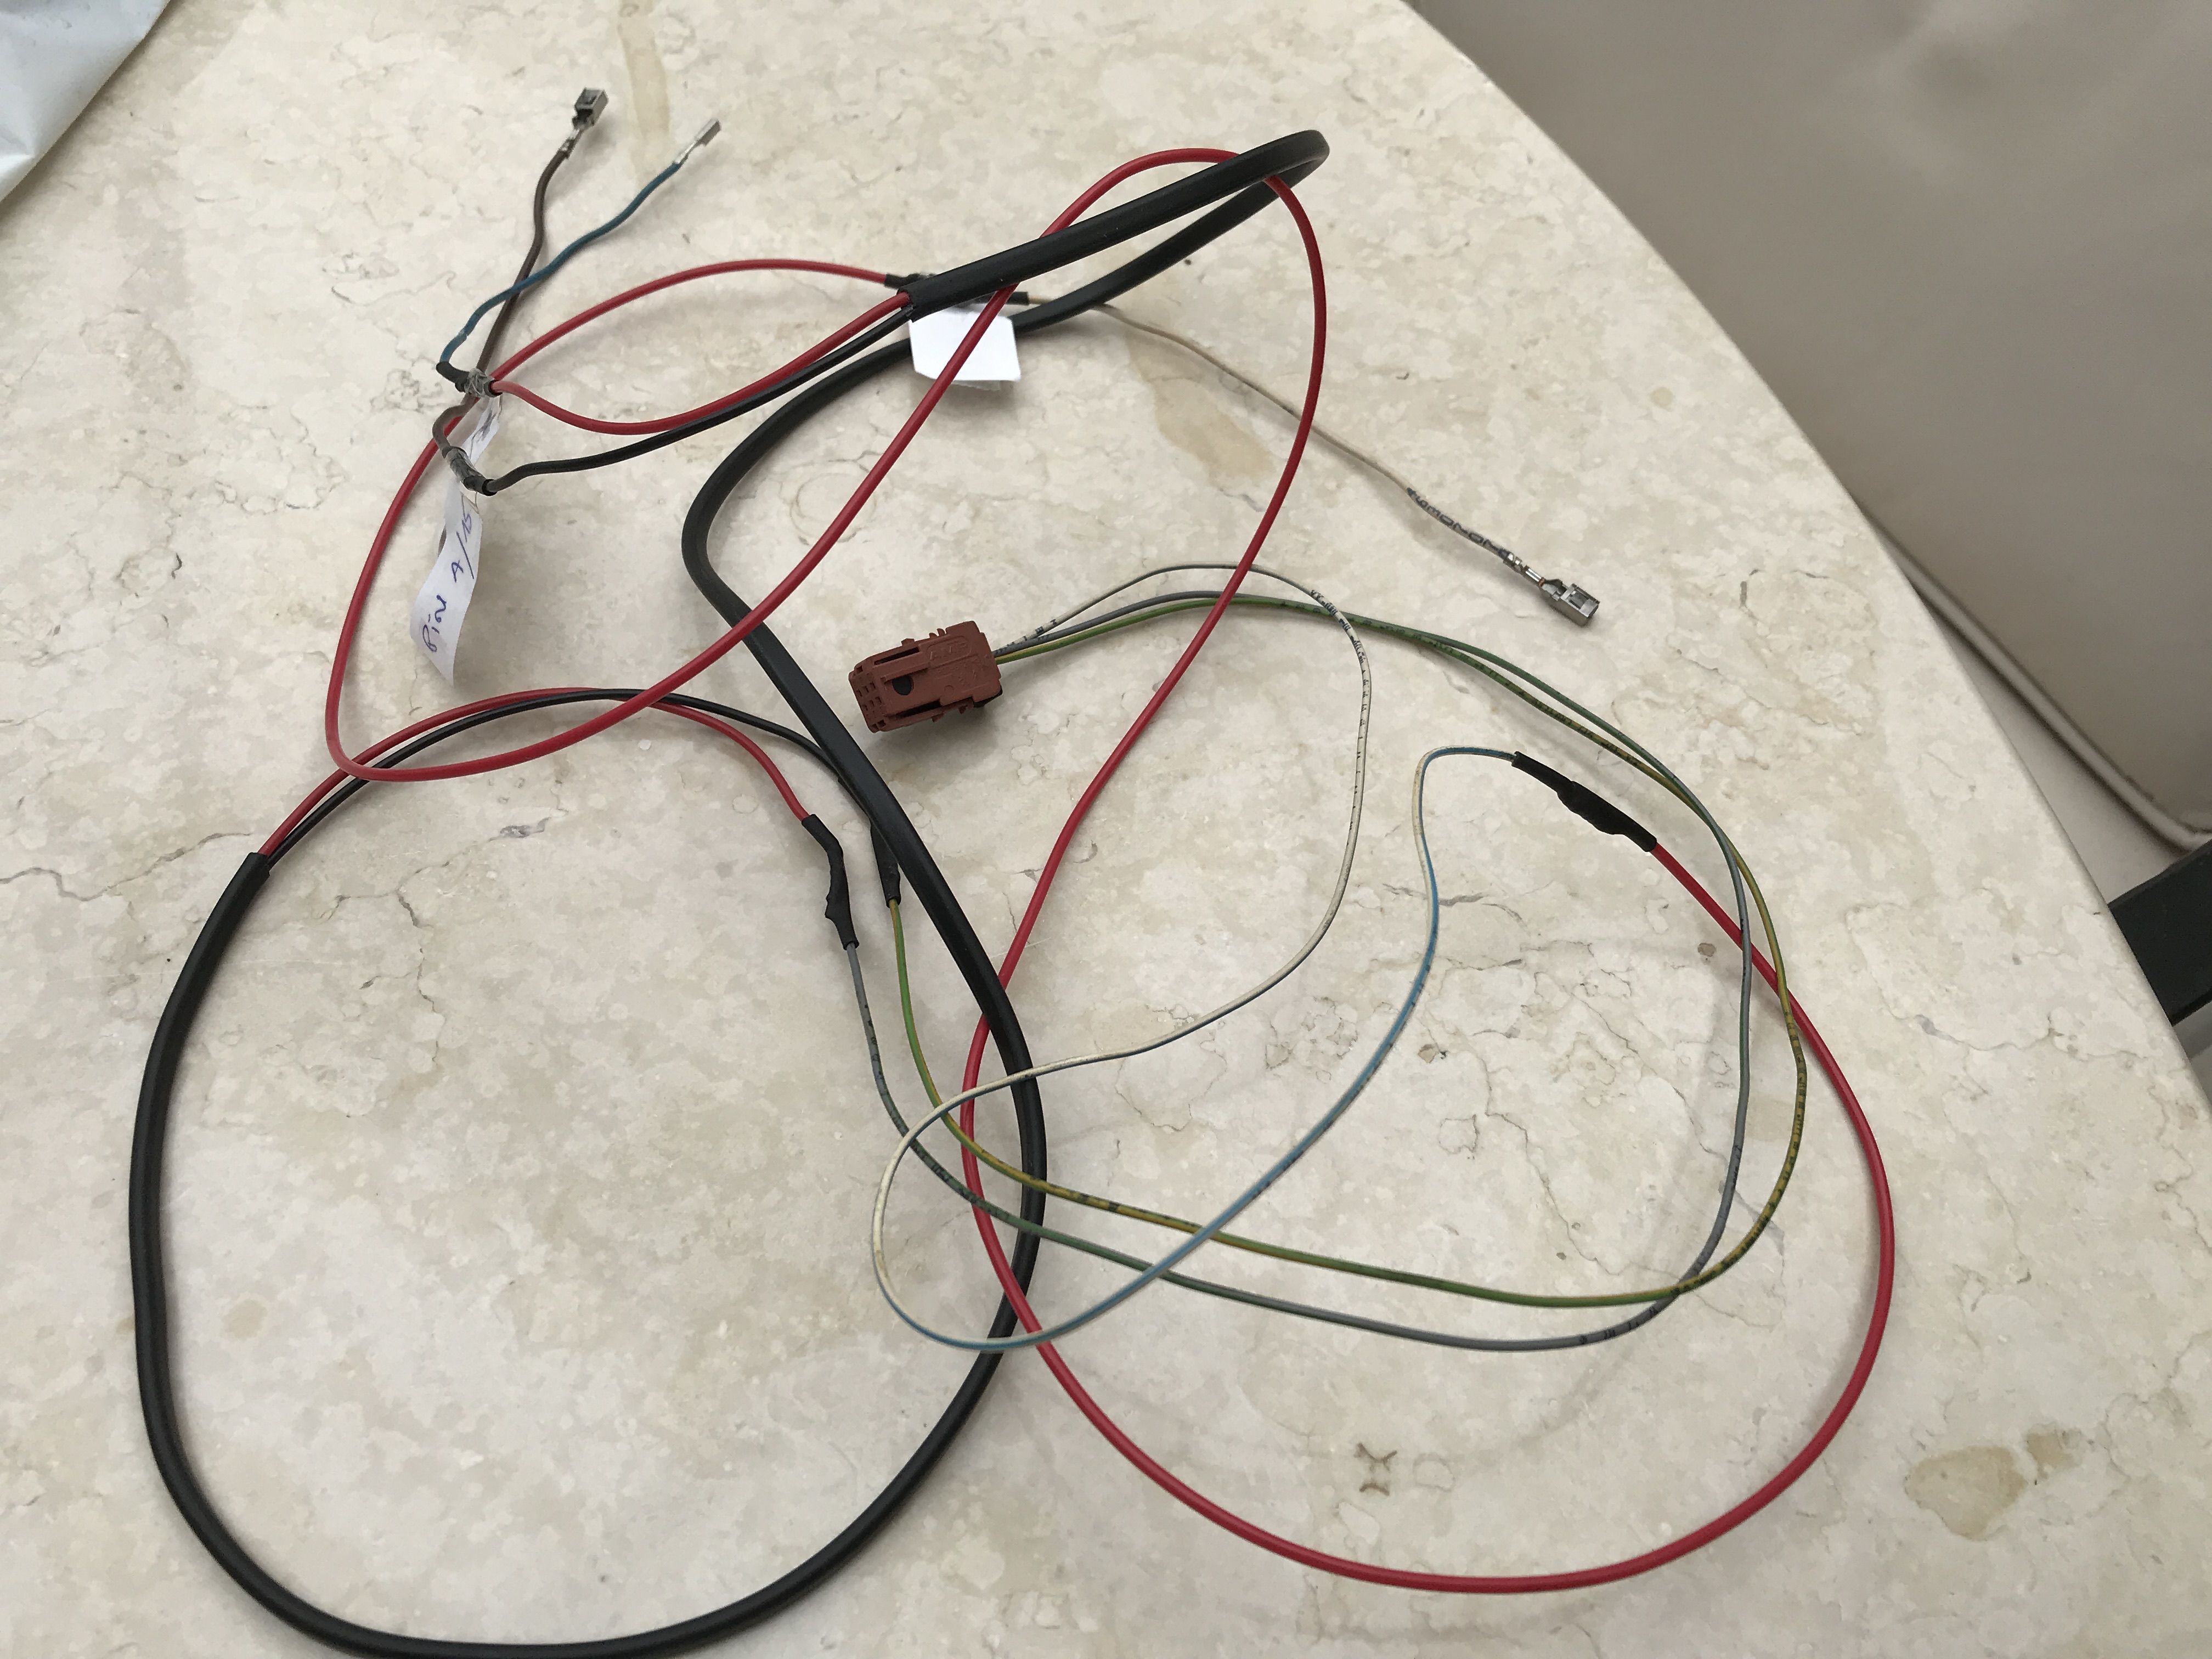 |
||
|
|
|
||
|
321dave
|
|
||
|
Member No: #614
Location: Dublin |
Hi Eke, when you converted your system to RT5 can you remember did you plug two wires into the old RT3 connector that was left unused? I think that's what the first page of the Phibu instructions is asking me if I'm understanding it correctly. In fact I think it’s for the glove box video? I’m guessing I need to remove the glove box video connection cable and install the new connector plug and then it will work and be seen by the RT5 headunit. The cable is the top one with a circle around the two black plastic plug/connectors. 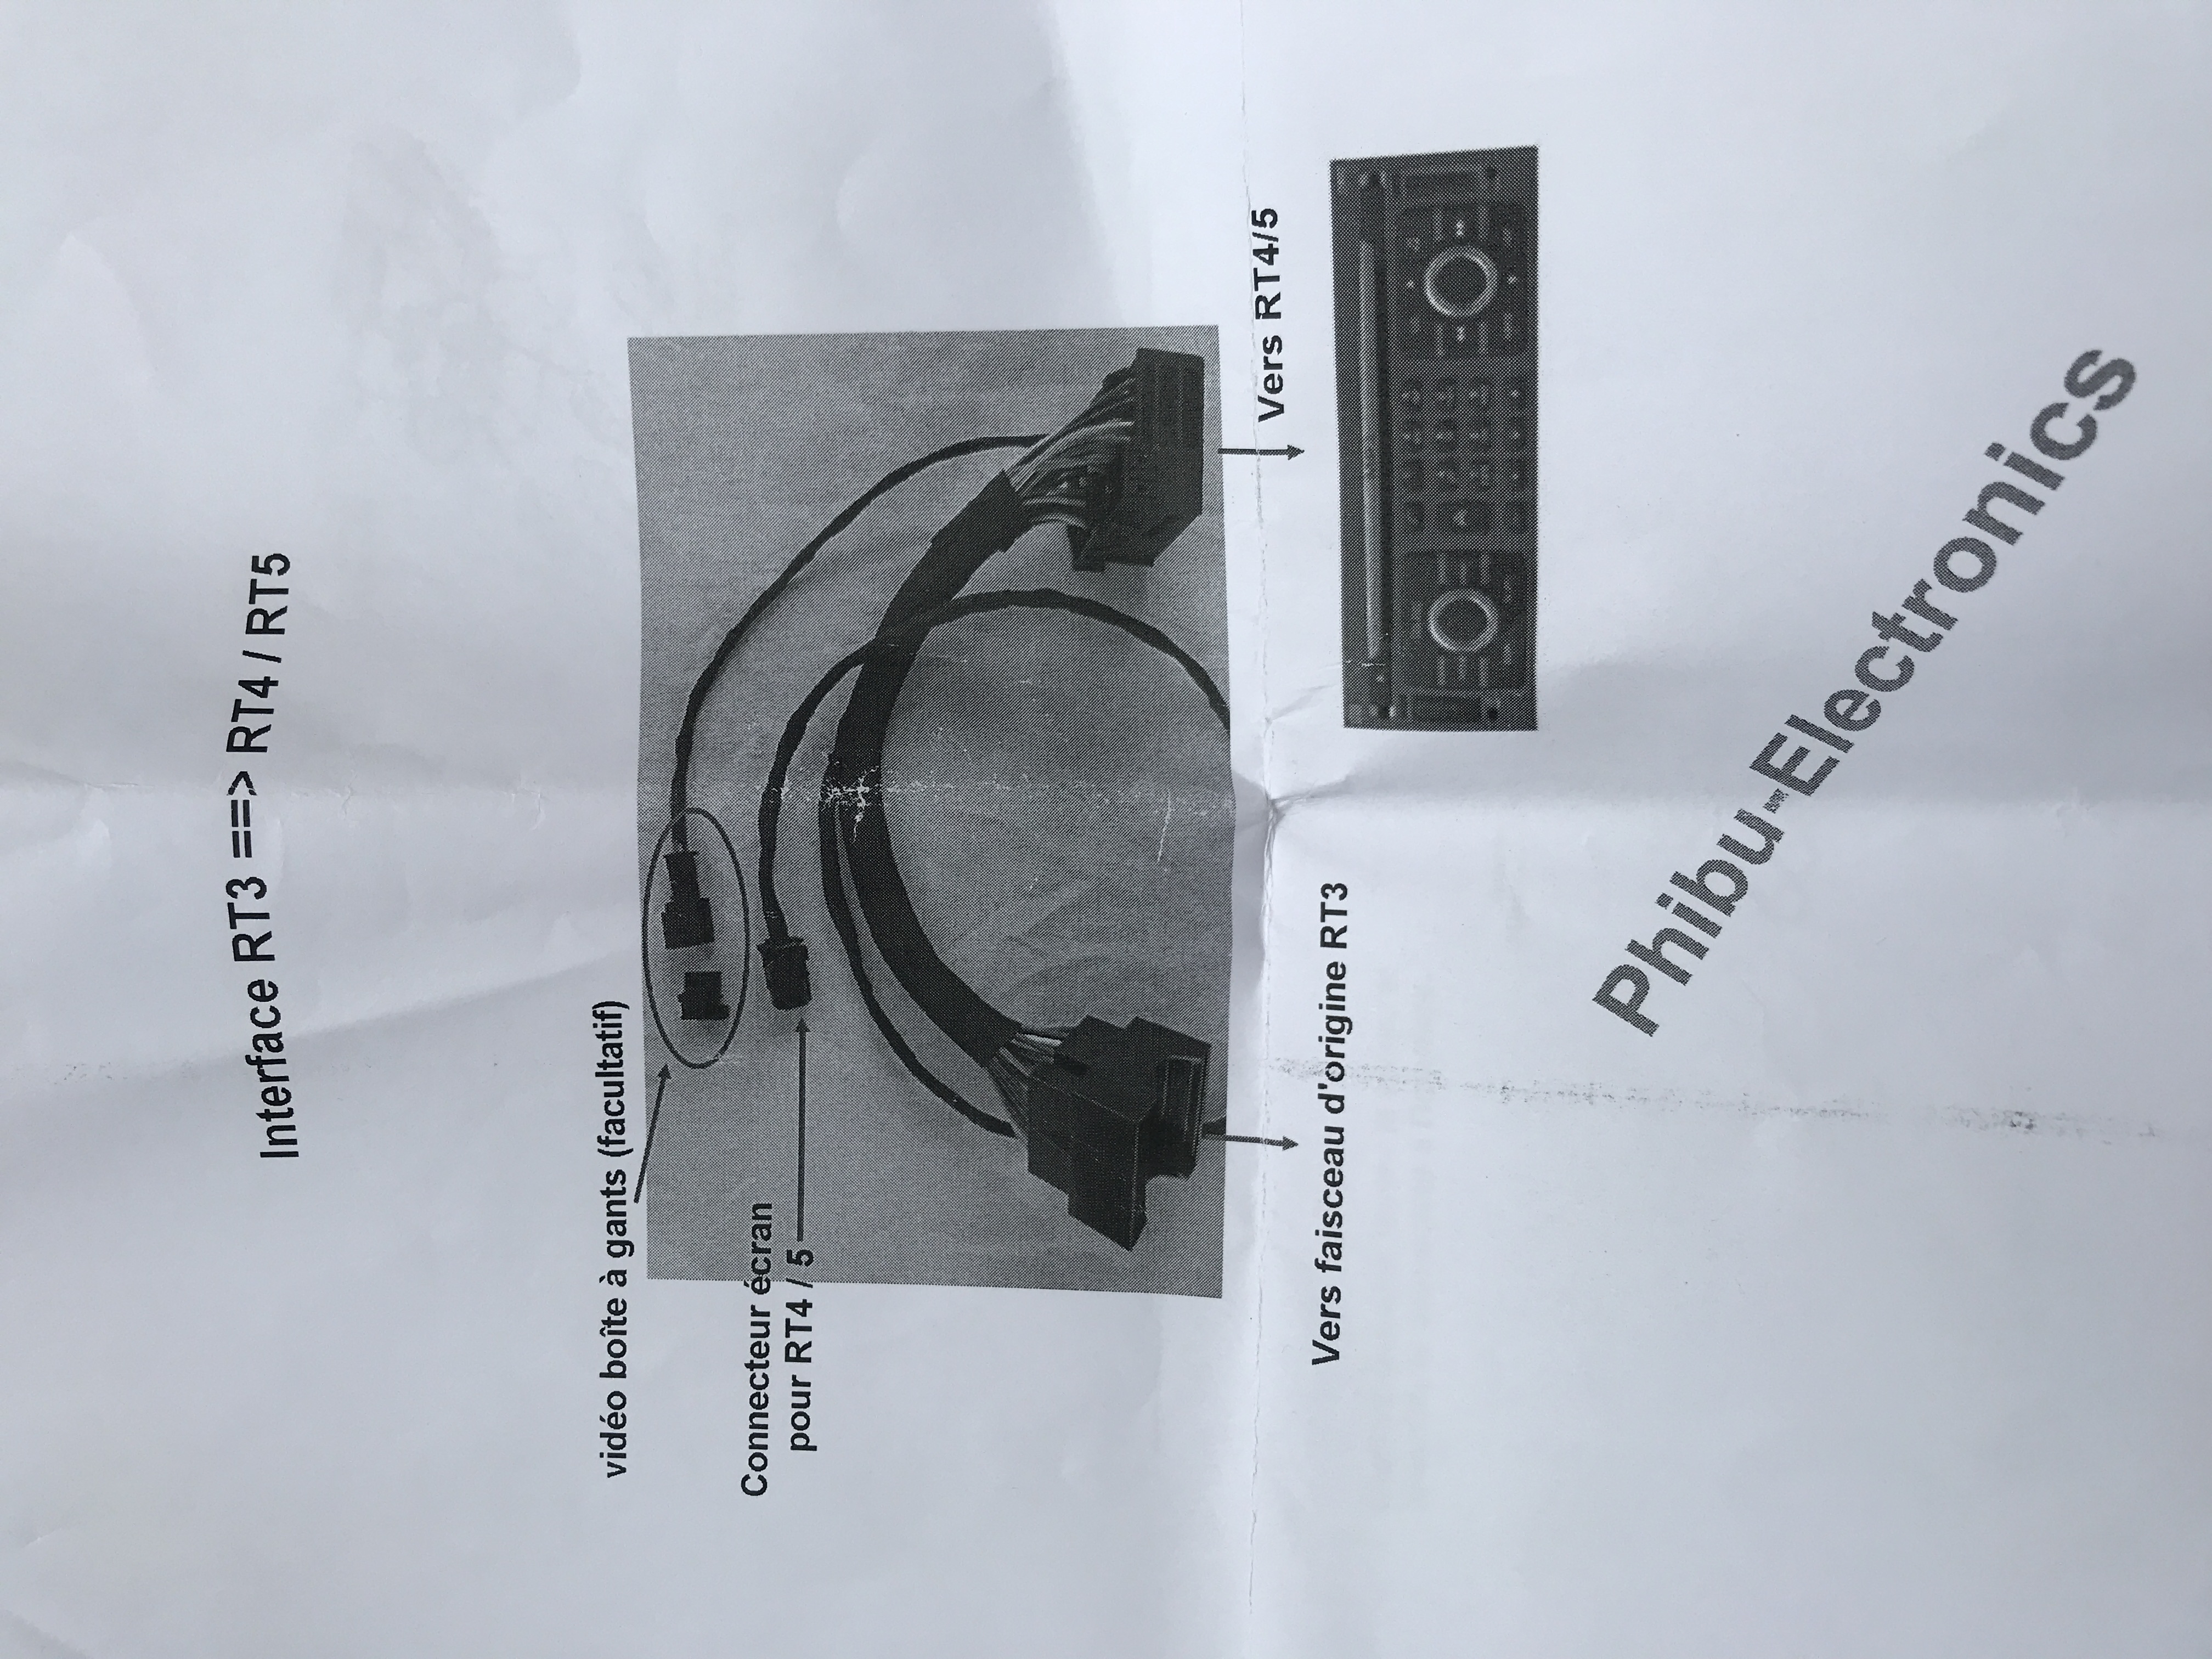 |
||
|
|
|
||
|
eke
|
|
||
|
Member No: #624
Location: Oulu |
If I remember correctly, I opened the cable connector coming from glove box video and connected its two wires of pins 5 and 11 to the connector which is the top one in your picture (video boîte a gants (facultatif)), according the first picture of my instructions, that I shared earlier this day | ||
|
|
|
||
|
321dave
|
|
||
|
Member No: #614
Location: Dublin |
Hi Eke, that's what I'm thinking to do as well. So I found the grey and white Fakra connectors of the four plugs in line at the back of the unit is for Fm & Fm 2 radio. Im still unsure how these cables are attached and resolved as they go into the single fm aerial cable from the dash? |
||
|
|
|
||
 User Colour Key: User Colour Key:Head Administrator, Administrator, C6 owner, Technical Expert, C6 Premier Discount Club |
|
Privacy Policy | Cookie Policy | Site Disclaimer | Contact Details | Warranty | Sitemap | C6 Insurance | Quick Facts | Re Call Info | Downloads | Error Codes
| Site and Graphics created by: C6Dave Forum Icons by Axialis Emotes by Seb |  |


