| C6owners :: Forums :: C6 Support :: The Garage |
<< Previous thread | Next thread >>
|
SWIRL flap actuator repair |
    Please Register to enjoy additional Member Benefits |
| Author | Post | ||
321dave
 
|
|
||
  Member No: #614
Location: Dublin |
321dave wrote ... Well, picked up the kit on Friday from the local Jagaur/land-rover parts dept. Now the hard bit! Time and patience to fit them, lookin forward to inspecting the current valves rubber parts for any cracks, with my luck regarding engine plastics I'd say they are bad. How many other bits and pieces could be bought from the Jagaur/land-rover parts dept that aren't available from PSA? That would be interesting to know. 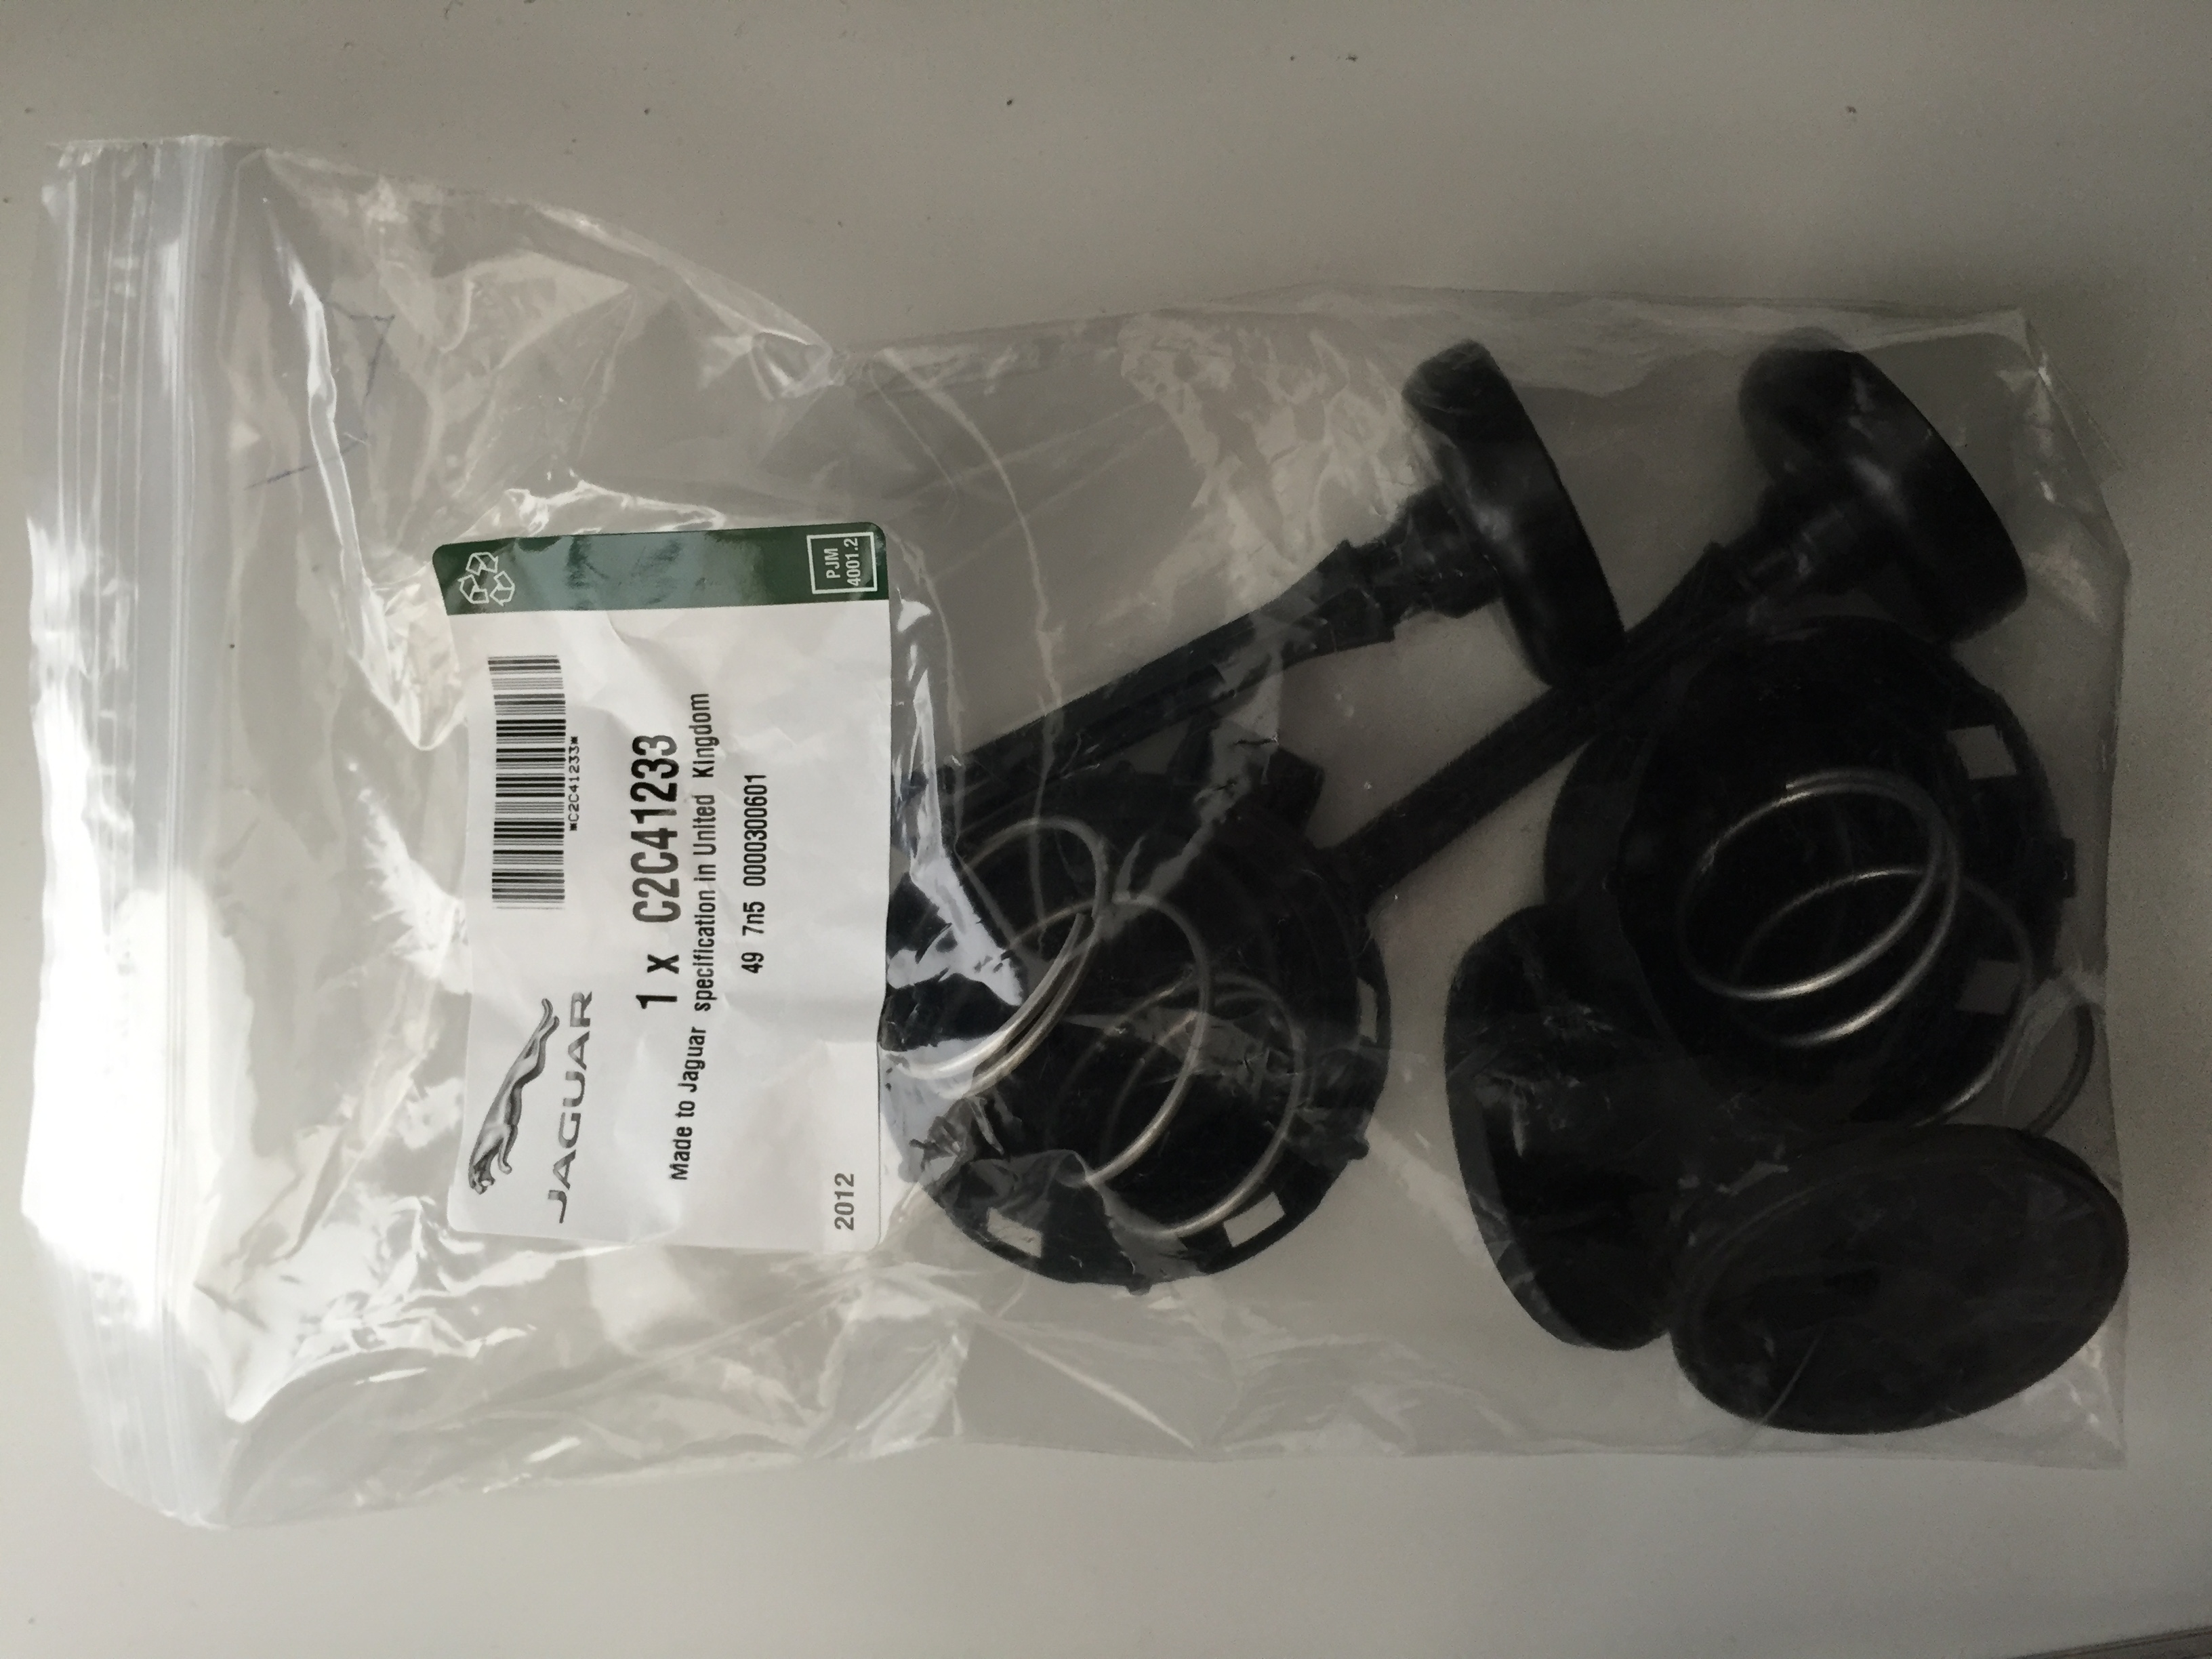 |
||
|
|
|
||
|
Ciaran
|
|
||
 Member No: #3087
Location: . |
Having done this job today, firstly I'll say thank you to Vaho for an excellent write up, saved me a ton of time. A few observations, for anyone else attempting the job; When removing the engine breather assembly, in my case considerable force was required to free it, to the point where I was convinced there must be a bolt or screw securing it - there isn't, it's just a push fit, albeit a tight as hell one! Be especially careful with the plastic air pipes going to the actuator, when moving them out of the way to free the breather assembly. They seem quite brittle and one was broken on mine, right where it joined the small rubber section of pipe which plugs into the rear actuator. I managed to effect a repair by cutting back the plastic a little and adding a small cable tie to keep it secure, but I suspect new pipes will be needed at some point. Maybe I'm not overly dexterous, but I found it nigh on impossible to remove the plastic actuator caps without damaging them, especially the rear one, where the bottom clips are inaccessible. Its a good thing the kit comes with new caps, as the brittle plastic and considerable force required to remove, pretty much guarantee breakage. One thing worth noting, ensure you get the arm, rubber and spring assembled properly before fitting the cap, because once it snaps into place it really wont want to come off easily. In my case the front rubber was split, just like in Vaho's example. The rear rubber was intact but the plastic pipe broken as previously mentioned, so both were shot. One other thing which may aid in initial diagnosis of the issue, besides the breathe through the pipe test - previously my car would make a kind of vacummy sounding whining drone at motorway speeds when the accelerator was depressed, even very lightly. After this fix was completed, that noise has vanished. I assume it must have been the sucking / leakage of air through the ruptured actuators. |
||
|
|
|
||
vaho

|
|
||
  Member No: #2228
Location: Tallinn |
Great. I see that everyone is worried about the plastic vacuum pipes. I must say that I have moved them up and down and sideways and what not several times during SWIRL actuator repair, coolant tank replacement, crankcase breather and throttle body removal etc. but never managed to brake one. Of course you can not bend the tubes infinitely but I can not comfirm the brittleness. Maybe I was just lucky...:-) |
||
|
|
|
||
|
cruiserphil
|
|
||
  Member No: #38
Location: Celbridge |
Vaho, You were lucky!!!! Best regards, Phil C. |
||
|
|
|
||
e3steve

|
|
||
 Member No: #1163
Location: Warsash, Hants & Palma de Mallorca, Spain |
vaho wrote ... Great. I see that everyone is worried about the plastic vacuum pipes. I must say that I have moved them up and down and sideways and what not several times during SWIRL actuator repair, coolant tank replacement, crankcase breather and throttle body removal etc. but never managed to brake one. Of course you can not bend the tubes infinitely but I can not comfirm the brittleness. Maybe I was just lucky...:-) They become extremely brittle at their points of entry into the rubber couplings. I'd hazard a guess that yours may have been replaced at some stage in the past(?)... |
||
|
|
|
||
ul9601

|
|
||
|
Member No: #1975
Location: Auckland |
Can anyone tell me the P/Ns for these brittle plastic pipes? I'd like to buy everything from the UK before I start the job as the locals here charge 3 times the price. |
||
|
|
|
||
|
vaho
|
|
||
|
Member No: #2228
Location: Tallinn |
The tubes come as a set with a part number 1622HW.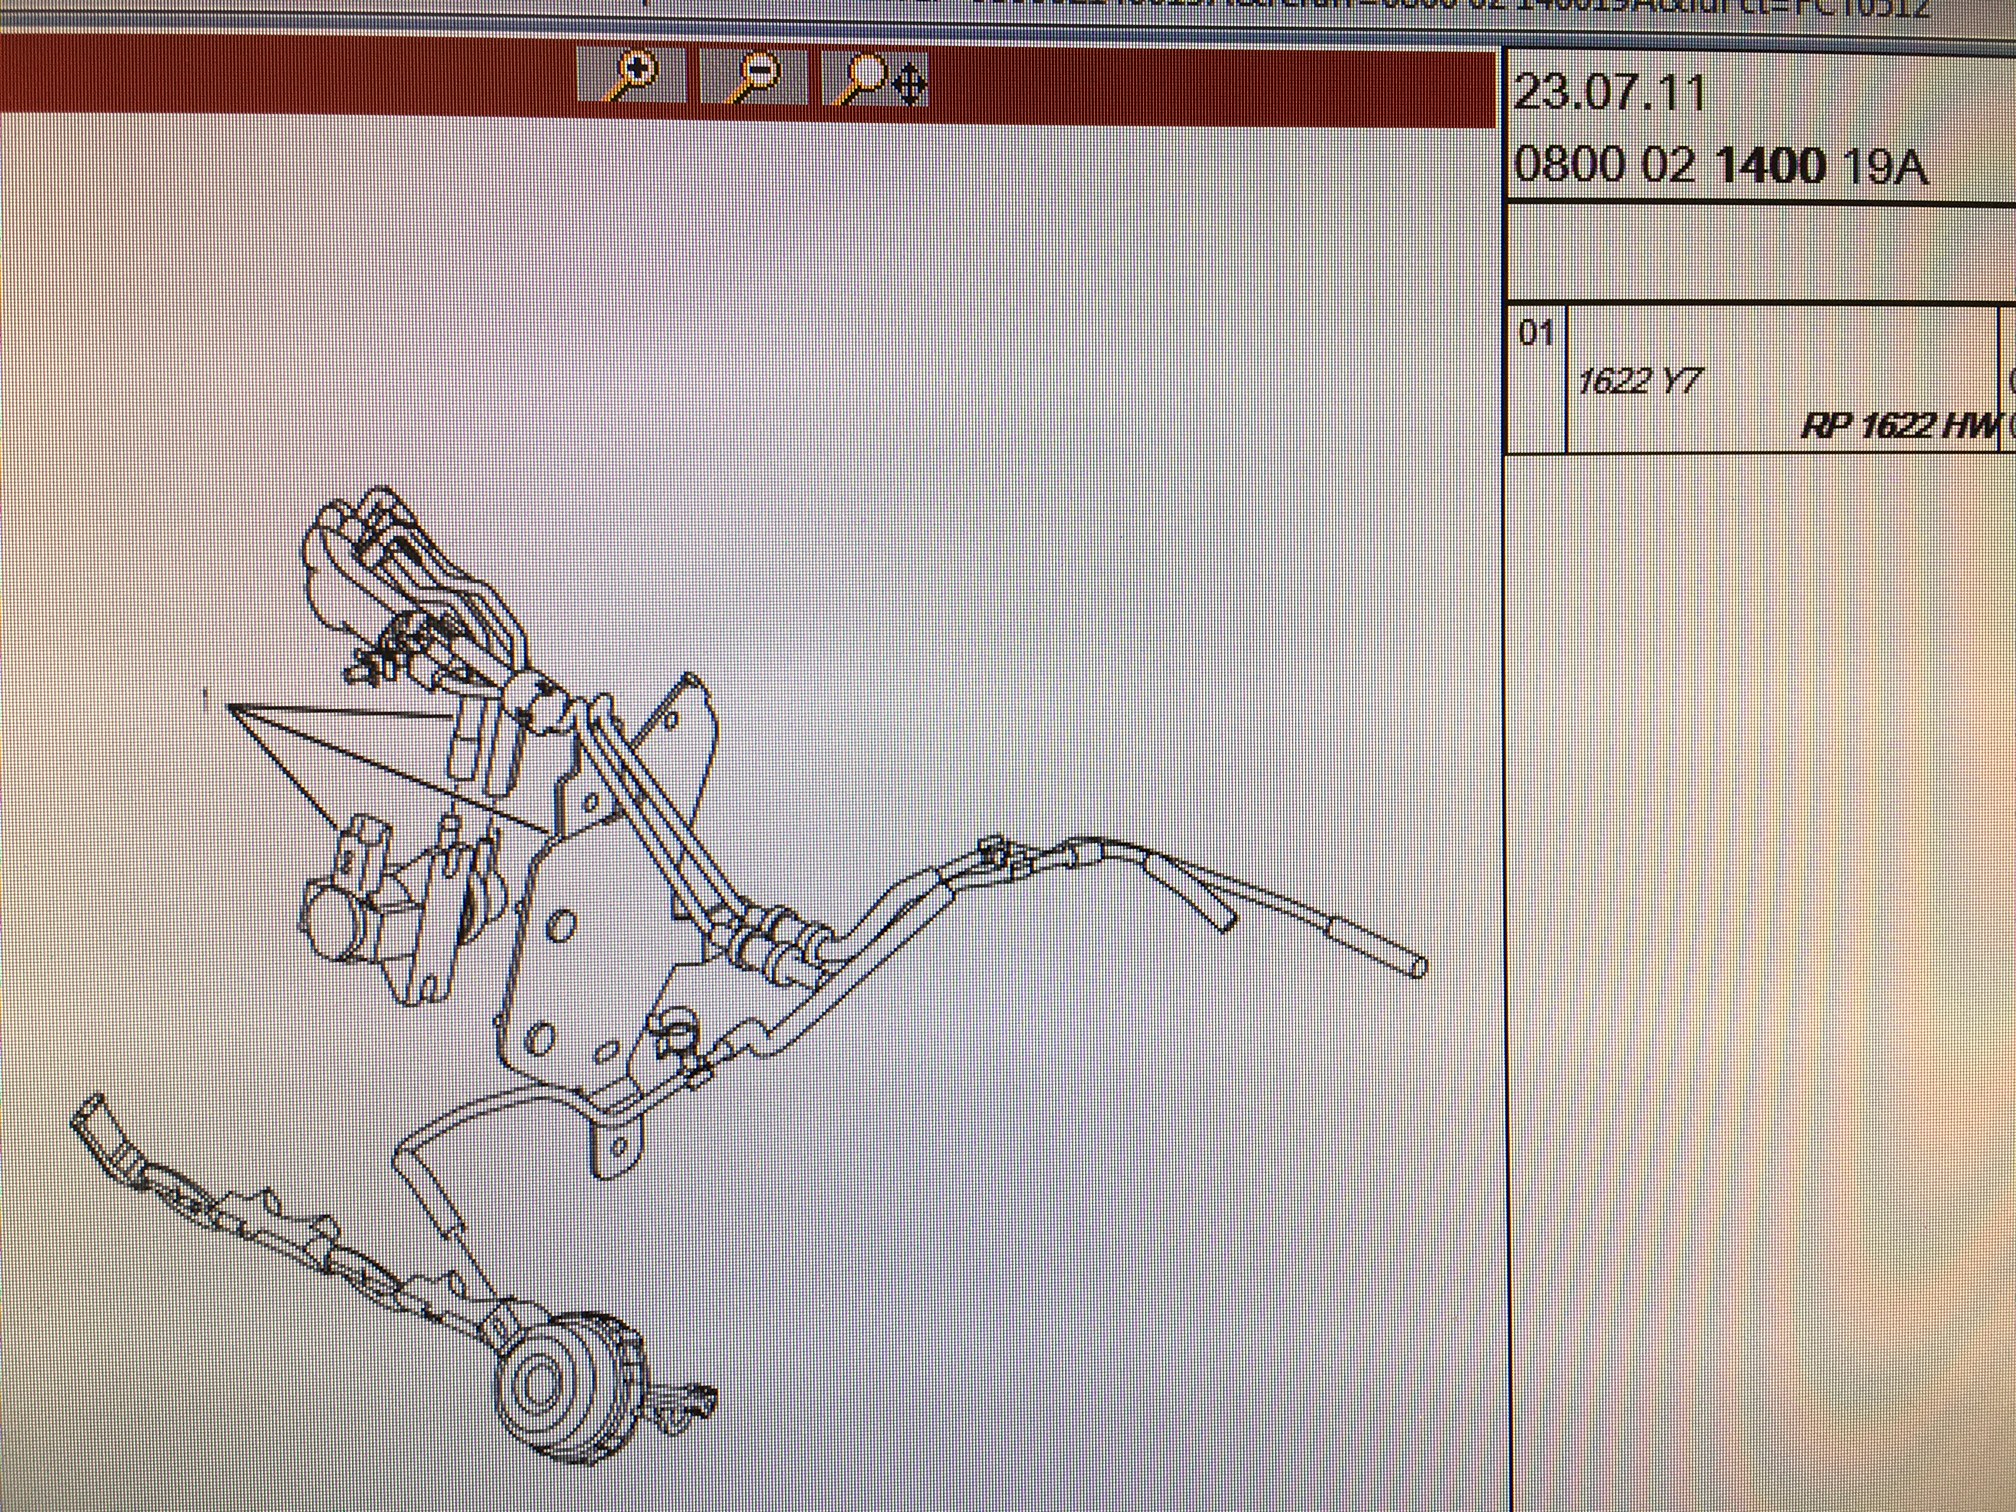 |
||
|
|
|
||
gmerry

|
|
||
 Member No: #21
Location: Scotland |
Hi, I found it much easier to replace the broken plastic pipe with CuNi (conifer) brake tubing. regards |
||
|
|
|
||
|
ul9601
|
|
||
|
Member No: #1975
Location: Auckland |
gmerry wrote ... Hi, I found it much easier to replace the broken plastic pipe with CuNi (conifer) brake tubing. regards Probably last longer too. |
||
|
|
|
||
|
Ciaran
|
|
||
|
Member No: #3087
Location: . |
gmerry wrote ... Hi, I found it much easier to replace the broken plastic pipe with CuNi (conifer) brake tubing. regards I may well have to do this, having driven the car for just over a week after replacing the actuators, I initially found considerable improvement on pulling away from standing, however today I thought it felt slightly hesitant a couple of times, not as bad as before but certainly there was a very slight delay which wasn't there earlier in the week. I've not had a chance to look at it yet, but its possible the plastic pipe 'fix' I did was only a stay of execution, may have to just replace all the pipes. Thanks for the suggestion of using brake lines gmerry, I don't suppose you remember the pipe diameter?  |
||
|
|
|
||
|
ul9601
|
|
||
|
Member No: #1975
Location: Auckland |
FYI, 1622HW is GBP150 with forum discount, minus VAT. So copper line ls the way to I think. I'd be interested in the pipe diameter as well please. |
||
|
|
|
||
|
keithc
|
|
||
 Member No: #2584
Location: Kildare |
Having read through this thread recently I ordered my Kit last week from the local Jag dealer (Kit cost me €44) I changed them this evening. Maybe I was lucky (or foolish to attempt to try!) but I managed to change both without removing anything other than the engine cover. I used a long flat screwdriver and was able to prize off the actuator arm off the ball socket, (and again t push the new ones on), and use the same screwdriver to prize off the lid, (I broke the clips on the front one as had nowhere to lever the screwdriver off - but this doesn't matter as a new lid comes with the kit). I had no issue taking the rubber hose off either - both slid off easily. With the rear actuator I was able to lever the screwdriver off the metal housing over the fuel filter. I got the old lid off without breaking it. I did both actuators in around 10 mins each or maybe a bit quicker. But boy is this procedure worth it....I cannot recommend it should be done enough.....It's transformed my car anyways. Neither of my rubber diaphragms were split but both were, (especially the rear), a lot harder than the new rubber so I presume the heat has done that over time. Like vaho says I've gone from 1....2....3....(and maybe even 4!)....go to just go!! Best €44 I reckon I've ever spent. |
||
|
|
|
||
|
ul9601
|
|
||
|
Member No: #1975
Location: Auckland |
One of mine had a split but I really didn't see much difference since the replacement. I did break a section of the plastic piping, so I used slightly longer section of vacuum hose to replace it - I doubt that has anything to do with the lack of improvement. | ||
|
|
|
||
Go to page <<
|
|
 User Colour Key: User Colour Key:Head Administrator, Administrator, C6 owner, Technical Expert, C6 Premier Discount Club |
|
Privacy Policy | Cookie Policy | Site Disclaimer | Contact Details | Warranty | Sitemap | C6 Insurance | Quick Facts | Re Call Info | Downloads | Error Codes
| Site and Graphics created by: C6Dave Forum Icons by Axialis Emotes by Seb |  |

