| C6owners :: Forums :: C6 Support :: The Garage |
<< Previous thread | Next thread >>
|
Repairing glow plug threads on cylinder head and extracting cut off broken glow plugs. |
    Please Register to enjoy additional Member Benefits |
| Author | Post | ||
olmala
 
|
|
||
 Member No: #1919
Location: Ylivieska |
Hi to all. Thought I could share a little story about how things can go wrong with a simple task of changing glow plugs to my 2.7HDI. I downloaded documents from this site and off we go. Simple job to strip top of the engine and just change these... Or so I thought. Two of the glow plugs were already broken by previous owner and one I broke while twisting it open. Glow plugs snapper right above the threads. No way I was going to strip heads from the car as it is pretty difficult task to do. Easier would be just to lift engine off if starting to do that. So I ordered broken glow plug removal set and glow plug tip removal set from Laser tools. After few hours of work and with little extractor modification, I got the broken glow plugs pulled out. 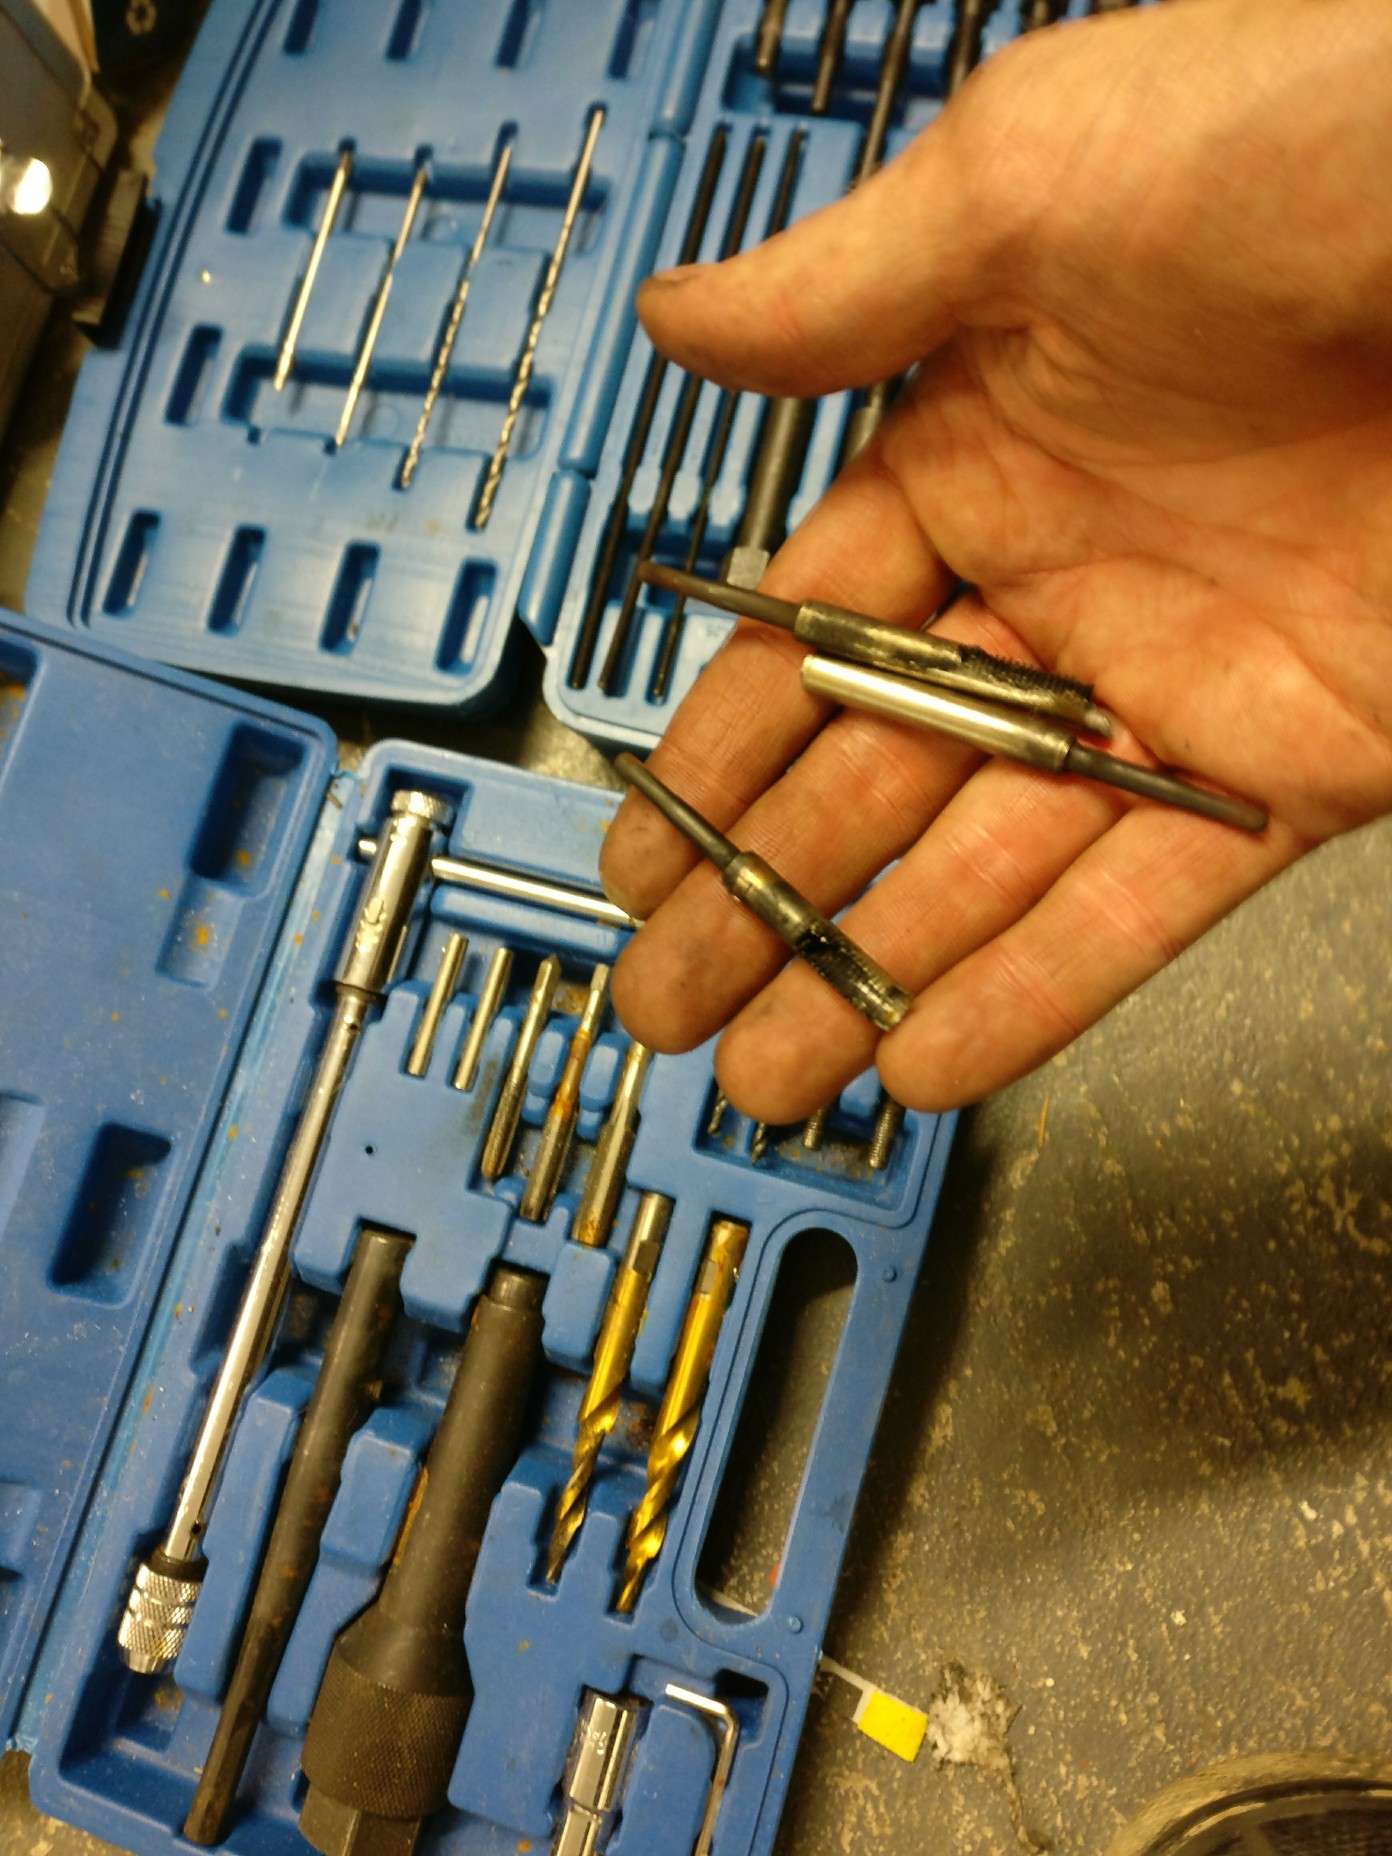 I was so happy that I didn't need to strip cylinder heads from the car. BUT... When I started to tighten new set of plugs in place, with those three that I had to extract, the threads on cylinder head gave up. Quite a problem I had now. Apparently they worn just enough when drilling those old plugs out, that they didn't hold. So had to tap new threads some how and this is what me and my friend came up with: 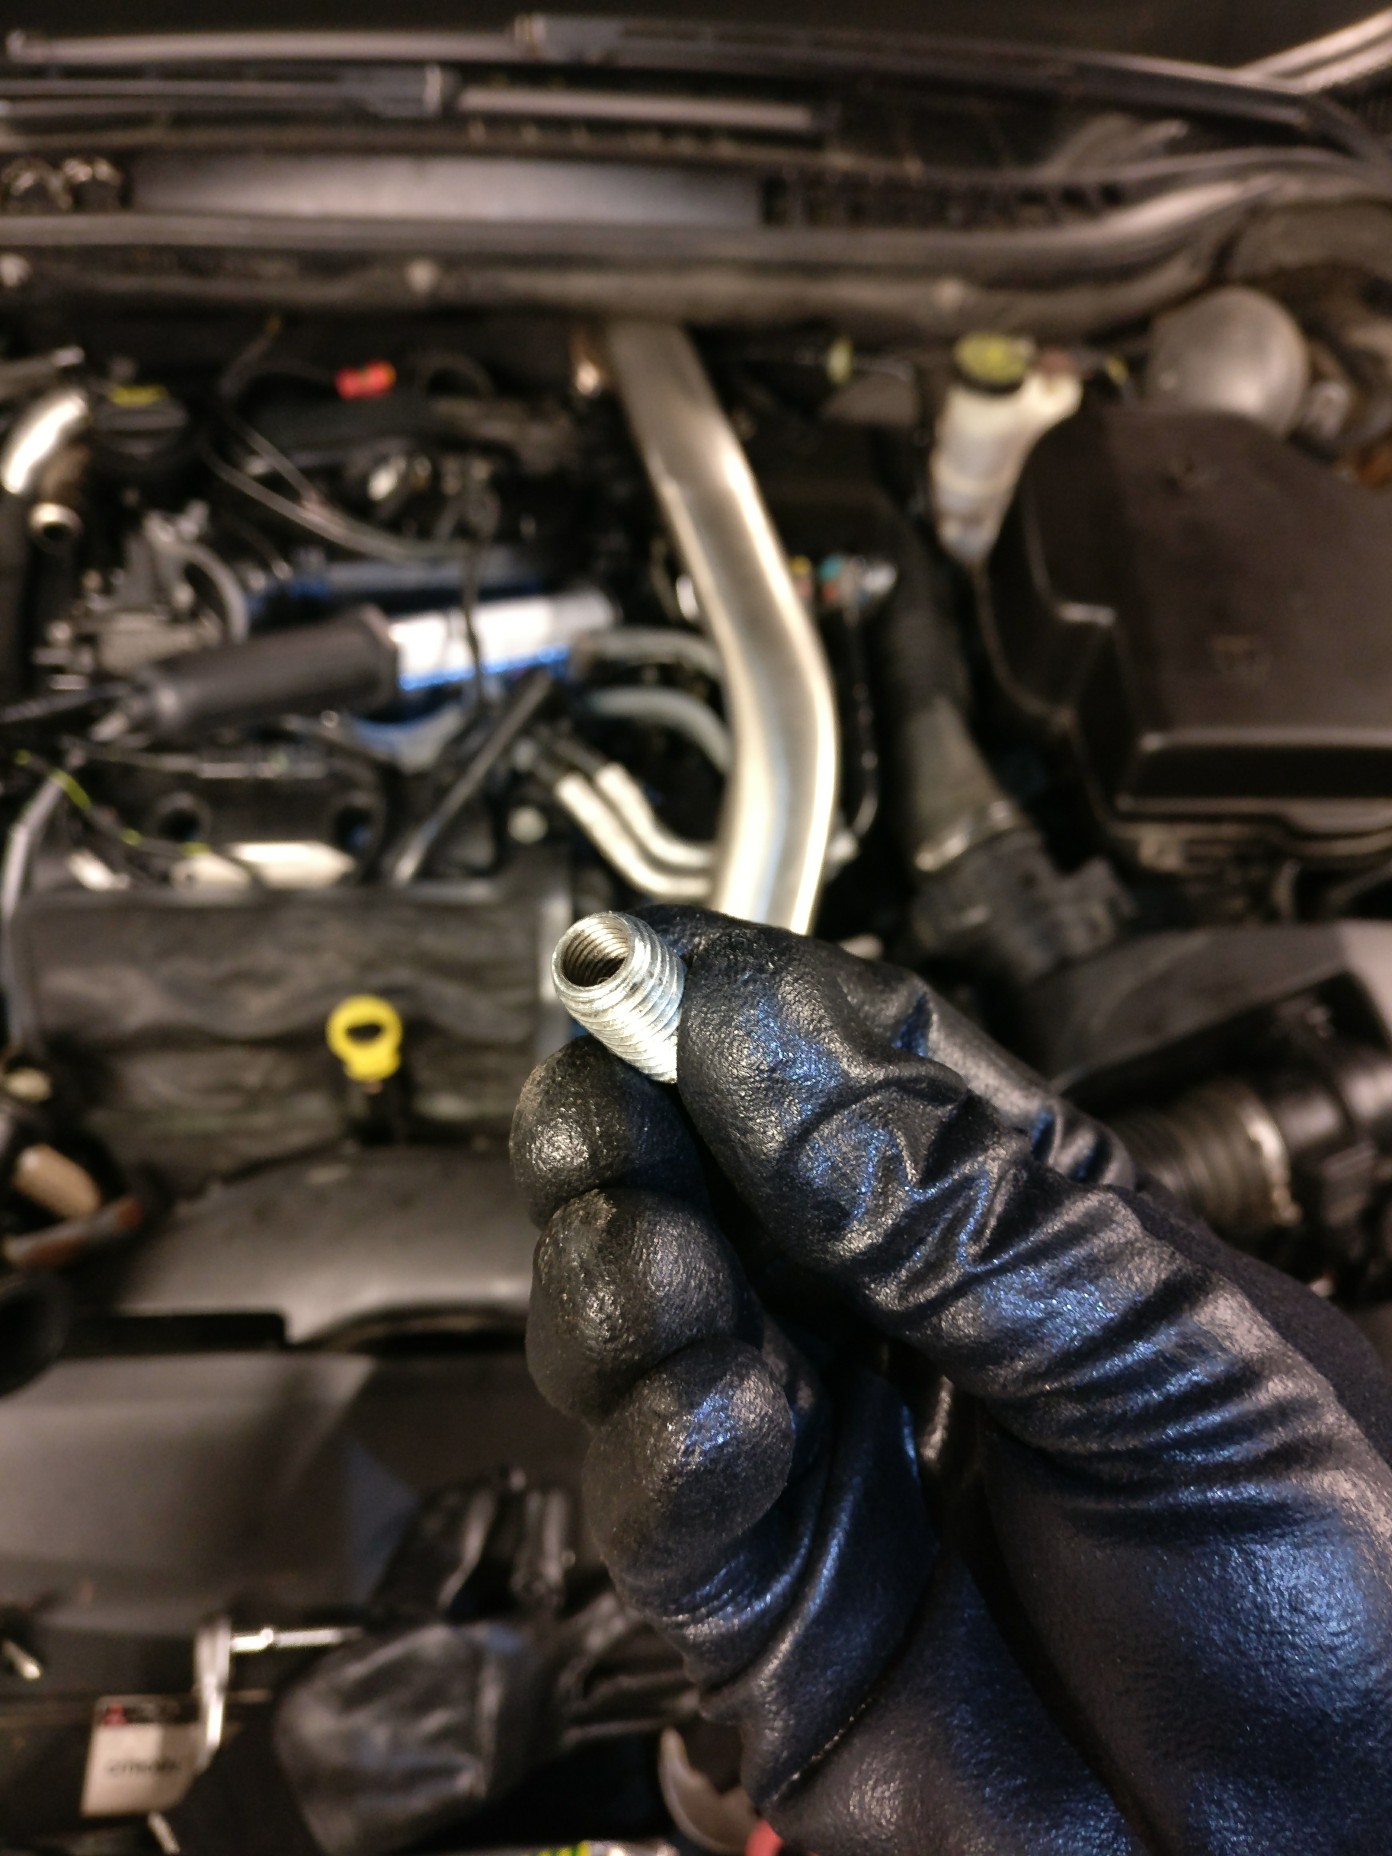 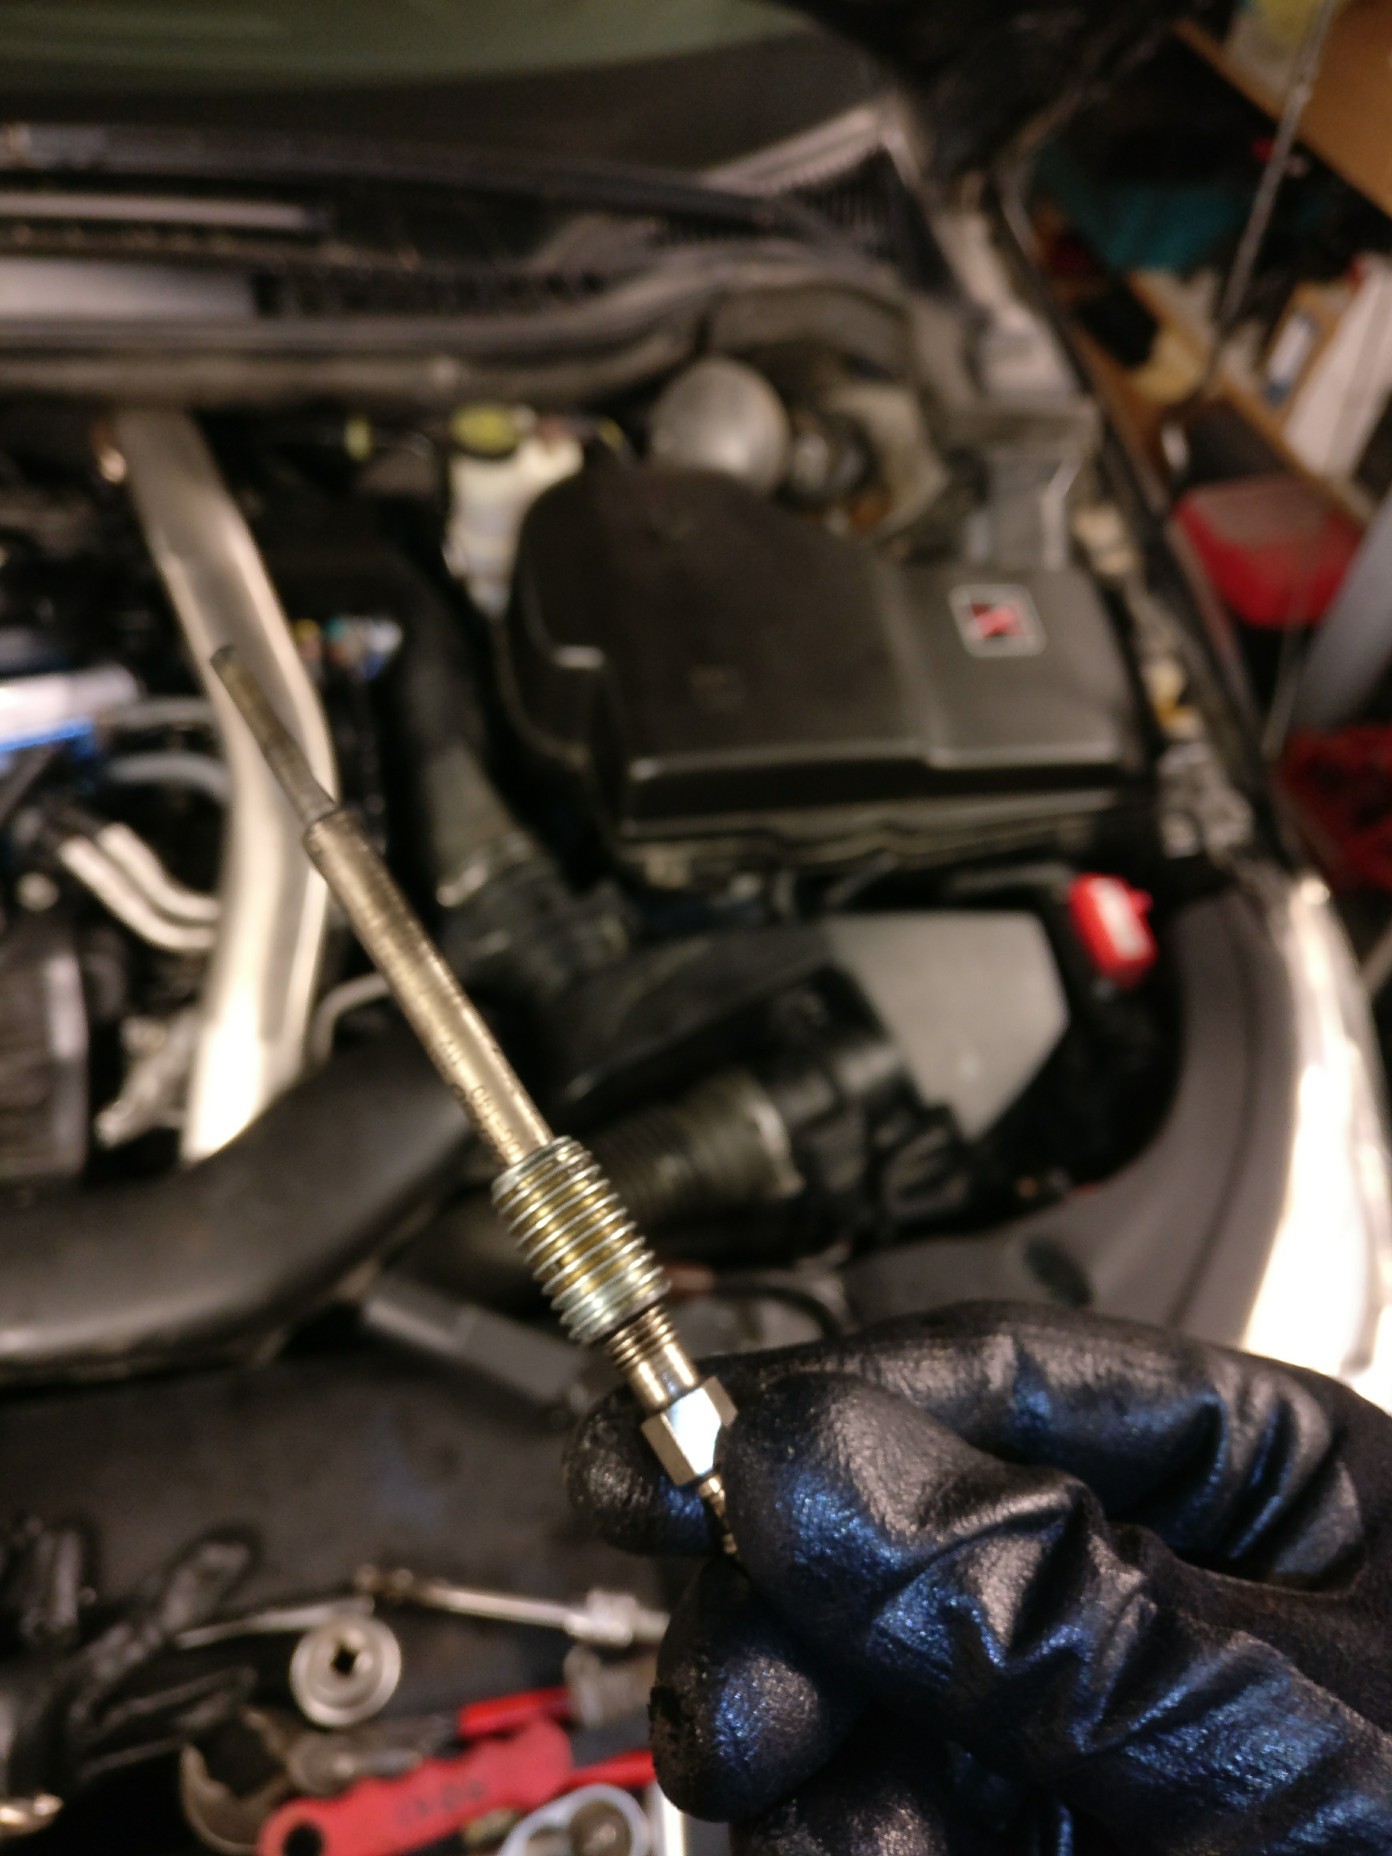 That bushing you see is made out of M12 bolt with 7mm hole drilled on center and tapped with correct M8x1.0 thread that plugs have. About 10mm longer than the threads on glow plug, just to make sure that they reach deep enough in the cylinder heads and don't prevent tightening those glow plugs. Helicoils are with M8x1.25 so couldn't use those. There is at least one official threading insert, called Time-sert but it's a bit pricy and I was in a hurry. ...and want to try to do everything by myself if possible...  Next part was as follows: Enlarge the glow plug hole in cylinder head by drilling with 10,5mm bit. Drill just a bit further than what the length of the bushing is. Before starting to drill, tuck a tiny peace of paper inside the hole. This way no chips enter the combustion chamber. Also it is recommended that you remove glow plug next to your to be machined one so you can insert some rod into the hole and match that angle when drilling. It's vital that the angle, when drilling, is exactly in line with the hole. 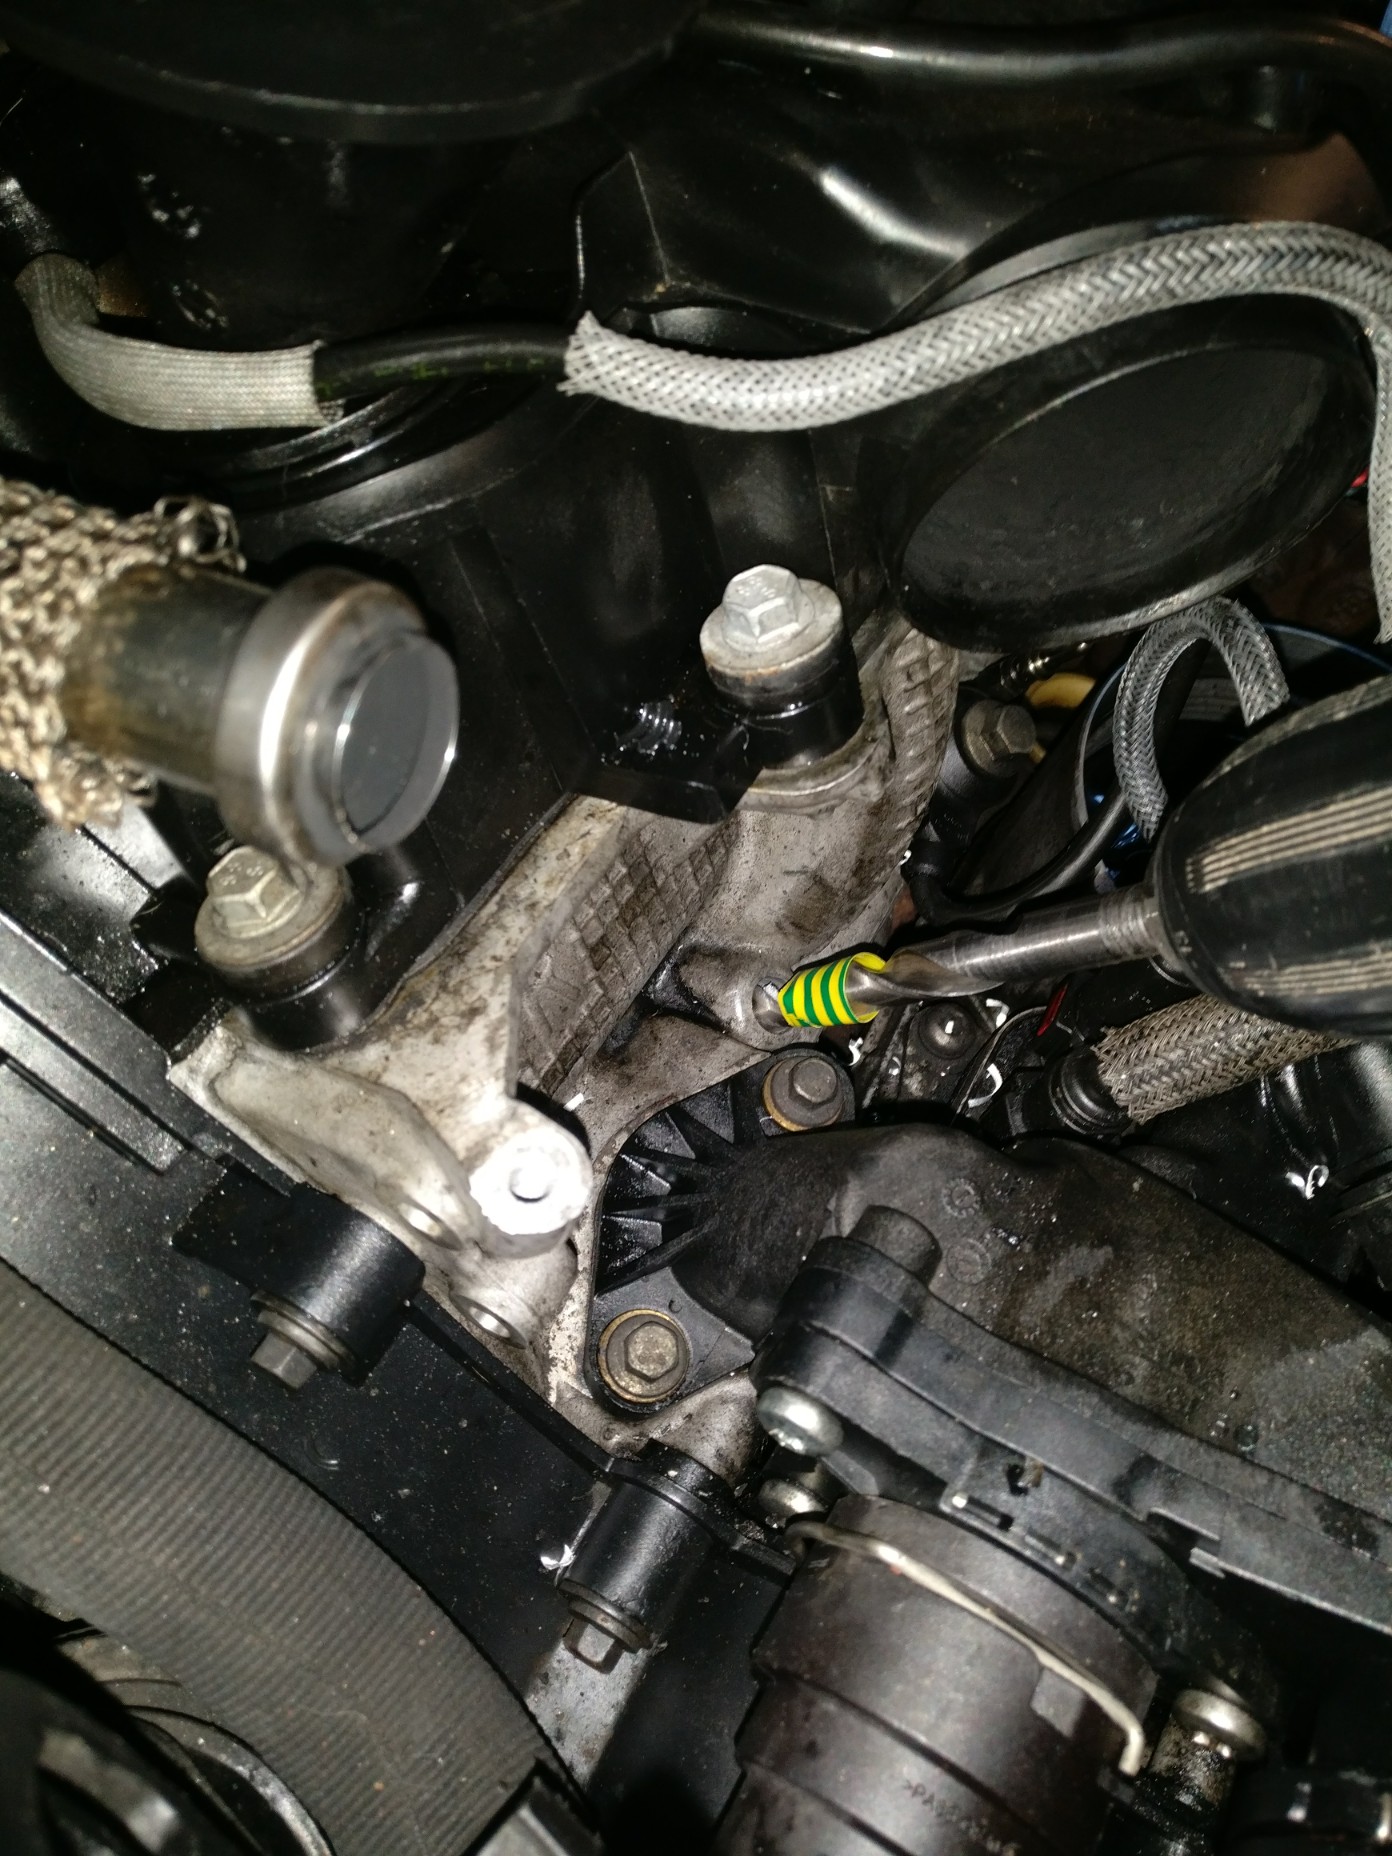 After drilling, use shop vacuum cleaner with small tip to suck the chips and the paper from the hole. Next thing is to tap new M12 thread to the enlarged hole. Again put a peace of paper in the hole and use cutting grease when tapping. And again, watch those angles! 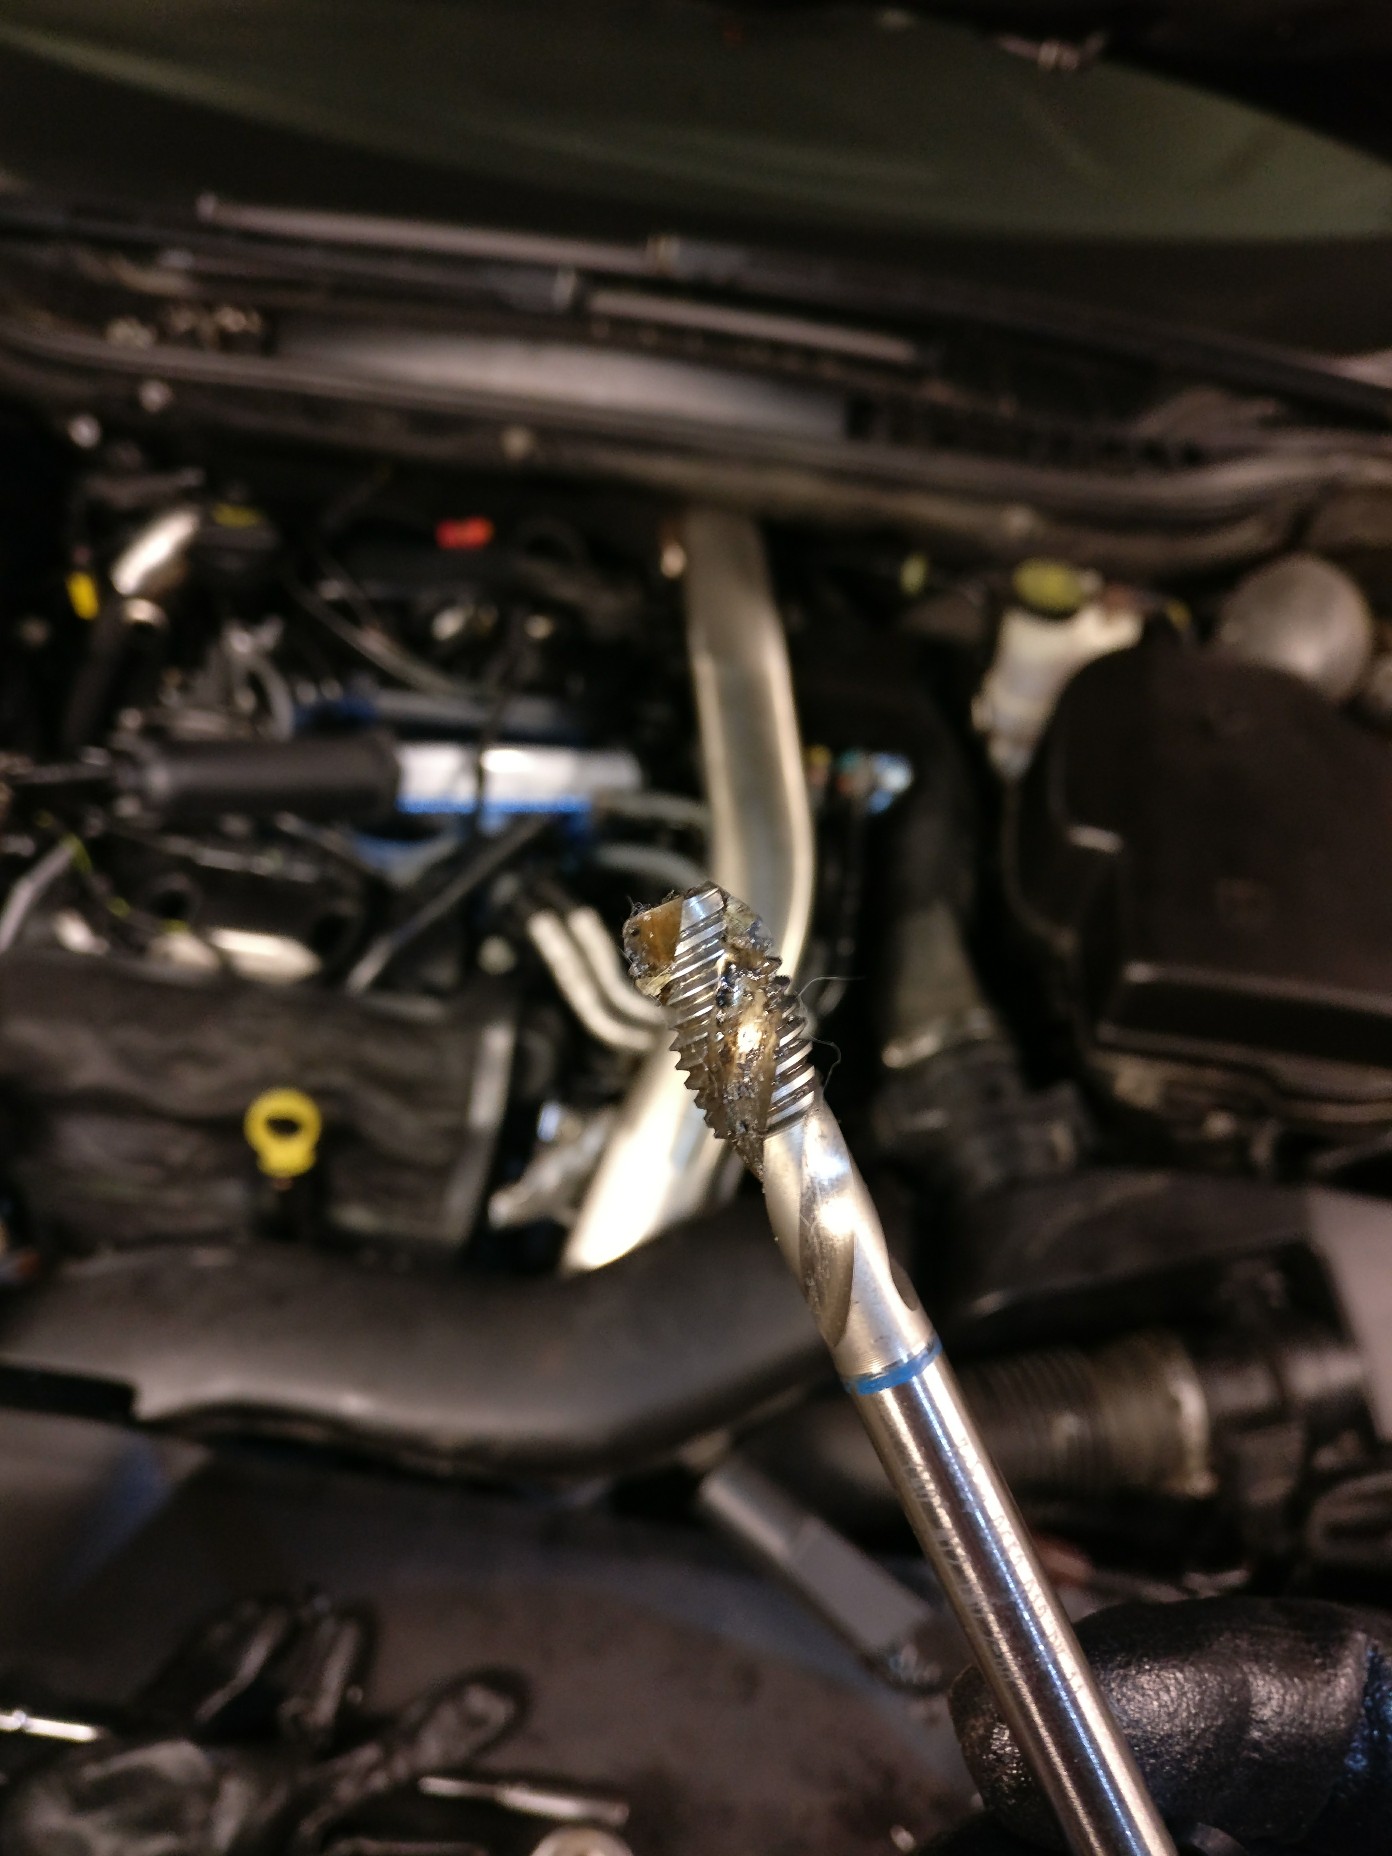 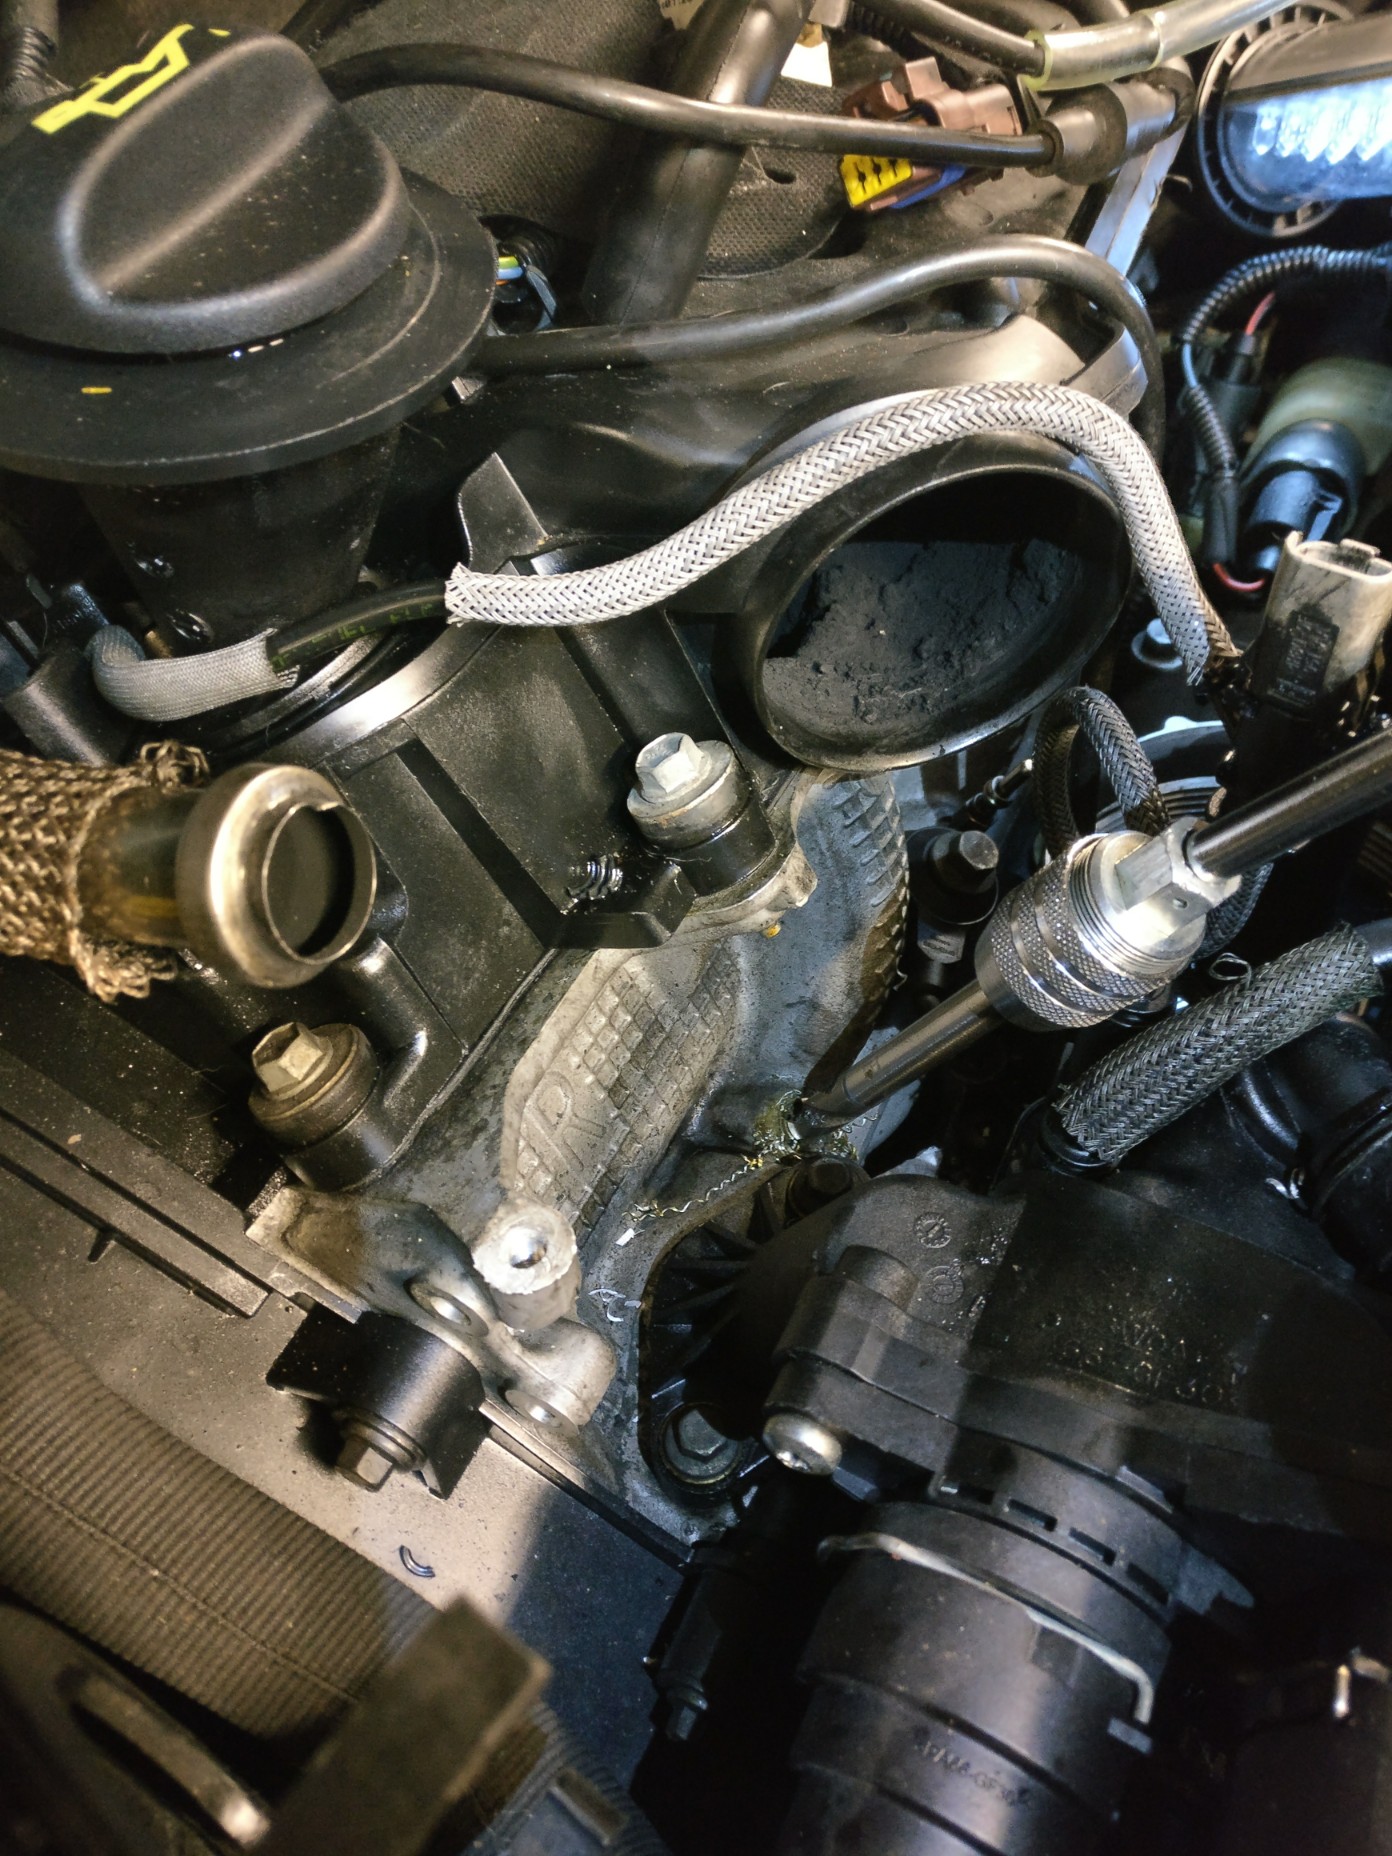 After tapping, clean everything again and next thing to do is to insert the bushing. I did it with a nut and bolt. Screw nut to the bolt and bushing against the nut and tighten the nut to the bushing. This way you can tighten the bushing in place, loosen the nut and remove the bolt. 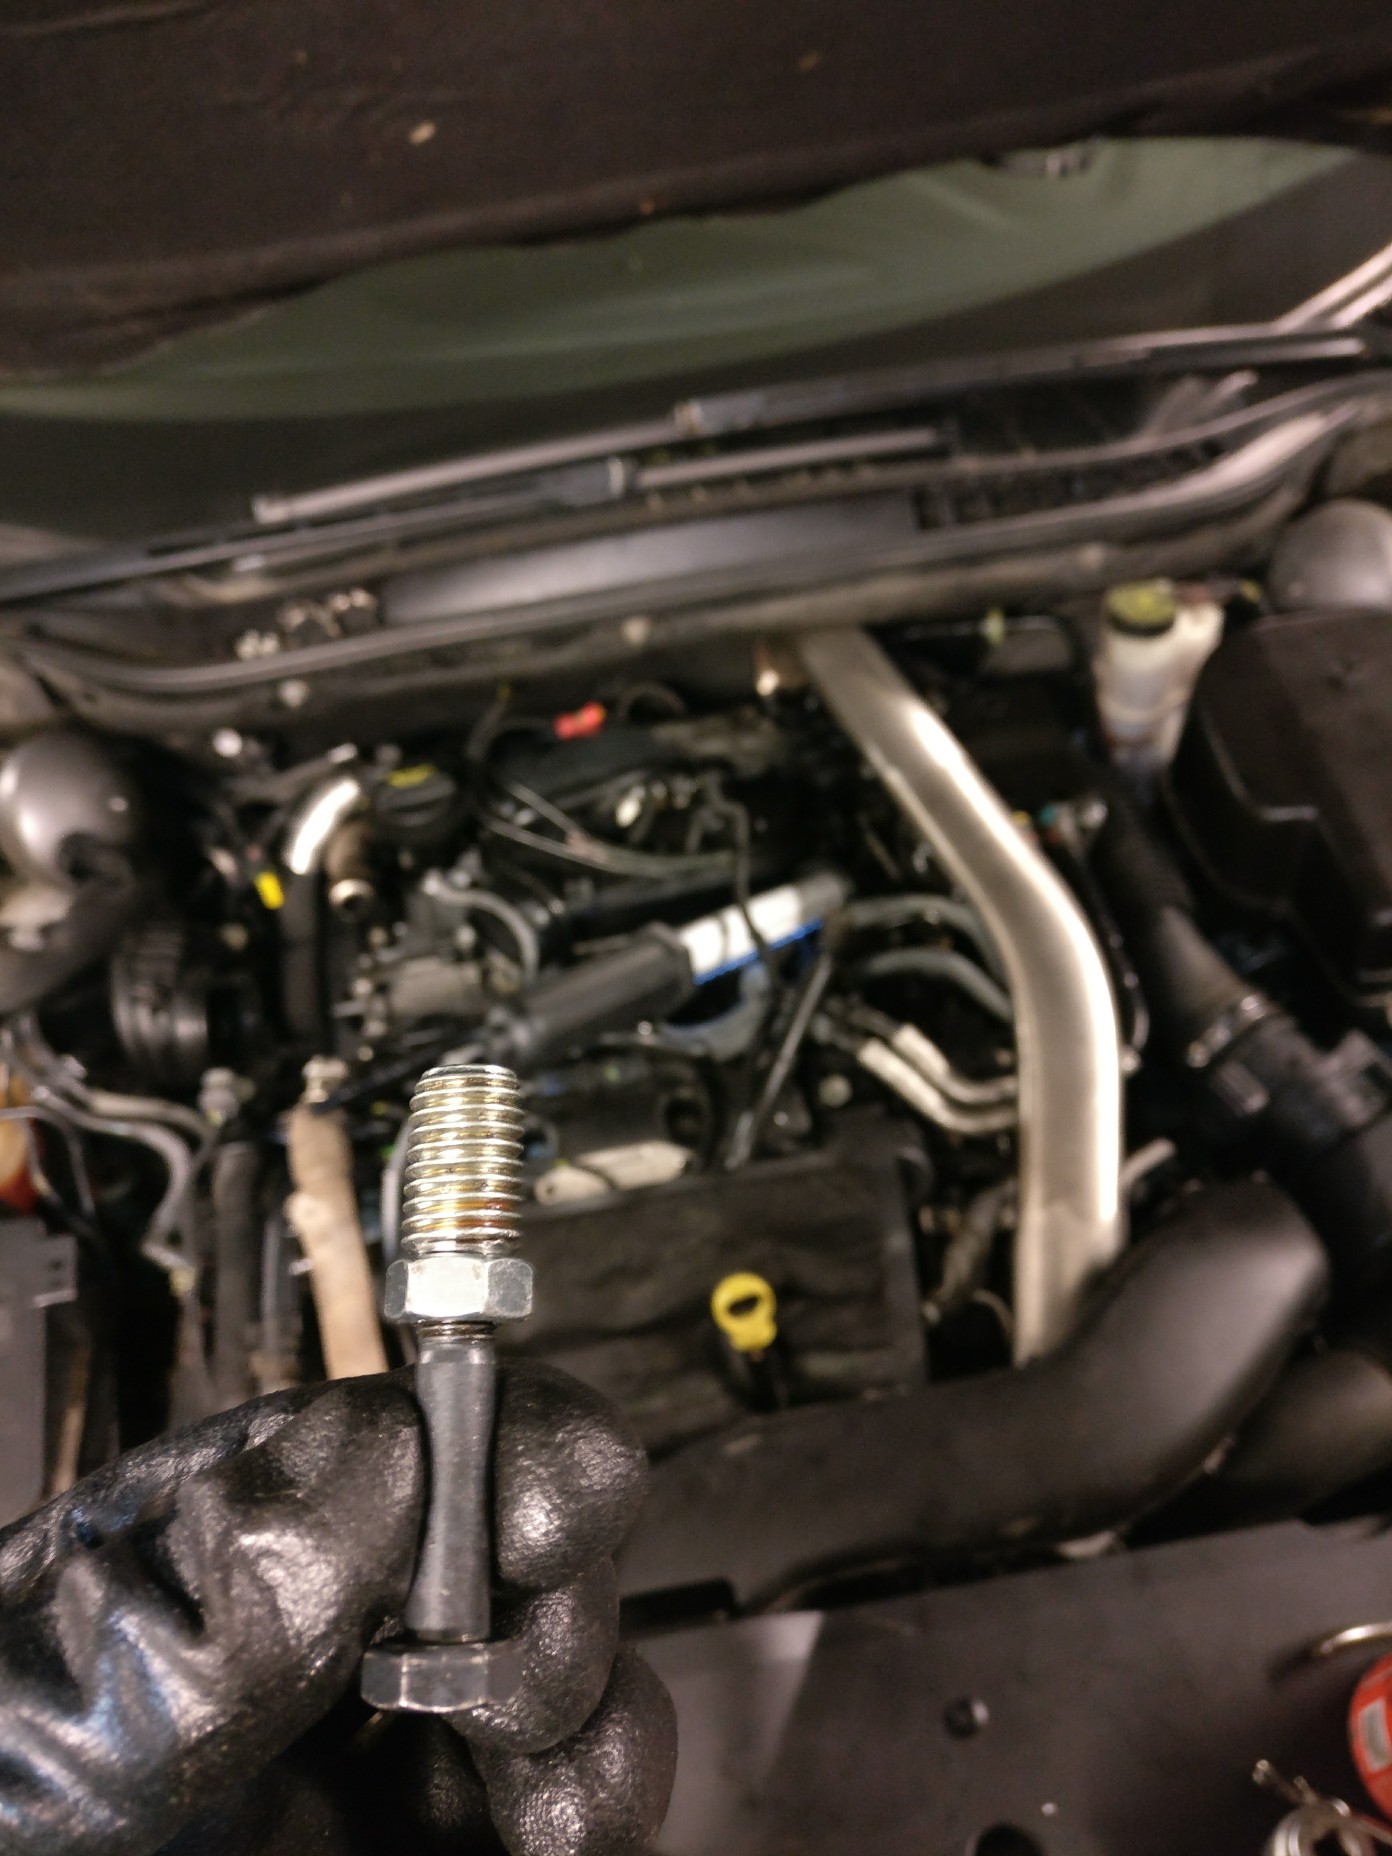 Now just tighten the bushing on place. Use Locktite 270 threadlocker or similar to lock the bushing permanently on place. I did something with my phone and lost few of the photos, like when inserting the bushing and finished work but I trust that you don't need photos for that. Did this same job with two more plug inserts and now they hold and car runs starts perfectly.  In the end, saved a lot of money and hours by not having to strip the heads from the engine. Wouldn't say that this is too difficult for someone to follow, just make sure to watch the angles all the time when drilling. Besides that, peace of cake. EDIT: Good question came below about depth of the glow plugs after new threading. After this repair plugs sit at same level as originally because seal at the end of insert, in the combustion chamber side of the cylinder head, determine the depth of the glow plugs. Original threads on the heads are about 5cm deep so only thing to be sure is that you don't make new threads to shallow. If you do, glow plug doesn't enter deep enough to make good seal. PS. If you brake the passenger side glow plug on front bank of the engine, you're SH*T OUT OF LUCK. Then you have to remove the front bank intake manifold to make room for drilling. All other five are doable without removing manifolds. I think at the end, I was a bit lucky. |
||
|
|
|||
David Hallworth

|
|
||
    Member No: #90
Location: Glasgow |
Nice work! Did you do all 3 on the back bank? If not, did having them sitting at different levels affect the brown bar that clicks onto the top of them? David. |
||
|
|
|
||
|
olmala
|
|
||
|
Member No: #1919
Location: Ylivieska |
David Hallworth wrote ... Nice work! Did you do all 3 on the back bank? If not, did having them sitting at different levels affect the brown bar that clicks onto the top of them? David. Two on the back and one on the front. They sit at same level because seal at the end of insert, in the combustion chamber side of the cylinder head, determine the depth of the glow plugs. Original threads on the heads are about 5cm deep so only thing to be sure is that you don't make new threads to shallow. |
||
|
|
|
||
321dave

|
|
||
 Member No: #614
Location: Dublin |
Apparently this product works a treat on potentially stuck injectors and glow plug retrieval problems. I've yet to try it out on mine though. 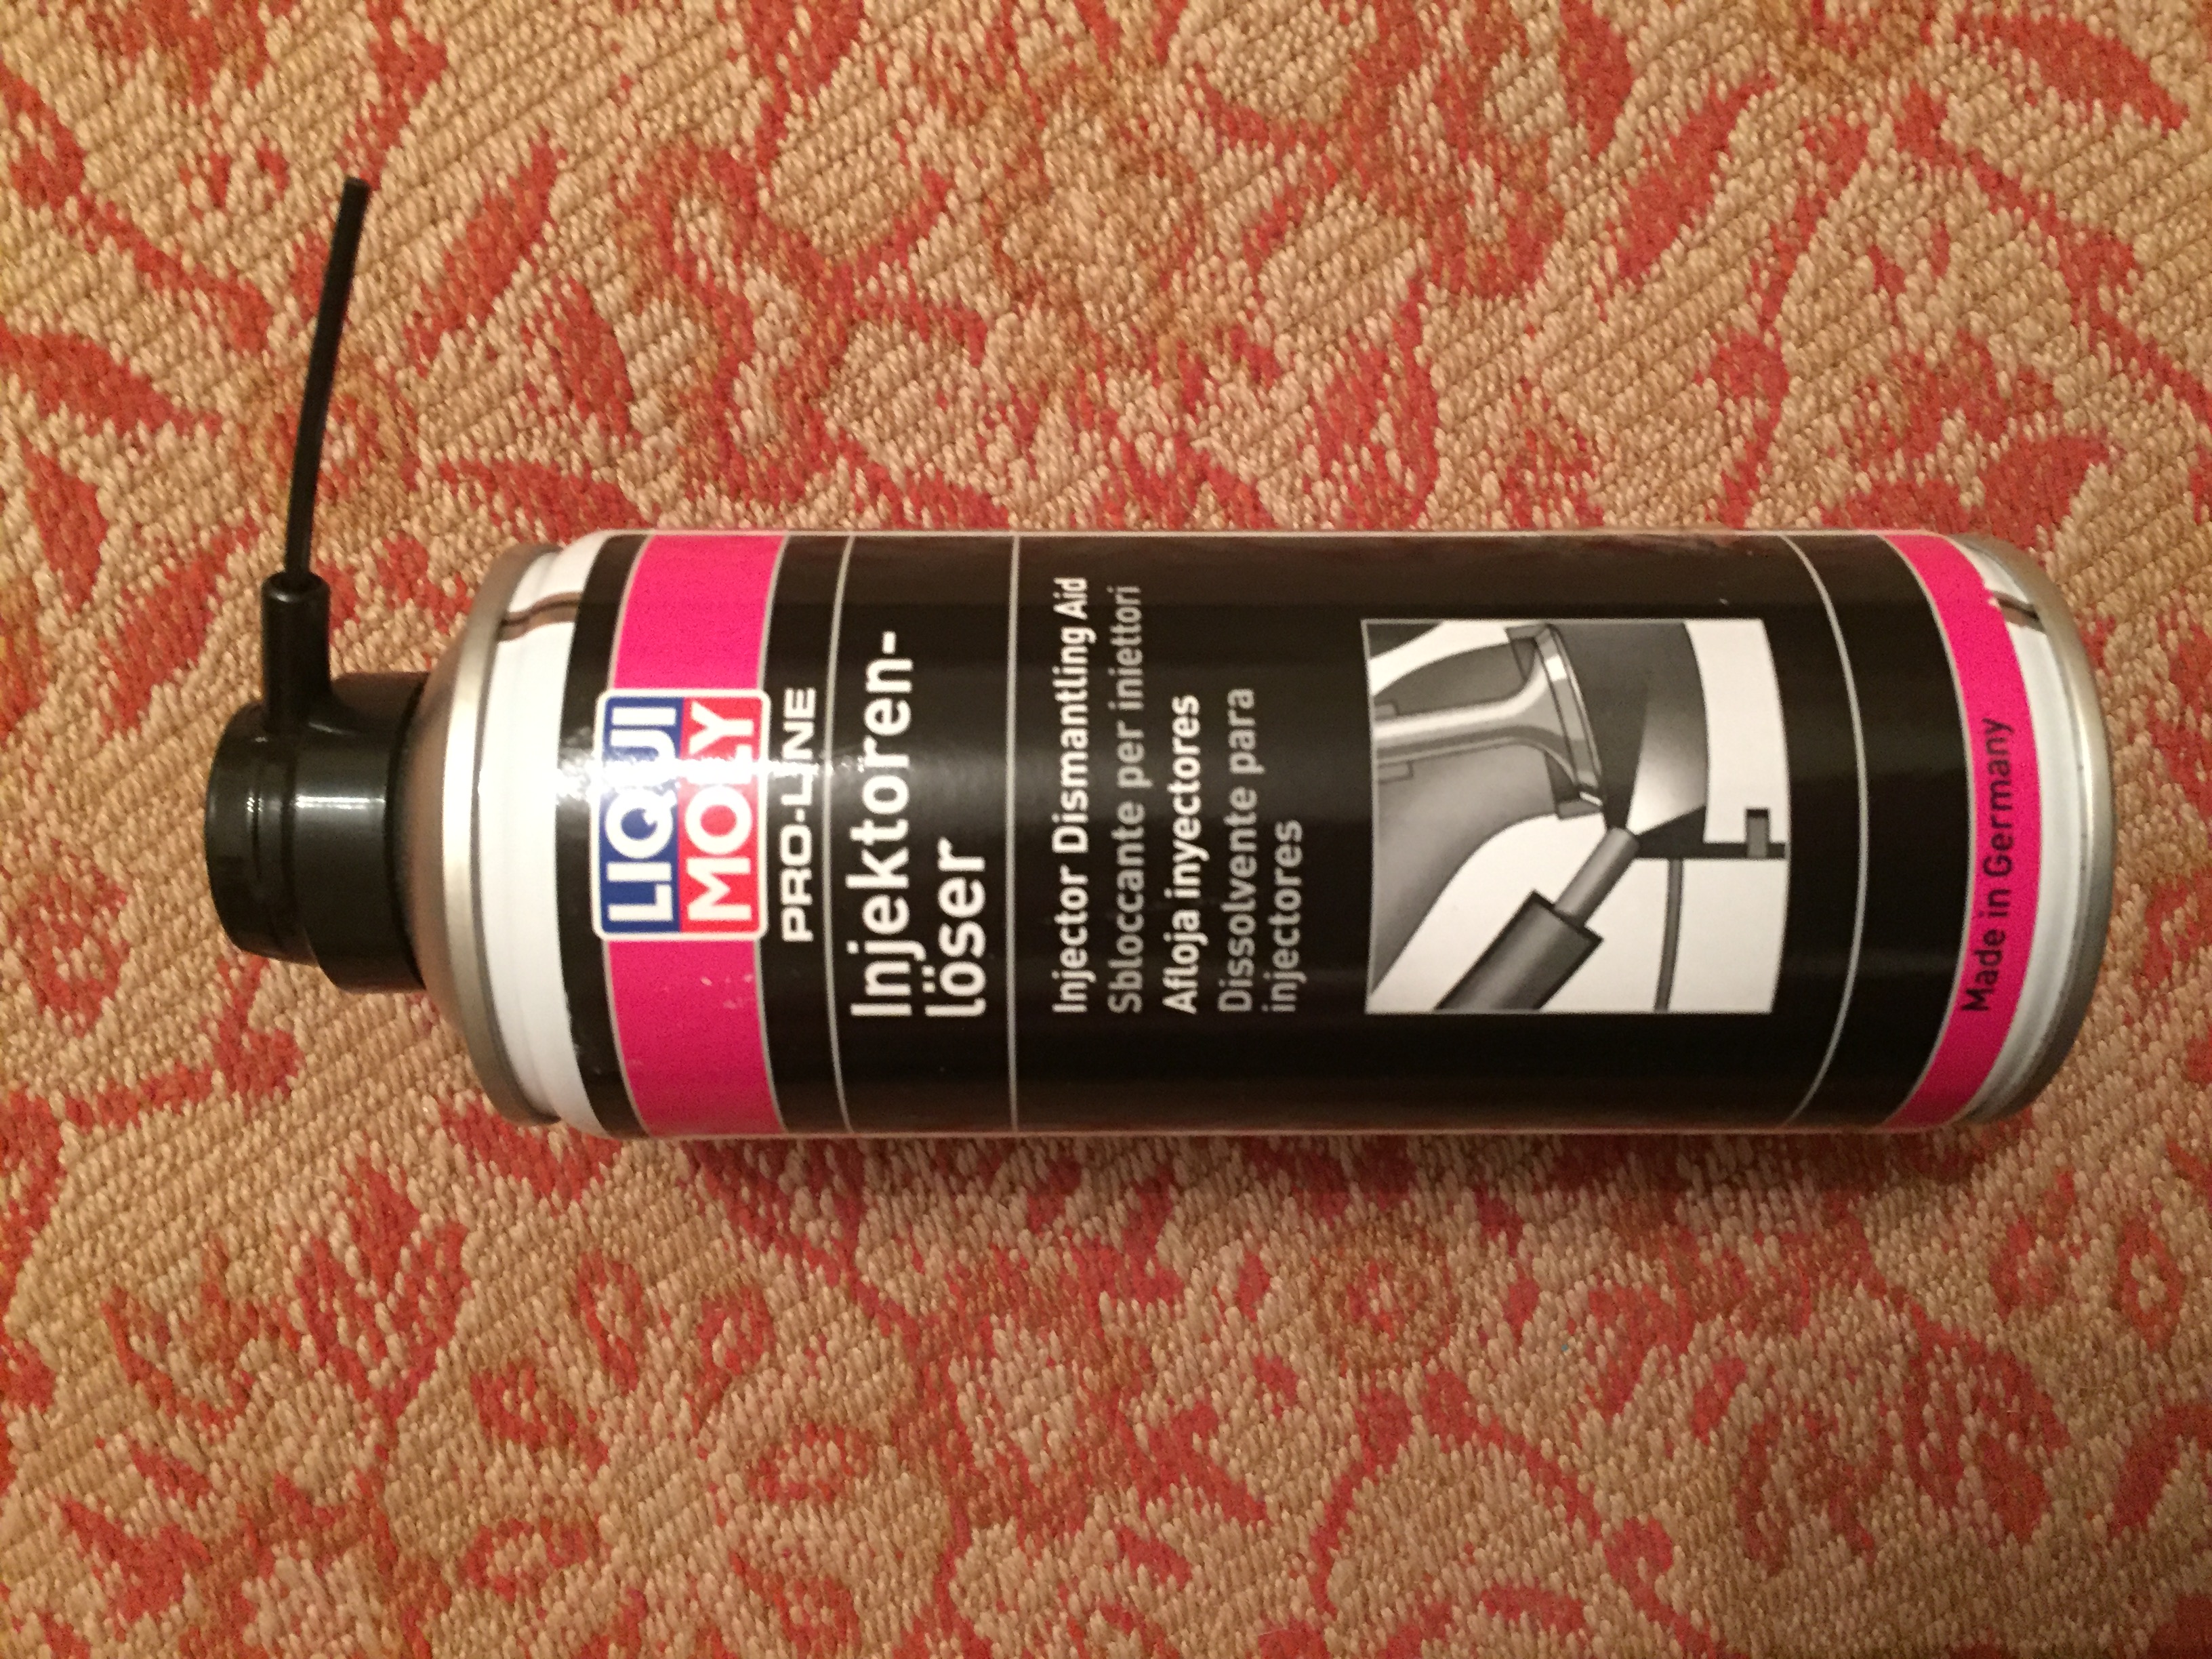 |
||
|
|
|
||
|
olmala
|
|
||
|
Member No: #1919
Location: Ylivieska |
Also I would recommend some tool like this one if glow plugs doesn't even budge with ratchet. - Click Here - |
||
|
|
|
||
 User Colour Key: User Colour Key:Head Administrator, Administrator, C6 owner, Technical Expert, C6 Premier Discount Club |
|
Privacy Policy | Cookie Policy | Site Disclaimer | Contact Details | Warranty | Sitemap | C6 Insurance | Quick Facts | Re Call Info | Downloads | Error Codes
| Site and Graphics created by: C6Dave Forum Icons by Axialis Emotes by Seb |  |

